Did you know that the average car owner spends $450 to fix a single deep paint scratch?
That’s a lot of money for something that often happens in parking lots or during routine car washes. But here’s something most people don’t know - many car scratches can be fixed at home using professional techniques.
As a certified auto paint specialist, I’ve seen countless car owners struggle with paint damage. Some try quick fixes that make things worse, while others pay premium prices for repairs they could do themselves.
That’s why I’m sharing these professional scratch car paint repair methods with you. We’ll look at everything from understanding paint layers to matching colors perfectly. By the end of this guide, you’ll know exactly how to fix those annoying scratches like a pro.
Ready to save money and learn some real paint repair skills? Let’s start with the basics.
Understanding Car Paint Damage
Let me start by explaining why understanding car paint damage is crucial for effective repairs. As a paint specialist with 15 years of experience, I can tell you that car paint is much more complex than most people think.
Paint Layer Structure
Your car’s paint isn’t just one simple layer - it’s a sophisticated system of five distinct layers:
| Layer | Thickness | Purpose |
|---|---|---|
| Clear Coat | 40-50 microns | Protection and shine |
| Base Coat | 15-25 microns | Color and appearance |
| Primer | 20-30 microns | Surface preparation |
| E-Coat | 20 microns | Corrosion protection |
| Phosphate | 5 microns | Metal bonding |
Common Causes of Scratches
In my experience, most car scratches come from these sources:
- Environmental Factors
- Bird droppings and dead bugs
- Tree sap and acid rain
-
UV radiation and weather exposure
-
Human-Related Damage
- Improper washing techniques
- Shopping cart impacts
- Vandalism and accidents
Assessing Scratch Depth
I always tell my clients to use the fingernail test first. Run your fingernail across the scratch. If it doesn’t catch, you’re dealing with a clear coat scratch - the most superficial kind. When your nail catches, that means the damage goes deeper into the base coat or primer.
Clear coat scratches feel smooth and might not be visible in all lighting conditions. Base coat scratches show the actual color damage and feel deeper. The most serious are primer scratches, where you can see the metal underneath - these need immediate attention to prevent rust.
By knowing these basics about paint damage, you’ll make better decisions about repair methods. This knowledge helps you avoid costly mistakes and choose the right repair approach for your specific situation.
Professional Paint Repair Tools
I’ve spent years perfecting my tool collection for scratch car paint repair, and I’m going to share what really works. Having the right equipment makes all the difference between a professional finish and an amateur touch-up.
Essential Equipment List
The foundation of any good repair starts with basic but high-quality tools. Here’s what I recommend:
| Tool | Purpose | Professional Tip |
|---|---|---|
| Air Compressor (60-120 gallon) | Powers spray equipment | Higher capacity means better paint atomization |
| Dual-Action Sander | Surface preparation | Use with multiple grit levels |
| Spray Gun | Paint application | Worth investing in premium quality |
| Buffer/Polisher | Final finishing | Electric orbital type works best |
Specialized Repair Materials
My years of experience have taught me that quality materials are non-negotiable. For professional results, you’ll need:
- Paint matching tools and digital color meters
- Two-part urethane paints with hardeners
- High-grade primers and clear coats
- Professional-grade masking materials
- Micro applicators for precise touch-ups
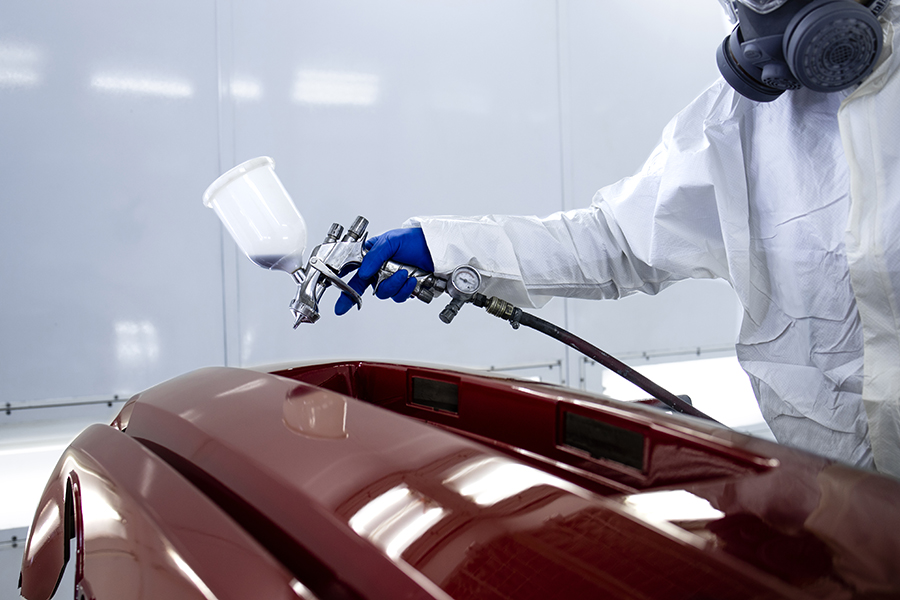
Safety Equipment Requirements
Working with automotive paints requires serious protection. Here’s what I always use and recommend:
-
Respiratory Protection * Professional-grade respirator with VOC filters * Face mask for light sanding work
-
Body Protection * Safety glasses with side shields * Chemical-resistant gloves * Full-body coveralls * Steel-toed safety footwear
Remember, these tools and materials work together as a system. Each piece plays its role in achieving that perfect finish we discussed in the paint layer section. From preparing the surface to applying the final clear coat, having professional-grade equipment will make your repair work significantly easier and more successful.
Paint Matching Methods
Getting the perfect paint match is one of the most challenging parts of scratch car paint repair. I’m going to show you the three methods I use in my shop that give amazing results every time.
Color Code Identification
Finding your car’s paint code is your first step. I’ve worked with thousands of vehicles, and these codes are usually in one of these spots:
| Location | Common Brands |
|---|---|
| Driver’s door jamb | Ford, Toyota, Honda |
| Under the hood | BMW, Mercedes |
| Trunk area | Audi, Volkswagen |
| Firewall | Nissan, Subaru |
Digital Color Matching
I always tell my clients that modern cars need modern solutions. A spectrophotometer is my go-to tool for perfect matches. This device reads your car’s exact color by measuring how light bounces off the surface.
When I scan a car’s paint, the spectrophotometer sends data to our mixing system. It’s amazing - the computer analyzes thousands of paint formulas to find or create the perfect match. Even with sun-faded paint, we get spot-on results.
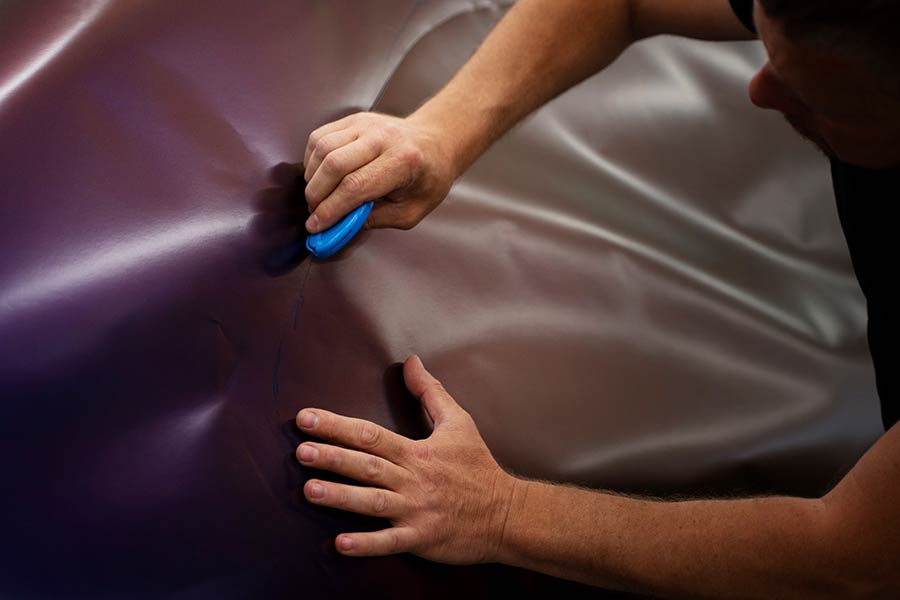
Blending Techniques
Here’s my professional secret: perfect repairs aren’t about matching paint - they’re about blending it. I follow these steps for flawless results:
- Start with the repair area
- Apply paint in thin, controlled coats
- Extend each coat slightly beyond the last
- Fade the edges gradually
The key is working from the center outward. I keep the paint wet at the edges and use special blending solvents for smooth transitions. This technique makes repair spots virtually invisible, even in direct sunlight.
Remember what we learned about paint layers? That knowledge comes in handy here. I make sure each layer - primer, base coat, and clear coat - blends perfectly with the surrounding area. This attention to detail is what makes professional repairs stand out from DIY attempts.
Step-by-Step Repair Process
Now that we have our tools ready and paint matched perfectly, I’m going to walk you through the exact process I use in my professional shop for scratch car paint repair. This method has worked on thousands of vehicles, and I’m confident it will work for you too.
Surface Preparation Steps
The foundation of any great paint repair lies in proper surface preparation. Here’s what my team uses for different scratch depths:
| Scratch Type | Preparation Method | Time Required |
|---|---|---|
| Clear Coat | Light wet sanding (2000 grit) | 15-20 mins |
| Base Coat | Progressive sanding (1000-2000 grit) | 25-30 mins |
| Deep Scratch | Multi-stage sanding (800-2000 grit) | 35-45 mins |
I always start by cleaning with a wax-free solvent, followed by careful masking of surrounding areas. Remember what we discussed about paint layers? That knowledge comes into play right here.
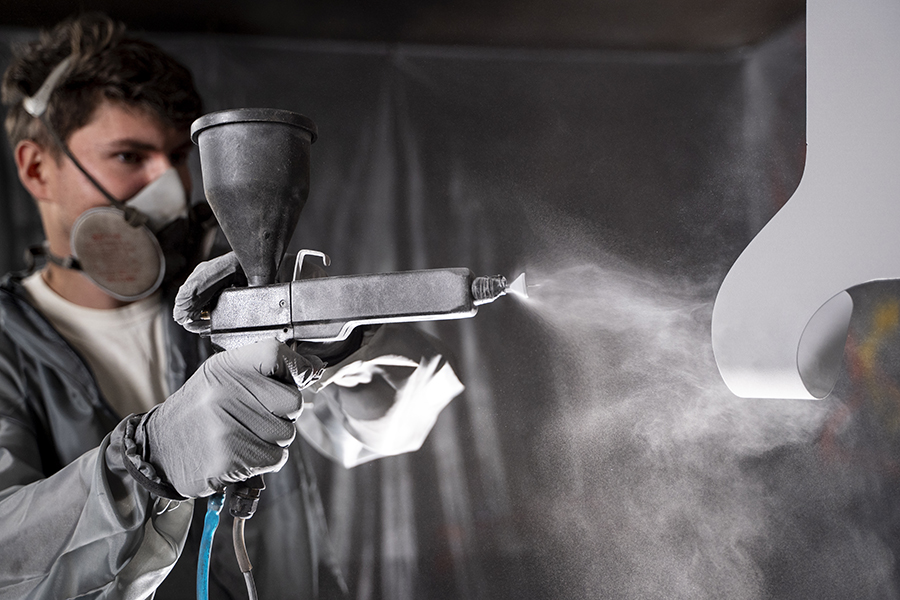
Paint Application Methods
The paint application process must be precise. These are the steps I follow:
- Apply primer (if needed) in thin, even coats
- Let each coat dry for 20 minutes
- Sand lightly between coats with 2000-grit
- Apply base color in 2-3 light coats
- Allow 30-minute flash time between coats
Pro tip: I keep my spray gun moving at all times. Stopping even for a second can create runs in the paint.
Clear Coat Finishing
The clear coat makes or breaks your repair job. I start with a light “tack coat” - just enough to give the next coats something to grip. Then I apply two full wet coats, waiting 10-20 minutes between each one.
My secret for perfect clear coat application? I maintain a 50% overlap with each pass and hold the spray gun perpendicular to the surface. This creates that glass-like finish everyone wants.
After application, I let the clear coat dry for at least 24 hours before any buffing or polishing. This patience pays off with a finish that looks factory-fresh.
Quality Control Measures
Quality control is what separates amateur repairs from professional work. After 15 years in the business, I’ve developed a foolproof system to check every repair job.
Paint Thickness Testing
My first step is always measuring paint thickness. I use a digital paint thickness gage because it tells me exactly what I’m working with. Here’s what I look for:
| Paint Layer | Standard Thickness | Acceptable Range |
|---|---|---|
| Factory Finish | 4-7 mils | 100-180 microns |
| Fresh Clear Coat | 2-3 mils | 50-75 microns |
| Base Coat | 1-2 mils | 25-50 microns |
I check multiple spots around the repair area. If readings fall outside these ranges, I know something’s wrong and can fix it before it becomes a problem.
Surface Inspection Methods
My inspection process goes beyond just looking at the paint. I use specific tools and techniques:
- Technical Inspection Tools
- Digital light meter for checking color match
- Surface roughness gage for texture analysis
- UV light for detecting repair boundaries
The key is checking under different lighting conditions. I move the car outside, use LED inspection lights, and look at the surface from multiple angles. This helps me spot any imperfections that might show up later.
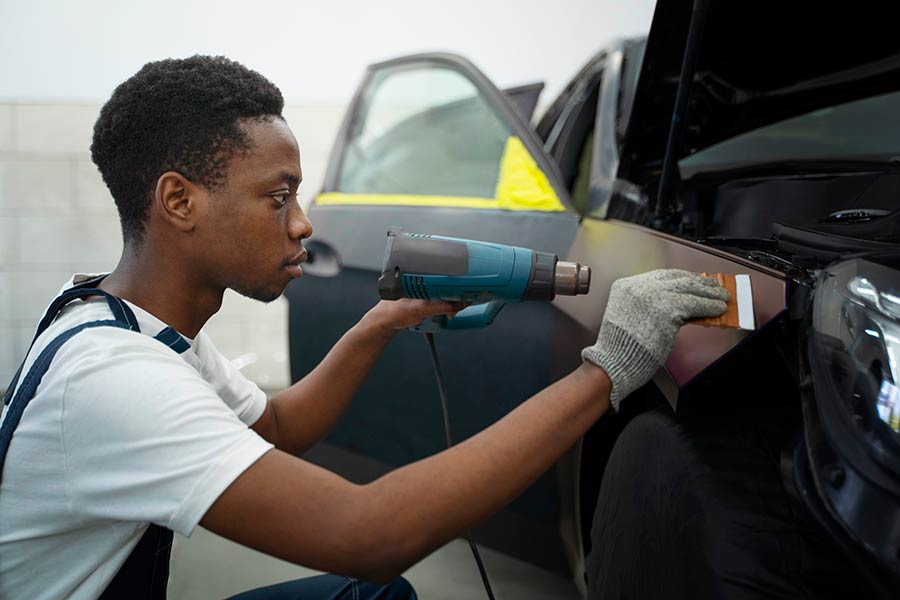
Final Buffing Techniques
This is where I make the repair shine - literally. My buffing process follows a strict sequence:
-
Start with a heavy-cut compound on a wool pad * Work at 1200-1500 RPM * Keep the buffer moving constantly
-
Switch to a medium-cut polish * Use a foam pad at 1000-1200 RPM * Work in smaller sections
-
Finish with a fine polish * Ultra-soft foam pad at 800-1000 RPM * Focus on blending edges
I always test the paint thickness again after buffing. This tells me if I’ve removed too much clear coat. My rule: never remove more than 0.3 mils (8 microns) of clear coat - this keeps the UV protection intact.
By following these quality control steps, I catch any issues before they leave my shop. That’s why my repairs last for years, not months. Remember what I said about paint layers? This final stage brings everything together, making the repair invisible to the untrained eye.
Conclusion
Car paint repair requires skill, proper tools, and attention to detail. My years of experience have shown that understanding paint layers, using professional-grade equipment, and following systematic repair processes make the difference between average and exceptional results.
Professional paint matching and careful surface preparation remain crucial steps many car owners overlook. While minor scratches might seem simple to fix, deep scratches need expert attention to prevent long-term paint failure or rust issues.
Ready to fix those annoying scratches on your car? You can try these methods yourself for minor damage, or schedule repair service with a certified professional for deeper scratches. Remember - quality matters more than quick fixes when it comes to paint repair.
The right techniques, combined with patience and proper safety measures, will help maintain your car’s appearance and value. Start with the basics we discussed, practice on small areas first, and watch your repair skills grow with each project.
## FAQs
-
How much does it typically cost to repair a deep car paint scratch? On average, car owners spend around $450 to fix a single deep paint scratch professionally. However, many scratches can be repaired at home using professional techniques, which can significantly reduce costs.
-
What are the different layers of car paint? Car paint consists of five distinct layers: clear coat (40-50 microns), base coat (15-25 microns), primer (20-30 microns), e-coat (20 microns), and phosphate (5 microns). Each layer serves a specific purpose, from protection and shine to corrosion resistance.
-
How can I determine the depth of a car scratch? You can use the fingernail test to assess scratch depth. If your fingernail doesn’t catch when run across the scratch, it’s likely a clear coat scratch. If it catches, the damage may extend to the base coat or primer. Clear coat scratches feel smooth, while base coat and primer scratches are deeper and more noticeable.
-
What essential tools do I need for professional car paint repair? Key tools for professional car paint repair include an air compressor (60-120 gallon), a dual-action sander, a spray gun, and a buffer/polisher. Additionally, you’ll need specialized materials like paint matching tools, two-part urethane paints, high-grade primers, and clear coats.
-
How can I find the correct paint color code for my car? The paint color code is usually located in specific areas of your car, such as the driver’s door jamb (common for Ford, Toyota, Honda), under the hood (BMW, Mercedes), in the trunk area (Audi, Volkswagen), or on the firewall (Nissan, Subaru).
-
What is the importance of blending techniques in car paint repair? Blending techniques are crucial for achieving invisible repairs. The process involves applying paint in thin, controlled coats, extending each coat slightly beyond the last, and gradually fading the edges. This method ensures a seamless transition between the repaired area and the surrounding paint.
-
What are the steps for proper surface preparation before paint repair? Surface preparation involves cleaning with a wax-free solvent, careful masking of surrounding areas, and sanding. The sanding process varies based on scratch depth: light wet sanding (2000 grit) for clear coat scratches, progressive sanding (1000-2000 grit) for base coat scratches, and multi-stage sanding (800-2000 grit) for deep scratches.
-
How long should I wait before buffing or polishing after applying clear coat? It’s recommended to let the clear coat dry for at least 24 hours before any buffing or polishing. This patience ensures a durable finish that looks factory-fresh.
-
What quality control measures are used in professional car paint repair? Professional quality control includes paint thickness testing using a digital gage, surface inspection under various lighting conditions, and a systematic buffing process. These measures help catch any issues before they become noticeable problems.
-
Can I repair car paint scratches myself, or should I always seek professional help? Minor scratches can often be repaired at home using professional techniques. However, for deeper scratches or if you’re unsure about the repair process, it’s best to consult with a certified professional to prevent long-term paint failure or rust issues.