Did you know that the average car owner spends $500-$2,500 on paint repairs each year?
That small scratch or chip might seem minor today, but left untreated, it can lead to rust, corrosion, and expensive body damage. We’ve seen countless car owners make costly mistakes trying quick fixes or ignoring paint damage altogether.
As professional auto painters with 15 years of experience, we know that repairing paint on cars requires specific tools, techniques, and expertise. The good news? Whether you’re dealing with a minor scratch or major paint damage, there’s usually a solution that fits your budget and needs.
In this guide, we’ll share our expert knowledge about paint damage assessment, essential tools, proven repair techniques, and maintenance tips to keep your car looking its best. Let’s start with the basics!
Paint Damage Assessment
When a client brings their vehicle to my shop, the first step in repairing paint on cars is always a thorough damage assessment. With over 15 years of experience, I’ve learned that proper evaluation makes the difference between a lasting repair and a temporary fix.
Common Types of Paint Damage
Paint damage comes in many forms, and identifying the specific type is crucial for proper repair. Here’s what I look for during my initial inspection:
| Damage Type | Characteristics |
|---|---|
| Clear Coat Peeling | Cloudy patches, paint separation |
| Oxidation | Dull, chalky appearance |
| Swirl Marks | Circular scratches visible in sunlight |
| Paint Chips | Small spots exposing metal |
| Deep Scratches | Lines through multiple paint layers |
Professional Evaluation Methods
In my professional assessment, I always use specialized tools to get accurate readings. A paint thickness meter is my most valuable tool - it helps me measure each layer precisely. During evaluation, I check:
- Paint thickness on different panels
- Consistency of color matching
- Previous repair work
- Underlying damage beneath the surface
- Clear coat integrity
When to Repair vs Replace
Making the right choice between repairing paint on cars versus complete panel replacement depends on several factors. In my experience, when repair costs approach 75% of replacement costs, I typically recommend replacement. However, this decision isn’t just about money.
For high-end vehicles, I often suggest panel replacement to maintain resale value. On daily drivers, smart repairs can save significant money while still providing excellent results. The key factors I consider are:
- Extent of damage
- Vehicle value
- Paint matching complexity
- Long-term durability needs
- Budget constraints
Through careful assessment using professional tools and methods, I can provide the most cost-effective solution while maintaining quality standards. This thorough evaluation process helps prevent unexpected issues during repair and gives my clients confidence in their investment.
Essential Paint Repair Tools
In my professional paint shop, I’ve learned that having the right tools makes all the difference when repairing paint on cars. Let me share what I consider non-negotiable equipment for achieving professional results.
Professional-Grade Equipment
My years of experience have taught me that quality tools are worth their weight in gold. Here are the must-have items in my shop:
| Tool Category | Essential Items | Purpose |
|---|---|---|
| Surface Prep | Wet/Dry Sandpaper (400-3000 grit) | Paint smoothing |
| Application | HVLP Spray Gun & Compressor | Even paint coverage |
| Finishing | Buffer & Polishing Pads | Professional finish |
| Basic Tools | Micro Applicators & Paint Brushes | Detail work |
Paint Matching Technology
I’ve invested in a computerized paint matching system because it’s transformed how I work. This technology:
- Scans vehicle paint using spectrophotometers
- Analyzes color data precisely
- Creates exact paint formulas
- Maintains consistency across repairs
The system has paid for itself many times over by eliminating costly color-matching mistakes and reducing waste.
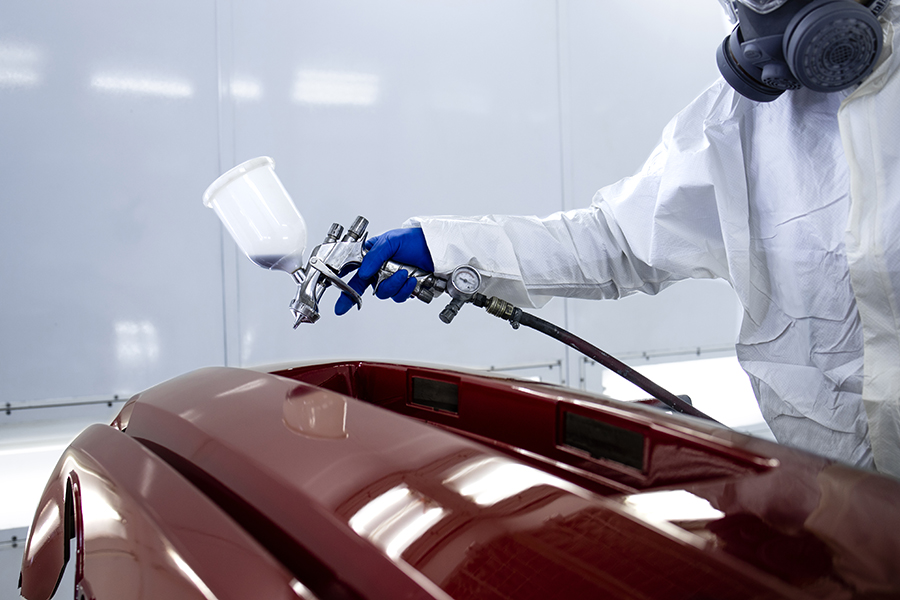
Safety Equipment Requirements
Working with automotive paint requires serious protection. My standard safety kit includes:
-
Respiratory Protection * Professional-grade respirator * Replaceable filters * Proper fit testing
-
Body Protection * Chemical-resistant overalls * Safety glasses with side shields * Nitrile gloves * Steel-toed boots
I always tell my clients that professional results come from professional tools. While it’s possible to cut corners on equipment, the results will show in the final finish. That’s why I maintain and regularly update my tool inventory - it’s an investment in quality work that my customers can see and appreciate.
Paint Repair Techniques
After gathering my tools and completing the damage assessment, I’m ready to share the exact techniques I use for repairing paint on cars. These methods have helped me restore thousands of vehicles to their original glory.
Surface Preparation Steps
The foundation of any good paint repair lies in proper surface preparation. I start by thoroughly cleaning the area with a professional-grade solvent. Next, I sand the damaged area using progressively finer grits:
- Start with 400-grit for damage removal
- Move to 600-grit for smoothing
- Finish with 1000-grit for final prep
- Clean again with tack cloth
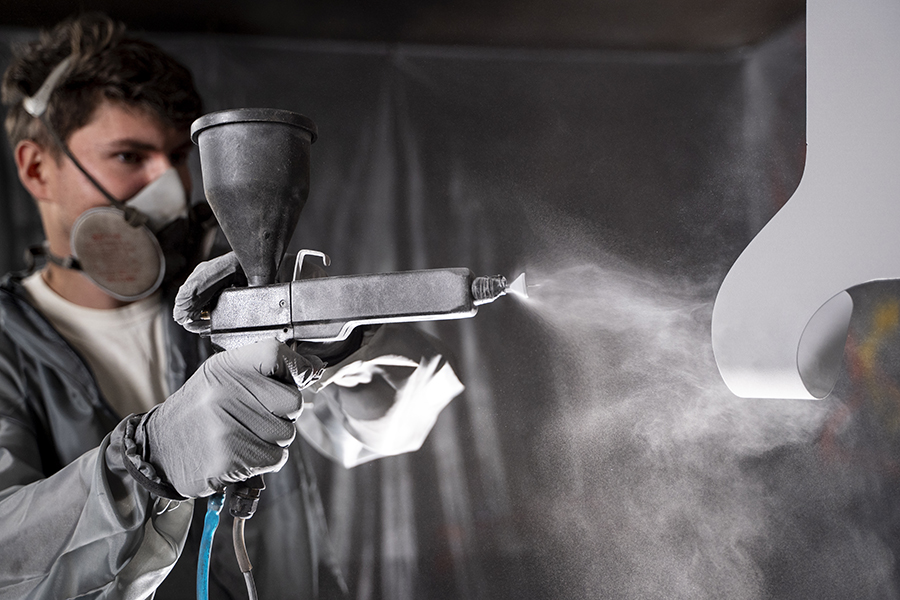
Paint Application Methods
I’ve tested numerous application techniques over the years, and here’s what works best for different situations:
| Method | Best For | Key Advantage |
|---|---|---|
| Air-atomized | Small repairs | Precise control |
| Airless | Large areas | Less overspray |
| HVLP | Professional finish | Better transfer |
| Electrostatic | Complex curves | Even coverage |
When I’m repairing paint on cars, I typically apply 2-3 base coats, allowing each layer to dry completely. The paint must be mixed according to manufacturer specifications - I never guess at ratios.
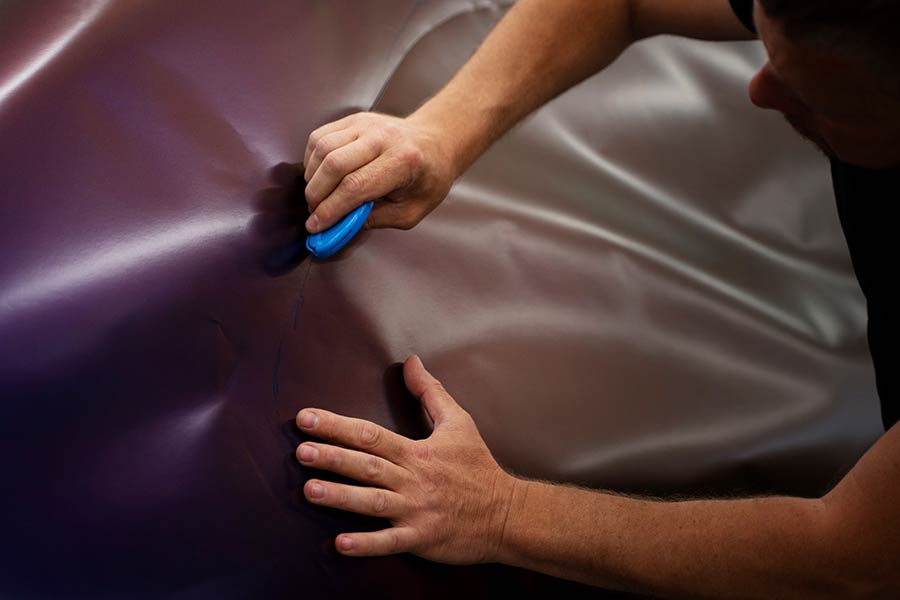
Blending and Finishing
The magic happens in the blending phase. I start spraying beyond the repair area and gradually fade into the existing paint. My technique involves:
- Applying thin, overlapping coats
- Extending each coat slightly beyond the last
- Feathering the edges for smooth transitions
- Adding clear coat protection
After the clear coat dries, I wet-sand with 2000-grit paper and polish to match the surrounding finish. This method has never failed me - it’s why my clients keep coming back.
Remember, rushing through any of these steps will show in the final result. That’s why I take my time, following each step meticulously. The extra attention to detail makes all the difference between an amateur touch-up and a professional repair.
Paint Care After Repairs
The success of my paint repair work depends heavily on how you care for your car in the weeks following the service. I’ve seen perfect paint jobs ruined by improper aftercare, which is why I always share my proven care routine with clients.
Curing and Protection
Your new paint needs time to bond properly with your car’s surface. During the first 30-90 days, the paint goes through a critical hardening process. I tell my clients to follow these essential rules:
- No car washing for the first 2 weeks
- Park in covered areas when possible
- Avoid extreme temperatures
- Clean bird droppings or tree sap immediately with water only
Maintenance Schedule
I’ve developed this maintenance timeline based on years of experience:
| Timeline | Recommended Care |
|---|---|
| First 2 weeks | Water rinse only if needed |
| 2-8 weeks | Hand wash with mild soap |
| 8-12 weeks | Regular washing allowed |
| After 90 days | Full maintenance routine |
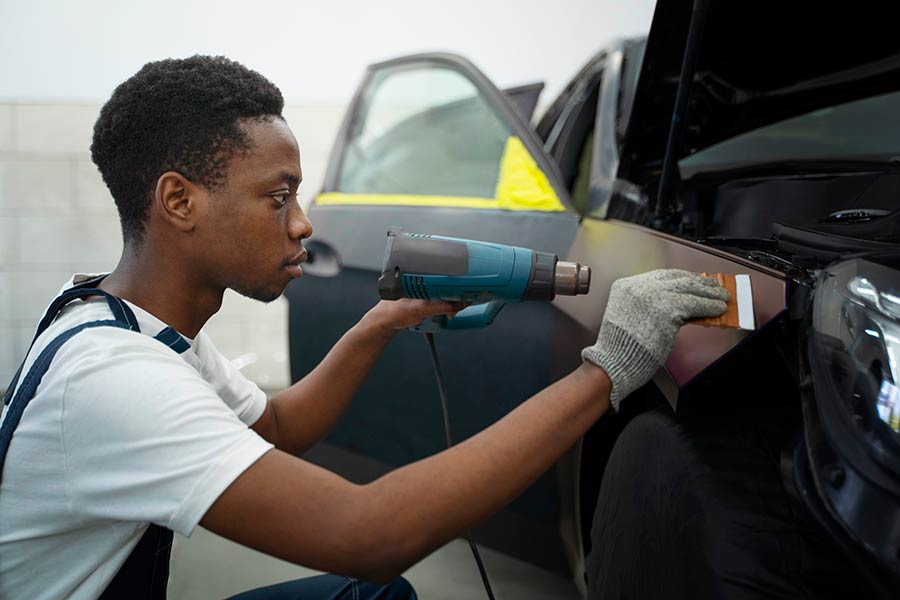
Paint Protection Products
After the paint fully cures, I recommend adding protective layers. My top choices for long-term protection are:
-
Paint Protection Film (PPF) * Shields against rock chips * Self-healing properties * 5-10 year lifespan
-
Ceramic Coating * Strong UV protection * Water-repelling surface * Makes cleaning easier
I always remind my clients that proper care in the first three months makes the difference between a paint job that lasts 2 years versus one that lasts 10 years. The small investment in time and attention during this period pays off significantly in the long run.
When washing becomes safe, stick to hand washing with microfiber cloths and pH-neutral car soap. I’ve seen too many automatic car washes damage fresh paint jobs. For the best results, follow the maintenance schedule I’ve outlined above and invest in quality protection products once the paint has fully cured.
Paint Repair Costs
Let’s talk about what matters most to my clients - the cost of repairing paint on cars. After 15 years in this business, I’ve seen every budget scenario possible, and I’ll help you understand exactly what you’re paying for.
DIY vs Professional Repairs
I’ve watched many car owners struggle with the DIY versus professional decision. Here’s what my experience shows:
| Repair Type | DIY Cost Range | Professional Cost Range |
|---|---|---|
| Minor Touch-ups | $100-$200 | $900-$1,500 |
| Single Panel | $200-$500 | $840-$1,440 |
| Full Car Respray | $500-$1,000 | $2,020-$5,000 |
Cost Factors to Consider
When I price a paint job, these factors impact the final cost:
- Paint type and color (standard colors start at $840, while specialized finishes can reach $1,890)
- Location of damage (curved areas near sensors cost more)
- Vehicle size and model (luxury brands need specific paint formulas)
- Required preparation work (rust removal adds $200-$500)
Insurance Coverage Options
I always tell my clients about two main insurance paths for paint damage:
-
Collision Coverage * Pays for damage from accidents * Works best for major paint repairs * Standard deductibles apply
-
Comprehensive Coverage * Handles non-accident damage * Perfect for vandalism or weather damage * May have lower deductibles
Based on my shop’s data, most insurance claims for paint work fall between $1,500 and $3,000. I recommend filing a claim only when repair costs exceed your deductible by at least $500. For smaller jobs under $1,000, paying out-of-pocket often makes more financial sense.
My professional advice? Don’t let cost alone drive your decision. I’ve fixed countless DIY attempts that ended up costing more than if the client had come to me first. Quality paint work is an investment in your car’s value - one that pays off in both appearance and protection.
Conclusion
Professional paint repair requires careful attention to detail, proper tools, and expert knowledge. My years of experience have shown that successful repairs depend on thorough damage assessment, using professional-grade equipment, and following proven repair techniques.
Paint repair costs vary significantly between DIY attempts and professional work. While DIY might seem cheaper initially, professional repairs often provide better value through lasting results and proper protection. Ready to fix your car’s paint damage? Schedule Repair with a qualified professional who can assess and address your specific needs.
Taking care of your car’s paint after repairs makes a huge difference in longevity. Following proper maintenance schedules and using recommended protection products will keep your vehicle looking fresh for years. Remember - quality paint work is more than just appearance, it protects your car’s value and prevents costly damage down the road.
## FAQs
-
How much does it typically cost to repair paint on a car? The cost of repairing paint on a car varies depending on the extent of the damage and whether you choose DIY or professional repair. For minor touch-ups, DIY costs range from $100-$200, while professional repairs can cost $900-$1,500. Single panel repairs may cost $200-$500 for DIY and $840-$1,440 for professional work. A full car respray can range from $500-$1,000 for DIY attempts and $2,020-$5,000 for professional services.
-
What are the most common types of paint damage on cars? Common types of paint damage include clear coat peeling (characterized by cloudy patches and paint separation), oxidation (which gives a dull, chalky appearance), swirl marks (circular scratches visible in sunlight), paint chips (small spots exposing metal), and deep scratches (lines through multiple paint layers).
-
How long does it take for newly repaired car paint to cure? Newly repaired car paint typically takes 30-90 days to fully cure and bond properly with the car’s surface. During this time, it’s crucial to follow specific care instructions, such as avoiding car washes for the first two weeks and parking in covered areas when possible.
-
What tools are essential for professional car paint repair? Essential tools for professional car paint repair include wet/dry sandpaper (400-3000 grit) for surface preparation, HVLP spray gun and compressor for paint application, buffer and polishing pads for finishing, and micro applicators and paint brushes for detail work. Additionally, a computerized paint matching system is crucial for achieving precise color matches.
-
How can I protect my car’s paint after a repair? After the paint has fully cured (usually after 90 days), you can protect it by applying Paint Protection Film (PPF) or a ceramic coating. PPF shields against rock chips and has self-healing properties, while ceramic coating offers strong UV protection and makes cleaning easier. Regular maintenance, including hand washing with pH-neutral car soap and microfiber cloths, is also crucial for long-term protection.