Did you know that 52% of all cars have visible scratches or paint damage?
That small scratch on your car might seem minor today, but left untreated, it can lead to rust, decreased resale value, and costly repairs down the road. The good news? Most auto scratch paint repair jobs are simpler and more affordable than you might think.
Whether you’re dealing with a shopping cart ding, key marks, or deeper scratches, fixing them doesn’t always mean an expensive trip to the body shop. From DIY solutions to professional services, there’s a repair option for every type of paint damage.
In this guide, we’ll walk you through everything you need to know about fixing those annoying scratches and getting your car looking showroom-ready again. Let’s start bringing back that shine!
Types of Auto Paint Damage
Understanding paint damage is crucial for effective auto scratch paint repair. Let me walk you through the different types of damage your car’s paint might face.
Clear Coat Scratches and Marks
The most common paint issues start in your car’s clear coat layer. These surface-level scratches might look scary, but they’re actually the easiest to fix. I can tell you from experience that if your fingernail doesn’t catch when you run it across the scratch, it’s likely just in the clear coat. These marks often show up from: * Improper washing techniques * Automatic car washes * Light contact with bushes or branches * Shopping cart bumps
Paint Layer Damage Assessment
When scratches go deeper than the clear coat, they reach the color layer of your paint. Here’s a simple way to check - if you see the base color of your car in the scratch but no white or metal showing, you’re dealing with paint layer damage.
| Damage Level | Appearance | Touch Test |
|---|---|---|
| Clear Coat | Visible in direct light | Nail doesn’t catch |
| Paint Layer | Color visible in scratch | Nail catches slightly |
| Deep/Metal | White/silver showing | Deep catch feeling |
Deep Scratches and Metal Exposure
The most serious paint damage reaches down to your car’s metal body. I’ve seen these scratches turn from bad to worse quickly because exposed metal starts rusting fast. You’ll notice these deep scratches by their bright metallic silver color or white primer showing through.
When metal is exposed, time becomes critical. While minor scratches can wait, metal exposure needs immediate attention. Professional auto scratch paint repair becomes necessary at this stage to prevent rust from developing and spreading under your paint.
Remember, paint damage isn’t just about looks - it’s about protecting your car’s value and structural integrity. Each layer of your car’s paint serves a specific purpose, from the clear coat’s UV protection to the primer’s rust prevention.
Essential Tools and Materials
Let me show you the essential tools you’ll need for a successful auto scratch paint repair job. I’ve spent years working with these tools, and I’ll help you choose the right ones for your project.
Basic Repair Kit Components
A good basic repair kit is your foundation for quality work. Here’s what you need to get started:
| Tool | Purpose |
|---|---|
| Wet/Dry Sandpaper (1000+ grit) | Surface preparation |
| Microfiber Towels | Clean application |
| Masking Tape & Film | Area protection |
| Paint Primer | Base coat application |
| Clear Coat | Final protection |
| Buffer Pad | Smooth finishing |
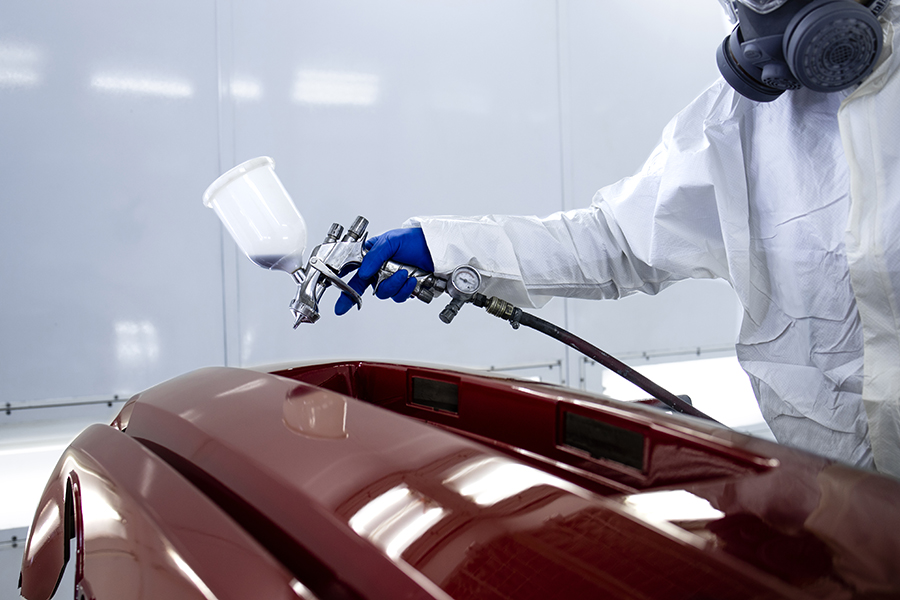
Professional-Grade Equipment
When you’re ready to take your repair work to the next level, these professional tools make a real difference:
- Multi-angle spectrophotometer for precise color analysis
- Professional spray gun with air compressor
- LED color matching lights (2500k to 6500k range)
- Infrared paint curing lamps
- Digital thermometer for optimal paint application
Paint Matching Guidelines
I’ve learned that paint matching is both art and science. Your success starts with finding the right color code - check your car’s glove box, spare tire cover, or driver’s side door jamb. For older vehicles, I recommend bringing a 3x3 inch sample to your paint supplier for scanning.
The paint matching process needs three key components: 1. Color Code Identification: Find your vehicle’s specific paint code 2. Formula Creation: Mix according to manufacturer specifications 3. Test Application: Always test on a small area first
Remember, proper lighting is critical for paint matching. I always check colors under both natural sunlight and artificial light to make sure the match is perfect. For metallic finishes, you’ll need to pay extra attention to the metal flake size and distribution - it’s what gives your paint that showroom sparkle.
DIY Repair Steps
I’m going to walk you through the exact steps I use for auto scratch paint repair. With my years of experience, I’ve found these methods work best for achieving professional results.
Surface Preparation Methods
The secret to perfect paint repair starts with proper preparation. I always begin by washing the damaged area with car soap and water. Next, I use a clean microfiber cloth to dry the surface completely.
Here’s my tried-and-tested preparation sequence: 1. Clean with grease remover 2. Sand with 1000-grit wet sandpaper 3. Move to 2000-grit for smooth finish 4. Wipe clean with tack cloth 5. Apply masking tape around repair area
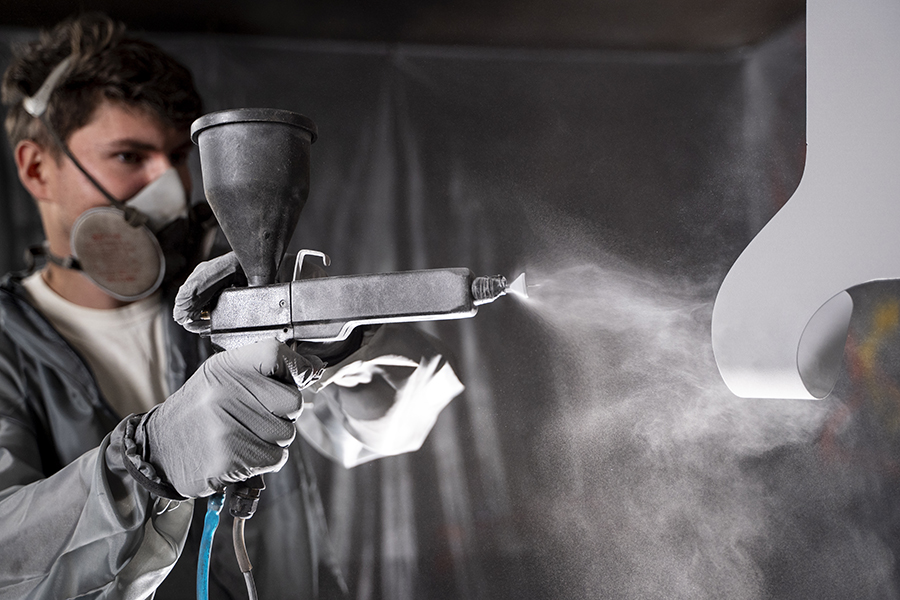
Paint Application Techniques
After preparation, I focus on paint application. The key is working in thin layers rather than one thick coat. I start with primer on bare metal areas, waiting 10-20 minutes between coats.
For the best results, I hold the spray gun 6 inches from the surface, using side-to-side motions. I apply light, even coats, making sure each layer is dry before adding the next one. Remember - three thin coats look better than one thick coat.
Finishing and Buffing Process
The finishing stage makes all the difference between an amateur and professional look. I start with wet sanding using 2000-grit sandpaper to remove any powdery residue. Then, I use a rotary buffer with these specific steps:
| Stage | Product | Purpose |
|---|---|---|
| First | Heavy polish | Remove scratches |
| Second | Medium polish | Clear imperfections |
| Third | Glaze polish | Create mirror finish |
I always work in small sections, keeping the buffer moving to avoid burning the paint. Between each polish stage, I wipe the surface with a clean microfiber cloth. The final step is applying a clear coat for lasting protection.
Remember, patience is crucial during each stage. I’ve seen many DIY jobs fail because people rush through these steps. Take your time, and you’ll get results that match professional auto scratch paint repair work.
Professional Repair Options
While I’ve shared DIY repair methods, sometimes professional auto scratch paint repair makes more sense. Let me tell you when and why you should consider expert help.
When to Seek Expert Help
I always recommend professional help when I see these signs: * Deep scratches showing metal * Multiple panel damage * Paint peeling or bubbling * Rust formation around scratches * Complex metallic or pearl finishes
Cost Breakdown Analysis
Based on my experience working with repair shops, here’s what you can expect to pay:
| Repair Type | Price Range | Time |
|---|---|---|
| Minor Scratches | $350-$600 | 1-2 days |
| Deep Scratches | $600-$1,500 per panel | 2-4 days |
| Full Panel Repaint | $1,200-$3,000 | 3-5 days |
These prices include professional color matching and quality materials that last longer than DIY solutions. I’ve seen many cases where trying to save money with DIY ended up costing more in professional corrections later.
Repair Time Expectations
Professional repairs take time to do right. A basic scratch repair usually needs 2-4 days for proper completion. Here’s why: Day 1 goes to preparation and primer, Day 2 is for base coat application, and Day 3-4 focus on clear coat and finishing.
For more extensive work, I tell my clients to plan for 5-7 days. This timeline includes: 1. Initial assessment and color matching 2. Surface preparation 3. Primer application and curing 4. Base coat application 5. Clear coat layers 6. Quality control checks 7. Final detailing
Weather conditions and shop workload can affect these timelines. I always suggest asking about current scheduling when getting estimates. Most professional shops work on multiple vehicles simultaneously, which is why scheduling ahead matters.
Paint Protection Methods
After fixing scratches, I always tell my clients that prevention is better than cure. Let me share my proven methods for protecting your car’s paint from future damage.
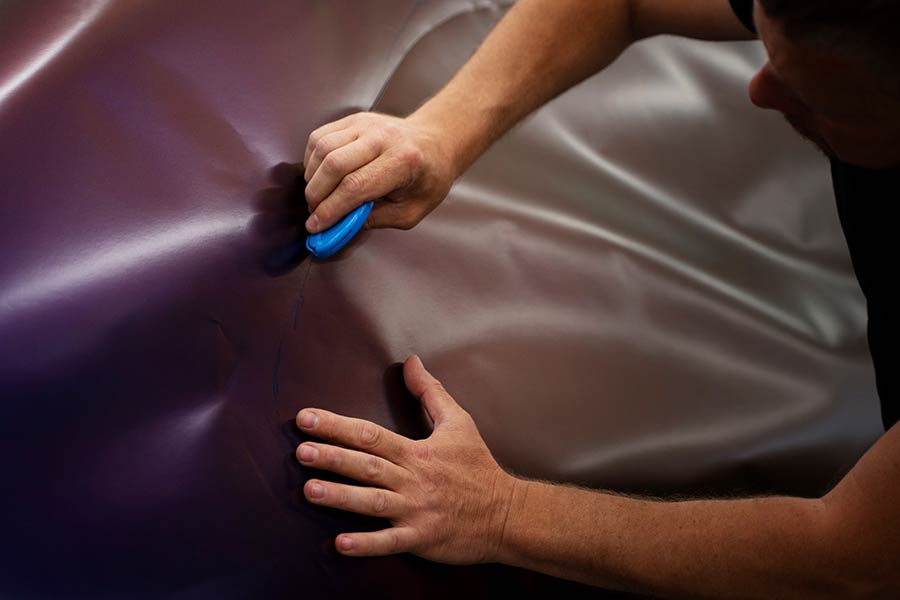
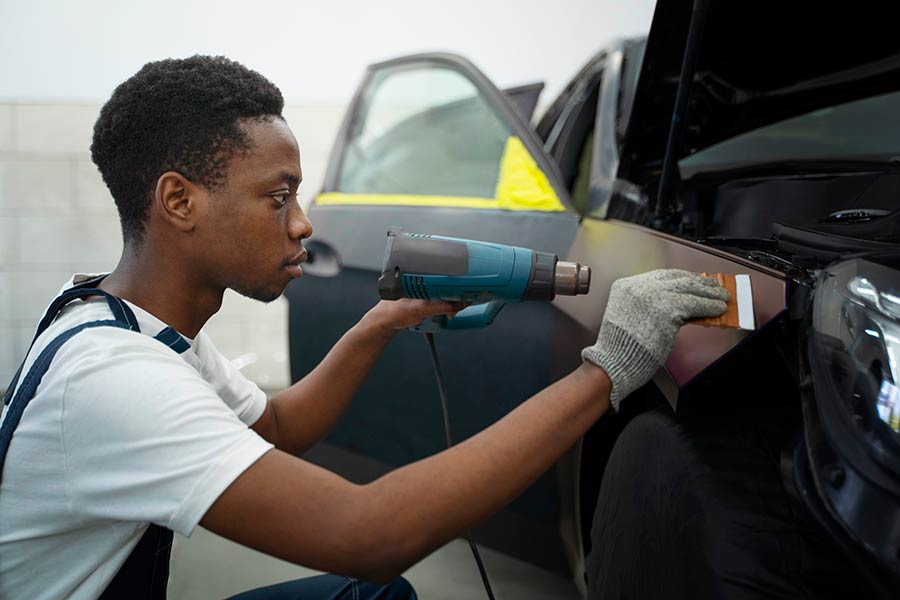
Protective Coatings and Films
I’ve tested numerous protection methods, and here’s what works best for long-term paint protection:
| Protection Type | Duration | Best For |
|---|---|---|
| Ceramic Coating | 2-5 years | UV and chemical protection |
| Paint Protection Film | 5-10 years | Rock chips and scratches |
| Synthetic Sealant | 6 months | Basic protection |
| Carnauba Wax | 3-4 months | Show car finish |
Regular Maintenance Tips
My years of experience have taught me that consistent care makes a huge difference. Here’s what I recommend:
- Weekly cleaning with pH-neutral car shampoo
- Dry with clean microfiber towels
- Remove bird droppings immediately
- Apply paint sealant every 6 months
- Schedule professional detailing annually
Scratch Prevention Strategies
I’ve seen countless preventable scratches in my work. Here’s what I do to keep cars scratch-free:
The most effective strategy is smart parking. I always park away from high-traffic areas and avoid spots near shopping cart returns. When possible, I recommend garage parking to protect against environmental damage.
For daily protection, I suggest keeping a quick detailer spray in your car. It’s perfect for removing bird droppings or tree sap before they damage your paint. I also recommend installing door edge guards - they’re inexpensive but save hundreds in repair costs.
My clients who follow these protection methods rarely need auto scratch paint repair. The key is creating multiple layers of defense. Start with a ceramic coating or PPF as your foundation, maintain it with regular care, and practice smart prevention habits.
Remember what I always say: the money you spend on protection today saves double in repairs tomorrow. A good ceramic coating might cost $500-1500, but it’s far less than multiple paint repairs over the years.
Conclusion
Paint damage affects most vehicles, but proper repair and protection keep your car looking its best. Through my years working with auto paint repairs, I’ve seen how small scratches can become major problems when left untreated.
Professional auto scratch paint repair offers guaranteed results for deeper damage, while DIY methods work well for minor scratches. My advice? Check the damage depth first - if metal shows through, Schedule Repair with a qualified professional immediately. Quick action prevents rust and saves money long-term.
Regular maintenance and protection methods significantly reduce the risk of future damage. Simple steps like proper washing techniques, protective coatings, and smart parking habits help maintain your car’s finish. Remember, quality paint protection costs less than repeated repairs.
Your car deserves proper care and attention. Start with the right repair approach for existing damage, then focus on prevention. Following these guidelines will keep your vehicle’s paint looking fresh and protected for years to come.
## FAQs
-
How can I tell if a scratch on my car is just in the clear coat? If you run your fingernail across the scratch and it doesn’t catch, it’s likely just in the clear coat. These surface-level scratches are the easiest to fix and often result from improper washing techniques, automatic car washes, or light contact with objects.
-
When should I seek professional help for auto paint repair? Professional help is recommended for deep scratches showing metal, multiple panel damage, paint peeling or bubbling, rust formation around scratches, or complex metallic or pearl finishes. These issues often require specialized equipment and expertise for proper repair.
-
What are the essential tools for a DIY auto scratch repair? A basic repair kit should include wet/dry sandpaper (1000+ grit), microfiber towels, masking tape and film, paint primer, clear coat, and a buffer pad. For more advanced repairs, consider investing in professional-grade equipment like a spectrophotometer for color matching and a spray gun with air compressor.
-
How much does professional auto scratch repair typically cost? The cost varies depending on the extent of the damage. Minor scratches can range from $350-$600 and take 1-2 days to repair. Deep scratches may cost $600-$1,500 per panel and take 2-4 days. A full panel repaint can cost $1,200-$3,000 and take 3-5 days to complete.
-
What are the best methods for protecting my car’s paint after repair? The most effective paint protection methods include ceramic coating (lasts 2-5 years), paint protection film (lasts 5-10 years), synthetic sealant (lasts 6 months), and carnauba wax (lasts 3-4 months). Regular maintenance, such as weekly cleaning with pH-neutral car shampoo and immediate removal of bird droppings, also helps prevent damage.
-
How can I prevent scratches on my car in the first place? To prevent scratches, practice smart parking by choosing spots away from high-traffic areas and shopping cart returns. Use garage parking when possible. Keep a quick detailer spray in your car for immediate cleanup of potentially damaging substances. Installing door edge guards can also help prevent common scratches.
-
Is it worth investing in professional paint protection? Yes, investing in professional paint protection can be cost-effective in the long run. While a good ceramic coating might cost $500-1500, it’s often less expensive than multiple paint repairs over the years. Professional protection methods provide longer-lasting and more comprehensive coverage than most DIY options.
-
How long does a professional auto paint repair usually take? A basic scratch repair typically takes 2-4 days for proper completion. More extensive work may require 5-7 days. This timeline includes initial assessment, surface preparation, primer application, base coat application, clear coat layers, quality control checks, and final detailing. Weather conditions and shop workload can affect these timelines.