Gone are the days when a small dent in your car meant a costly trip to the auto shop. Today, with the right dent removal tools and techniques, fixing those pesky dings can be a straightforward DIY project. But here's the catch: not all tools are created equal, and the technique is king. Whether you're dealing with a minor annoyance or a significant eyesore, knowing which tools to use and how to use them can make all the difference between an unnoticeable repair and a frustrating mess. Let's dive into the world of dent removal, where precision meets practicality.
Key Takeaways
-
Start with the right tools: For effective dent removal, investing in the right tools is crucial. Items like a dent puller, plunger, and rubber hammer are essential.
-
Learn the techniques: Understanding different dent removal techniques, such as using a plunger for small dents or a dent puller for larger ones, can save time and improve results.
-
Consider paintless dent removal: For dents where the paint hasn't been damaged, paintless dent removal is an efficient and cost-effective option.
-
Assess the dent size: Different sizes and types of dents require different approaches. Small dents might be a DIY job, but larger ones might need professional attention.
-
DIY vs. Professional: Weigh the pros and cons of DIY versus professional repair. DIY can save money but might not always achieve the desired results.
-
Aiming for professional results: Achieving professional-looking results requires patience, the right technique, and practice. Don’t rush the process.
Overview of Dent Removal
Basics Recap
Dent removal is key in maintaining a car's look and value. There are different dents like sharp, round, and creased. Over years, dent removal has evolved greatly.
In the past, fixing dents was more about filling and painting. Now, we have better ways to do it without harming the car's original paint.
Traditional vs. PDR
Traditional methods involve sanding, filling, and repainting. Paintless Dent Removal (PDR) does not require these steps. It's faster and often cheaper than traditional repair.
PDR works best on small to medium dents where the paint is intact. Traditional methods are needed when there's paint damage. Each has its place depending on the dent type.
Tool Selection
Choosing the right tool is crucial for a good repair. The wrong tool can make things worse. Tools vary from rods for pushing out dents to glue pullers that pull dents out.
The outcome heavily depends on using the correct tool for the dent type.
Safety First
Safety gear is a must during dent removal. Improper tool handling can lead to injuries. A safe workspace helps prevent accidents.
Tools for Dent Removal
Essential Tools
Hook Bars
Hook bars are crucial for reaching behind panels to massage dents out. They come in various shapes and sizes, fitting different access points. Using them requires skill. This ensures the dent is massaged out without causing more damage.
Ratchet Handles
Ratchet handles work with other tools to apply precise pressure. Their adjustable lengths offer leverage, making them easier to use. They also have ergonomic benefits, reducing strain during prolonged use.
PDR Tools
Dent Lifters
Dent lifters pull dents from the exterior. They vary from mechanical to suction-based types. These tools are best for small to medium-sized dents. Each type has its own advantages depending on the dent's nature.
Glue Pullers
Glue pullers offer a non-invasive way to fix dents. Proper cleaning of the surface is vital before use. This method is environmentally friendly, avoiding further damage to the panel.
Conventional Tools
Hammers
Different hammers smooth out dents when used correctly. Pairing them with knockdowns prevents additional damage. The right technique is essential here.
Knockdowns
Knockdowns tap down high spots after lifting a dent. They come in various shapes and materials like rubber or plastic. Precision in their use is key to a flawless finish.
Techniques Explained
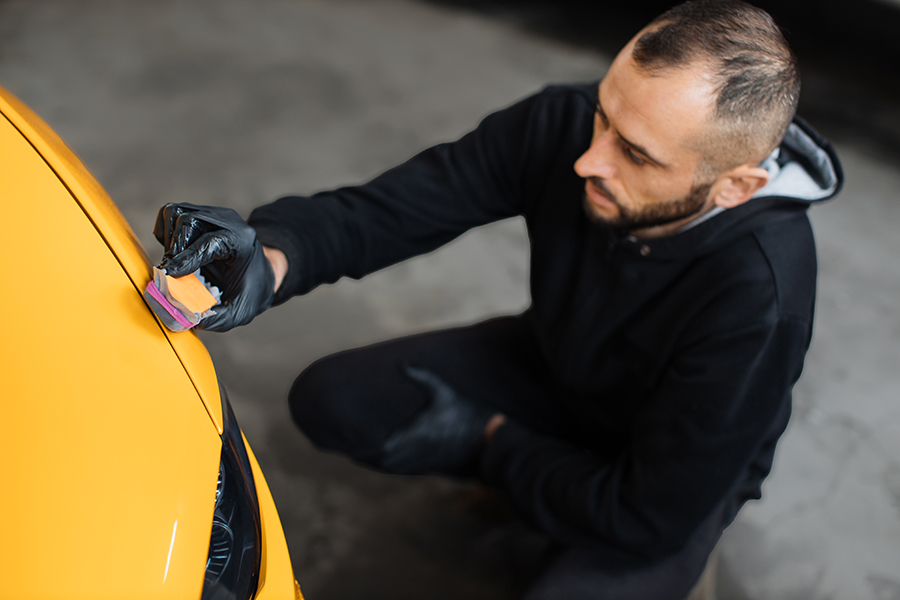
Glue Pulling Method
The glue pulling method starts with cleaning the dent area. Next, select the right glue. Temperature plays a big role here. Too hot or too cold, and the glue won't work well. Apply the glue to a pulling tab and attach it to the dent. Let it set.
Pulling the tab gently is crucial. It removes the dent without harming the paint. But, haste can damage the paint. So, take your time.
Hammer Techniques
Using a hammer requires skill. The angle and force matter a lot. Start with light taps and increase force as needed. This prevents making new dents.
Choosing the right hammer is key. Soft-faced hammers are great for gentle nudges. Metal hammers suit tougher jobs. Always wear safety gear to avoid injury and protect your car.
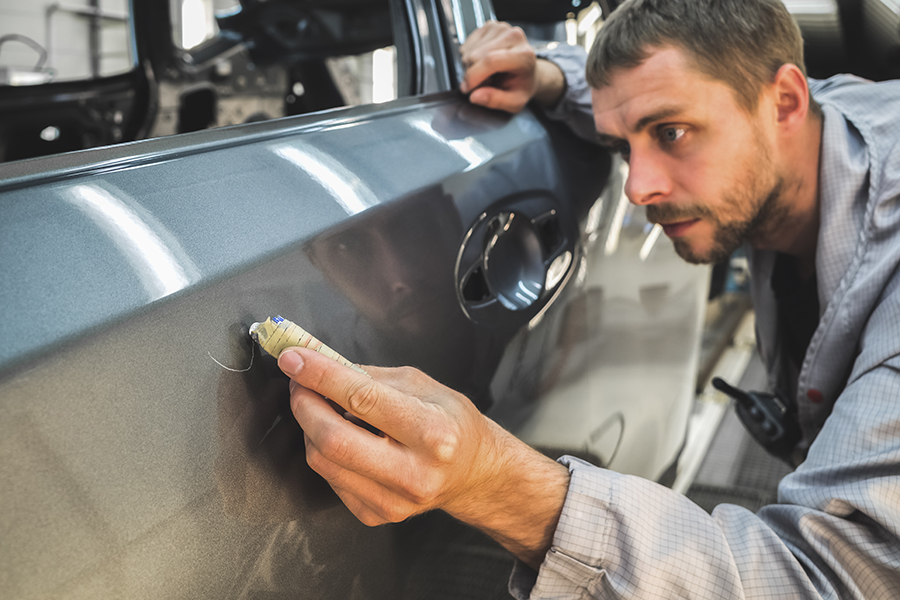
Using Reflector Boards
Reflector boards show you where the dents are and their depth. They make fixing dents easier.
Natural light gives the best results but isn't always available. Artificial light works too, but it's not as clear. Positioning the board correctly ensures you see all angles of the dent.
Paintless Dent Removal
PDR Basics
Paintless Dent Removal (PDR) is a skilled technique for fixing dents without harming the car's paint. It works best on small to medium-sized dents where the paint surface is intact. Dents caused by hail, door hits, or balls are ideal for PDR. This method is not only cost-effective but also kinder to the environment than traditional methods that require repainting and filler use.
Step-by-Step Guide
Removing a simple dent using PDR involves several precise steps. First, gain access to the backside of the dent. Then, with a special tool, gently push the dent out from behind. It's crucial to work slowly and carefully to avoid creating high spots. Patience and precision are your best allies here. Skipping steps can lead to an unsatisfactory repair or further damage.
Tips for Efficiency
To speed up the PDR process without compromising quality, organization is key. Keep your tools and workspace orderly for an efficient workflow. Also, practicing on scrap panels can significantly improve both your speed and accuracy in real situations. These practices ensure you're prepared and capable of handling repairs swiftly.
Handling Different Dent Sizes
Small Dent Techniques
For small dents, precision is key. Tapping gently around the dent's edges can help it pop back into place. This method requires a light hand and patience. Tools like a small hammer or a specialized dent removal kit come in handy here. They allow for more precise control.
Twisting techniques involve using tools that grip the dent from behind. Then, you carefully twist to level the dent with the surface. These tools are smaller and designed for accuracy.
However, there's a cautionary note. Using too much force can make small dents worse. It's easy to stretch the metal or create additional marks. Always start with the gentlest method first.
Large Dent Approaches
Large dents demand a different strategy. Sectioning involves breaking down the dent into smaller parts. You tackle each section one at a time, making the task more manageable. Massaging is another technique where you apply pressure from behind the dent, slowly working it outwards.
These methods require not just one tool but a set of them. Patience is crucial as large dents won't fix instantly. Sometimes, you'll need to go over areas multiple times.
After smoothing out big dents, finishing touches might be necessary. Paint touch-up is common since large dents often damage the paintwork more severely than small ones.
DIY vs. Professional Repair
When to DIY
e dents are perfect for DIY repair. Look at the dent's size first. Small and shallow dents are usually good candidates. Next, check the location. If it's on a flat surface of your car, you might have an easier time fixing it yourself. Lastly, examine the paint. If it's intact, you're in luck.
However, not all dents should meet your toolbox. Complex or sharp dents can get worse if you try fixing them without proper knowledge. It's also wise to seek a professional opinion before starting any work. They can tell you if it's safe to proceed on your own.
When to Call Pros
There are times when only professionals should handle dent removal. This is especially true for dents near edges or those with creases. These require specialized tools and techniques that most people don't have at home.
Professionals bring years of experience and access to high-tech equipment, ensuring quality repairs that last. Trying to fix these issues yourself could lead to more damage, costing you more in the long run.
Achieving Professional Results
Best Practices
To get professional results, a thorough assessment of the dent is crucial. Look at its size, depth, and location before starting. Gentle techniques should always be used to avoid further damage. This means pushing or pulling the dent out slowly and carefully.
Continuous learning and practice play key roles in mastering dent removal. For those serious about Paintless Dent Removal (PDR), seeking professional training can make a big difference. It helps in understanding the nuances of various dents and the best ways to fix them.
Tool Maintenance
Keeping your tools clean and stored properly extends their life. Always wipe them down after use and store them in a dry place. Using damaged or worn tools can lead to poor results, so it's important to avoid this.
Regular checks are essential for maintaining tool quality. Set up a maintenance routine to inspect your tools for any signs of wear or damage.
Glass Protection Tips
When working near glass, using protective covers is wise to prevent scratches or breaks. Tools can slip, posing a risk to glass areas close to the dent.
Minimizing vibration and impact near glass is crucial. Techniques like using softer taps and avoiding direct contact with glass surfaces can help protect them during repair.
Summary
Dent removal might seem like a mountain of a task, but with the right tools and techniques, you'll find it's more of a molehill. We've walked you through the whole shebang - from picking your tools to mastering different methods and deciding whether to DIY or call in the pros. Whether you're dealing with a ding from a shopping cart or the aftermath of a fender bender, knowing your way around dent removal can save you time and money. And remember, practice makes perfect. So, don't be afraid to give it a go on those smaller dents before tackling the big ones.
Now's your chance to roll up your sleeves and make those dents history. With patience and practice, you'll get closer to achieving those professional results at home. If you ever hit a snag, though, don't sweat it. Professionals are just a call away. Ready to get started? Your car will thank you for it.
Frequently Asked Questions
What tools do I need for DIY dent removal?
You'll mainly need a dent puller, plunger, or a specialized kit designed for paintless dent removal. It's like having a mini body shop at your fingertips!
Can I really remove dents myself?
Absolutely! With the right tools and techniques, you can tackle small to medium dents. Think of it as giving your car a little DIY spa treatment.
What is paintless dent removal?
Paintless Dent Removal (PDR) is a technique where dents are massaged out from behind the vehicle's panel. It’s like coaxing the metal back into place without harming the paint.
How do I handle different sizes of dents?
Small dents are usually a quick fix with basic tools. For larger ones, you might need more advanced equipment or techniques. It's like dealing with different-sized bumps on the road; each requires a unique approach.
Should I try DIY or go professional for dent repair?
For minor dents, DIY can save you money and be quite satisfying. However, if the damage is severe or complex, leaving it to the pros is like calling in a superhero team for backup.
How can I achieve professional results at home?
Patience and practice are key. Using the right tools and following proper techniques closely mimic professional work. Imagine you're an artist bringing your canvas (car) back to perfection.