-
Jan 21, 2025 Expert Body Repair for Cars: Your Local Trusted Service
-
Nov 13, 2024 Comprehensive Guide to Scratch and Paint Repair for Cars
-
Nov 13, 2024 Swift Car Paint Scratch Repair: Same-Week Appointments Available
-
Nov 13, 2024 Expert Paint Scratch Car Repair: Restore Your Vehicle's Look Now
-
Nov 13, 2024 Effective Scratch Repair for Car Paint: Our Proven Methods
-
Nov 13, 2024 Understanding Scratch and Paint Car Repair: Our Professional Insights
-
Nov 13, 2024 The Ultimate Guide to Car Scratch and Paint Repair
-

Nov 13, 2024 Car Paint Scratch Repair: From Minor Scuffs to Deep Scratches
-
Nov 13, 2024 Car Paint and Scratch Repair: Our Professional Approach Explained
-
Nov 13, 2024 Flawless Auto Scratch Repair: Book Your Appointment Today
-
Sep 10, 2024 The Magic of Paintless Dent Repair: Restore Your Car's Beauty Without Repainting
-
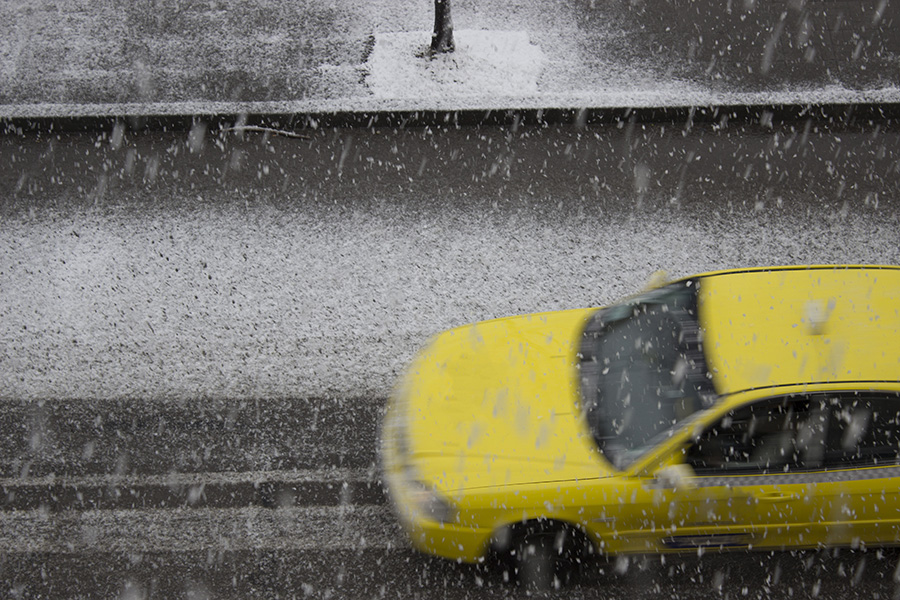
Sep 10, 2024 Hail Storm Aftermath? Get Your Car Back to Showroom Condition with Hail Damage Repair


