Ever noticed how a small dent can make your sleek car look not-so-sleek? Yeah, we’ve been there. But here’s the good news: affordable dent removal is no longer just a wishful thinking. It's real, and it's here to save the day (and your car’s appearance)! In this post, we dive into why you don’t have to break the bank to get your vehicle looking sharp again. From DIY tricks to finding the best deals in town, we've got you covered. Let’s get that dent out and bring back your car’s shine!
Key Takeaways
-
Dent removal can be affordable and effective when done correctly, saving you money on professional repairs.
-
Preparing properly by gathering the right tools and materials is crucial for a successful DIY dent removal.
-
Several techniques, such as using a plunger or a DIY dent removal kit, can be employed depending on the dent's size and location.
-
Understanding the specifics of each technique helps in choosing the most effective method for your situation.
-
Avoiding common mistakes, like applying too much force or using incorrect tools, is key to preventing further damage to your vehicle.
-
Regular maintenance and care can help minimize the risk of future dents, keeping your car looking its best.
Understanding Dent Removal
PDR Overview
Paintless Dent Removal (PDR) is a revolutionary technique in car maintenance. It fixes dents without harming the original paint. This method stands out for keeping the car's finish intact. PDR is not only more affordable but also quicker than old-school methods.
Traditional vs PDR
Traditional dent repair can take days and often costs a lot. PDR, on the other hand, might only take a few hours. This speed saves money and time. Also, because it keeps the original paint, PDR helps cars keep their value better. For small to medium dents, PDR is usually the best choice.
Benefits of DIY
Going the DIY route with dent removal can save you money on labor costs. It's also satisfying to fix your own car and learn new skills. Plus, you don't have to leave your car at a shop for days.
Preparing for DIY Dent Removal
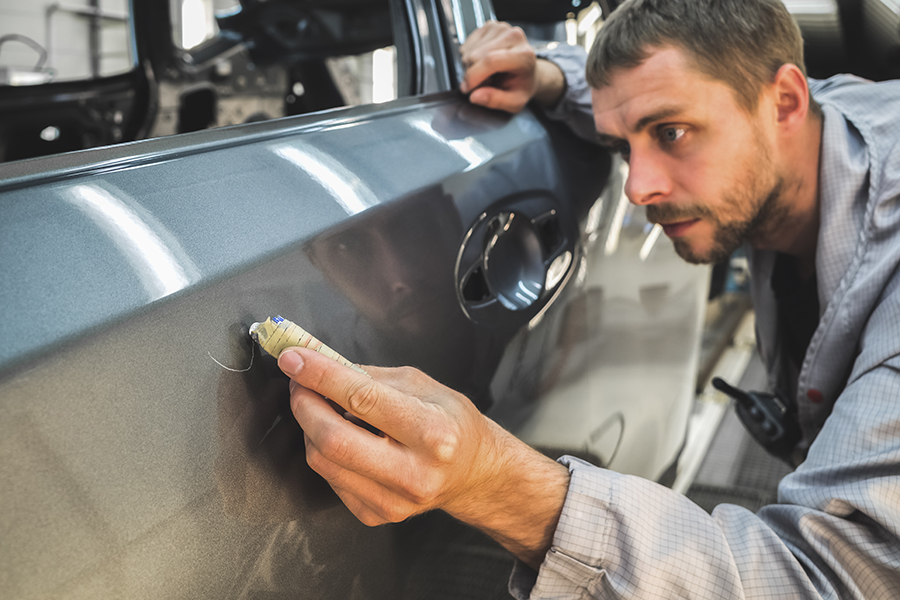
Assessing Damage
Before attempting to remove a dent yourself, it's crucial to assess the damage carefully. Not all dents are suitable for paintless dent removal (PDR). If the paint around the dent is cracked or chipped, PDR may not be advisable.
Measure the depth and location of the dent. Shallow dents located away from edges are ideal candidates for DIY PDR. The size matters too. Generally, dents smaller than a standard business card are good to go.
Necessary Tools
For a successful DIY dent removal, having the right tools is essential. You'll need a dent puller and possibly a heat gun to ease the metal before manipulation. Many retailers offer PDR kits that include everything you need.
Don't forget safety equipment like gloves and goggles. These protect you from potential harm during the process.
Safety Measures
Safety should always come first. Make sure you're working in an area with plenty of fresh air, especially if you're using chemicals or a heat gun.
Be cautious with heat guns and chemicals; misuse can cause more damage to your car or harm to yourself. Always read and follow the manuals that come with your tools before starting.
DIY Dent Removal Techniques
Hot Water Method
Pouring hot water over dents on plastic parts can make them flexible enough to pop back into place. It's crucial to handle the hot water carefully to avoid burns. Once the dent seems malleable, push from the opposite side to correct it. After the dent pops out, pour cold water immediately to harden the plastic again. This quick shift helps maintain the shape.
Plunger Technique
A common household plunger can work wonders on small to medium-sized dents, especially on smooth, flat surfaces. Wetting both the plunger and the dent area improves suction, making it easier to pull the dent out in a few tries. However, this method might not be effective for sharp or creased dents.
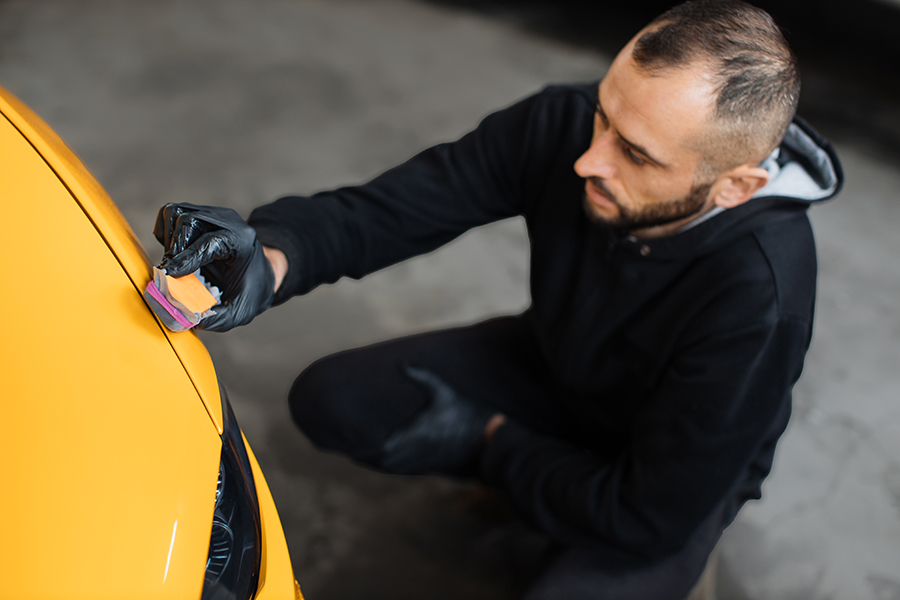
Glue Pulling
For dents where access is limited from behind, glue pulling is a viable option. This involves applying a specialized glue to pulling tabs that attach to the dent. Once set, you pull these tabs outwards, lifting the dent with them. It's important to apply glue carefully to avoid further damage. Proper removal of glue residues ensures a clean finish.
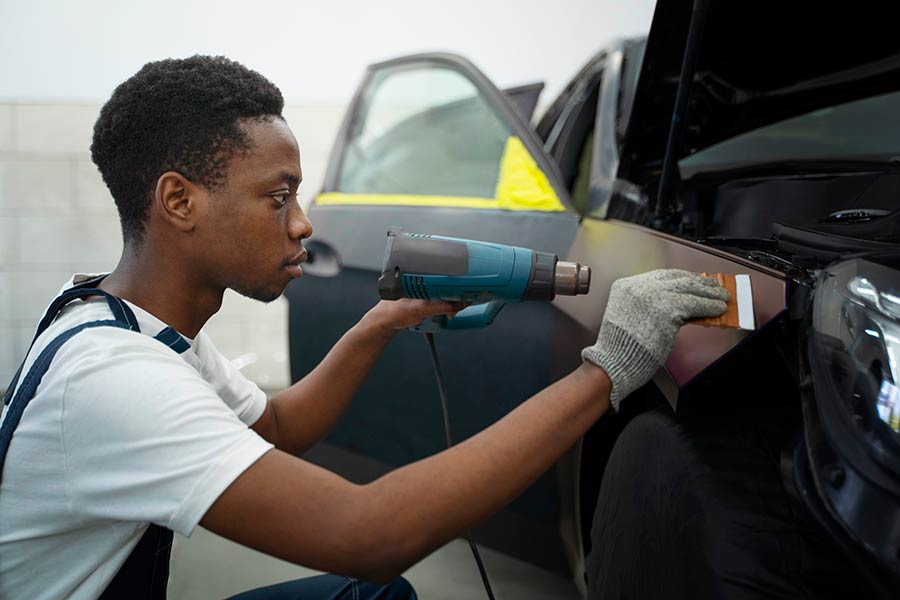
Heat and Cold Method
Applying heat expands metal, making it more pliable for correcting dents. A hairdryer can serve as an effective heat source. After heating, applying compressed air cools down the area rapidly, causing contraction and often popping the dent out in the process. Be cautious not to overheat and damage the paint.
Detailed Guide on Techniques
Hot Glue Steps
Preparation
Before tackling a dent, clean the area thoroughly. Dirt and debris can hinder the repair process. Opt for a clear, dry day if you're working outside. This ensures the glue sets properly. Marking the dent's boundaries with tape improves visibility and accuracy during repair.
Application
Follow the tool instructions closely. Precision matters in applying hot glue and pulling tools. Patience is key here. Rushing or using too much force could worsen the dent or damage the paint.
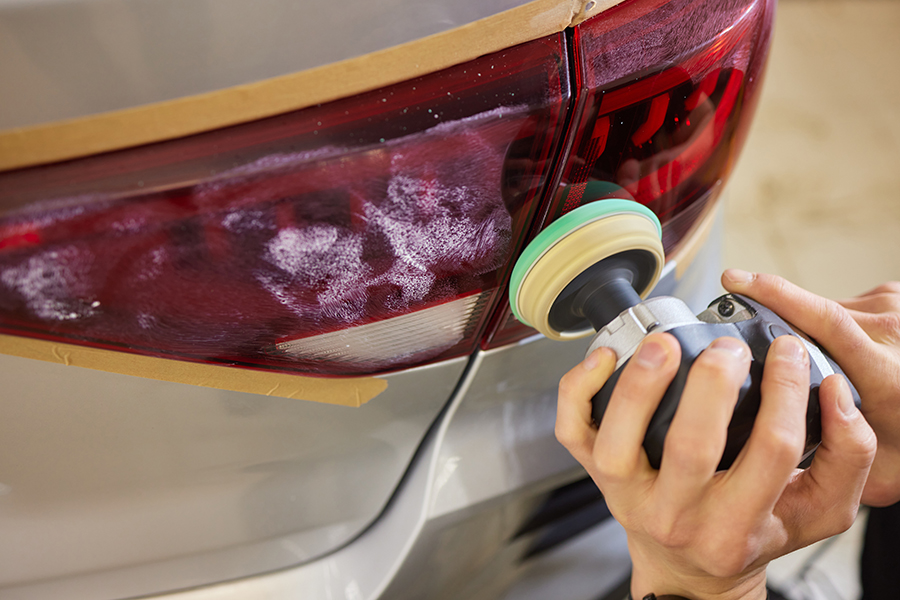
Removal
Carefully remove any tools or materials used in the repair. Check your progress regularly to avoid over-pulling the dent. Finish with waxing to make the repair area blend seamlessly with the surrounding surface.
Plumber’s Friend Steps
Wetting Surface
Wetting the surface helps in creating a better seal for suction devices like plungers. Use clean water to avoid introducing new contaminants. A lubricated surface enhances suction effectiveness, making it easier to pull out dents.
Suction Process
Creating a vacuum pulls the dent outward. Apply steady, firm pressure to ensure even suction without damaging the car's paint. Avoid jerky movements that might chip or crack the paint around the dent.
Heat Shrinking Basics
Heat shrinking involves carefully heating metal to shrink it back into place. It requires a delicate balance; too much heat can warp metal further, while too little won't affect it at all. Practice on scrap metal first to get a feel for how much heat is just right.
Comparing Effectiveness
Technique Pros
Each dent removal technique shines in specific scenarios. For small, shallow dents, DIY methods can be highly effective. They offer significant cost savings over professional services. Non-invasive techniques, like suction and glue pulling, are gentle on your car's paint. They maintain the integrity of the original finish. This is crucial for maintaining your vehicle's value.
For deeper dents, techniques that involve more detailed work can still be done at home. These methods require patience but ensure minimal risk to the car's exterior.
Technique Cons
However, not all dents are equal. Larger or more complex dents might not respond well to simple DIY methods. The location of a dent can limit the effectiveness of certain techniques. For example, dents near edges or on curved surfaces pose a challenge.
There's also a risk of making things worse if you're not careful. Without proper knowledge or tools, you might enlarge the dent or harm the paintwork. Moreover, mastering these techniques takes time and effort. It's not just about saving money; it requires a willingness to learn and practice.
Risk Assessment
Deciding between DIY repair and seeking professional help depends on assessing the risks involved. Incorrectly applying a technique can lead to irreversible damage. This could cost more than initially hiring a pro.
For complex dents, consulting with a professional is wise. They can offer advice based on their experience with similar damages. Sometimes, investing in expert service ensures your car returns to its pristine condition without risking further damage.
Avoiding Common Mistakes
Preparation Errors
Skipping a thorough cleaning of the dent area can trap dirt and debris under the repair tools, leading to more damage. Thorough cleaning is crucial.
Not checking the weather can ruin outdoor repairs. High or low temperatures affect how materials work. Always assess weather conditions before starting.
Inadequate preparation often leads to poor outcomes. It's essential to ensure that everything is ready and in place for a successful dent removal.
Technique Misuse
Using too much force or heat can worsen the dent or damage the paint. It's important to apply gentle pressure and use heat sparingly.
Choosing wrong tools for the job can lead to ineffective repairs. The size and location of the dent dictate which tools are appropriate. Always match your tools to your task.
Not following specific instructions for each technique can result in failure. Every method has its guidelines that must be adhered to for success.
Aftercare Mistakes
The repaired area needs gentle handling until it fully recovers. Rough treatment can undo all your hard work.
Washing or waxing right after repair might seem like a good idea, but it can harm the finish. It's best to wait a while before doing so.
Extreme temperatures can damage fresh repairs. Give it some time before exposing the repair site to hot sunlight or freezing cold.
Maintenance to Prevent Future Dents
Regular Checks
To ensure your car remains dent-free, periodic inspections are crucial. Look for any signs of paint damage or the dent reappearing. This step is vital to catch issues early.
Also, check areas around the repair. Sometimes, damage goes unnoticed at first glance. A clean and waxed surface makes these inspections easier. It helps you see if the repair lasts.
Protective Measures
To avoid new dents, consider using car covers or parking in garages. These simple steps can shield your vehicle from unexpected harm.
Driving cautiously is another key strategy. It reduces the chance of hitting road debris or getting into accidents. For high-risk areas on your car, applying a paint protection film is wise. It acts as a barrier against scratches and minor dents.
Immediate Action Tips
If you find a dent, act fast to prevent rusting. Covering the dent with tape can be a temporary fix if immediate repair isn't possible.
However, be cautious with DIY repairs, especially in cold weather. Cold can make paint less flexible, leading to more damage.
When to Seek Professional Help
Identifying Limits
Knowing when a dent is beyond your repair skills is crucial. DIY methods can work for small, surface-level dents. However, dents near edges or with creases often require professional tools and expertise. Large or sharply creased dents are especially challenging. Attempting DIY repairs on these can worsen the damage.
Professionals know how to assess the situation accurately. They can tell you if a dent is too complex for simple fixes.
Specialist Options
Professional Paintless Dent Removal (PDR) services are ideal for complex dents. These experts have the right tools and training to fix dents without needing to repaint your car. This preserves your vehicle's original finish.
e companies offer mobile dent repair services. They come to you, making it very convenient. Professionals ensure quality repairs, giving you peace of mind that your car is in good hands.
Insurance Coverage
Always check with your insurance before getting repairs done. Some policies cover PDR, which can save you money. If they do, documenting the damage and repair process is important for your claim.
It's wise to know what your insurance covers ahead of time. This way, you're prepared in case of future dents.
Closing Thoughts
You've journeyed through the ins and outs of dent removal, from DIY tricks to knowing when it's time to call in the pros. Armed with this knowledge, you're now ready to tackle those pesky dents head-on or make the call if things get too hairy. Remember, it's not just about saving a few bucks; it's about keeping your ride looking sharp and maintaining its value. So, whether you're reaching for the plunger or dialing up a professional, you've got this.
Let's not let those dents get the best of our cars. Share your success stories or epic fails with us. We're all in this bumpy ride together, learning one dent at a time. Ready to roll up your sleeves? Your car will thank you.
Frequently Asked Questions
Can I really remove a dent from my car at home?
Absolutely! With the right tools and techniques, you can tackle minor dents yourself. It's like giving your car a mini makeover without breaking the bank.
What do I need to start DIY dent removal?
You'll just need a few basic supplies like a plunger or a dent puller kit. Think of it as the first aid kit for your car's bumps and bruises.
Are there different techniques for DIY dent removal?
Yes, there are several methods, such as using hot water or a hairdryer and compressed air. It’s like choosing between yoga or pilates for your car's bodywork.
How do I know which technique is best for my car's dent?
It depends on the size and location of the dent. Some techniques work better on larger dents, while others are perfect for those tricky small spots.
What are common mistakes to avoid in DIY dent removal?
Rushing is your enemy. Take it slow to avoid making the dent worse. It's like trying to bake a cake on high heat; patience is key.
How can I prevent future dents on my car?
Regular maintenance and mindful parking can go a long way. Think of it as keeping your car in its own protective bubble.
When should I call in a professional for dent removal?
If the dent is large, deep, or located near a crease, it’s time to call in the pros. It's like needing surgery; sometimes you need an expert’s touch.