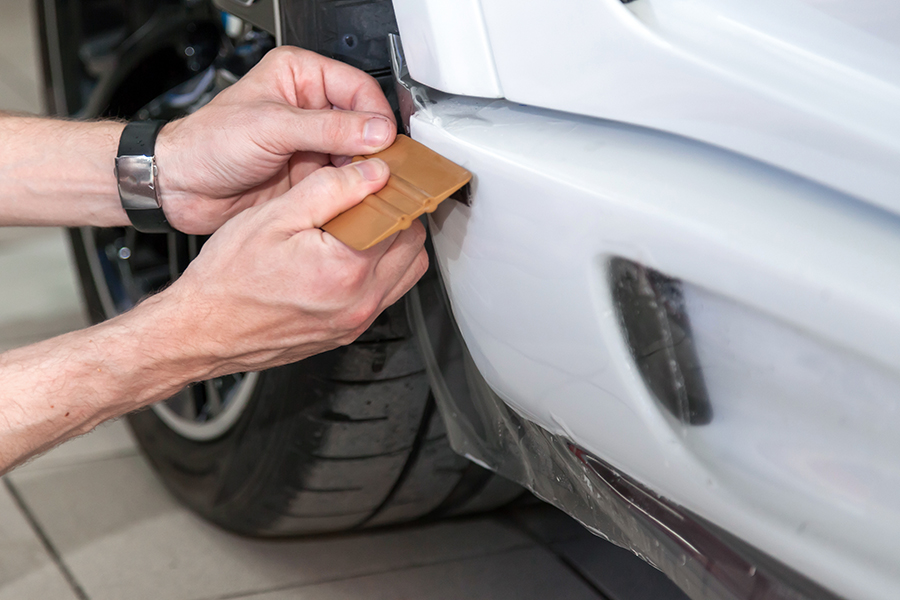
Ever wonder how to fix a car bumper without breaking the bank? You’re not alone. Bumpers take a beating, but you can make them look new again with a little know-how. Discover tips and tricks to repair your car bumper right in your driveway. It's easier than you think and saves you money for more fun stuff. Whether it's a small scratch or a big dent, we’ll guide you through the process step by step. Grab your tools, and let's dive into the world of DIY bumper repair!
Key Takeaways
- Check the bumper to see how bad the damage is before starting.
- Gather all tools and materials needed for the fix.
- Follow simple DIY steps to repair small dents or scratches.
- Sand and paint for a smooth finish.
- Consider a pro if damage is big or complex.
- Fixing a bumper yourself can save money.
Understanding Car Bumper Damage
Types of Bumper Damage
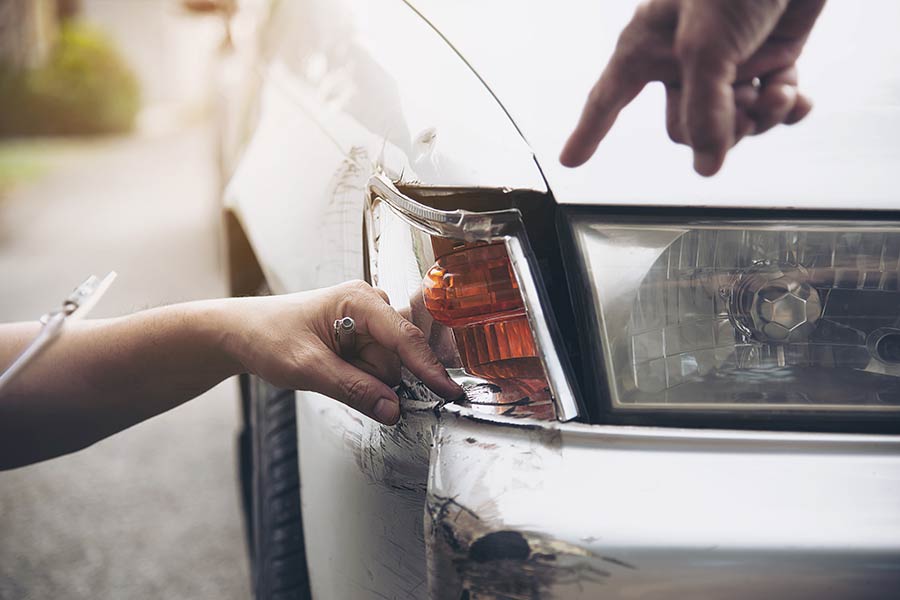
Bumpers often get scratches, dents, and cracks. Scratches are usually surface marks. Dents can be shallow or deep. Cracks may spread if not fixed quickly. Cosmetic damage affects appearance, while structural damage impacts safety. Look for paint chipping and peeling as signs of wear.
Causes of Bumper Issues
Minor collisions often cause bumper problems. Parking mishaps can leave marks too. Weather conditions like sun and rain weaken bumpers over time. Road debris, such as rocks, can chip paint or cause dents. These factors all contribute to bumper wear.
Assess Damage Severity
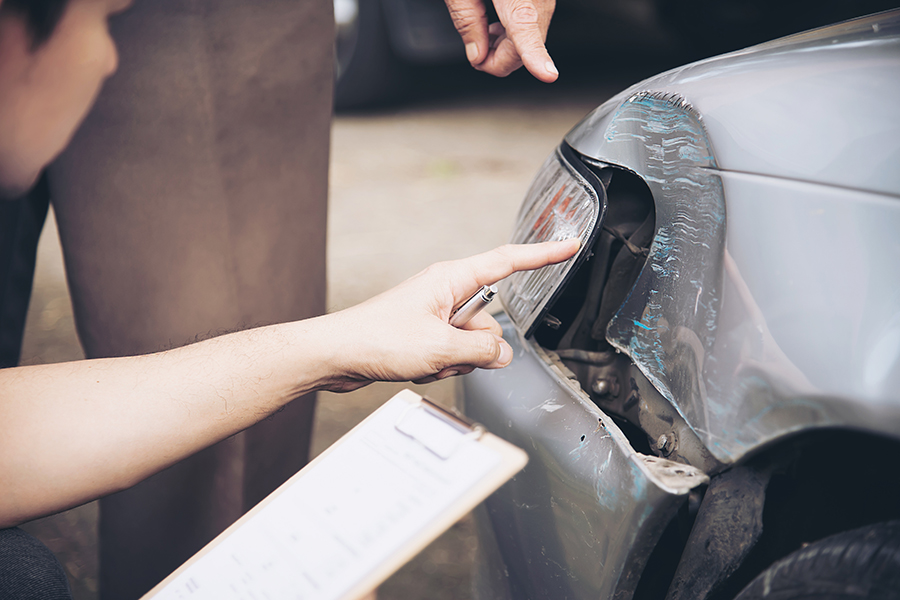
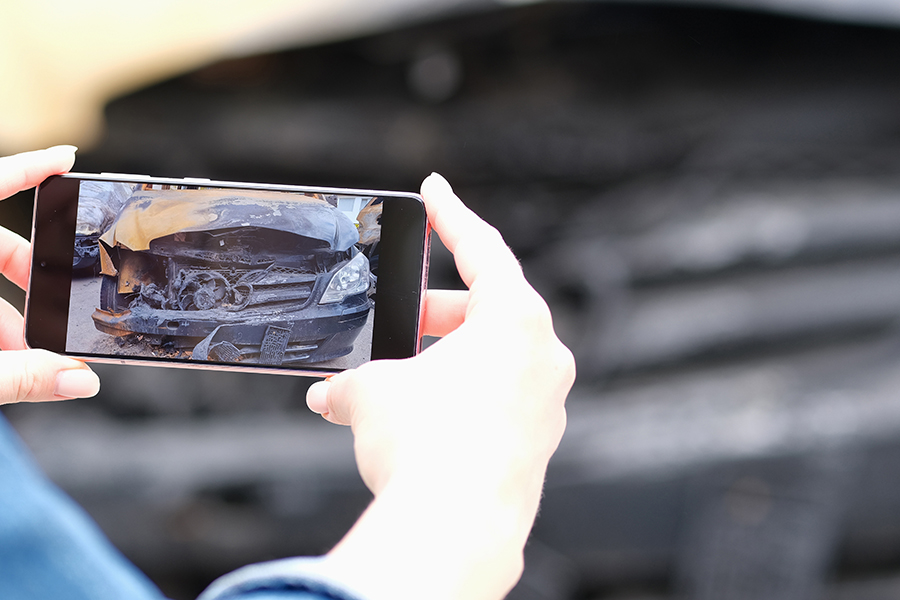
First, check if the damage is superficial or structural. Superficial issues might just need a touch-up. Structural damage could mean bigger problems. Look for alignment issues with the car's body. If the bumper isn't straight, it might need more attention. Decide if repair is possible or if replacement is necessary.
Preparing for Bumper Repair
Gather Necessary Tools
Start by collecting the right tools. Basic tools include screwdrivers and wrenches. These help in removing the bumper from the car. Specialized tools like heat guns and sandpaper are also needed. Heat guns can soften plastic bumpers, making them easier to mold back into shape. Sandpaper smooths out any rough spots or scratches on the surface.
Safety gear is important too. Gloves protect your hands from sharp edges. Goggles keep debris from getting in your eyes.
Choose Right Repair Method
Deciding on a repair method depends on several factors. DIY methods can be cost-effective if you're handy with tools. However, professional repairs might be better for severe damage or if you lack experience.
The bumper's material matters too. Plastic bumpers might need different techniques than metal ones. The extent of damage also plays a role in choosing a method. Small dents or scratches could be fixed at home. Larger cracks or holes may require expert attention.
Safety Precautions
Safety should always come first when repairing a bumper. Wear protective gear to avoid injuries. Ensure the car is parked securely before starting any work. This prevents accidents if the car shifts unexpectedly.
Working in a well-ventilated area is crucial. Some repair materials release fumes that can be harmful if inhaled in large amounts.
DIY Bumper Repair Steps
Remove the Bumper
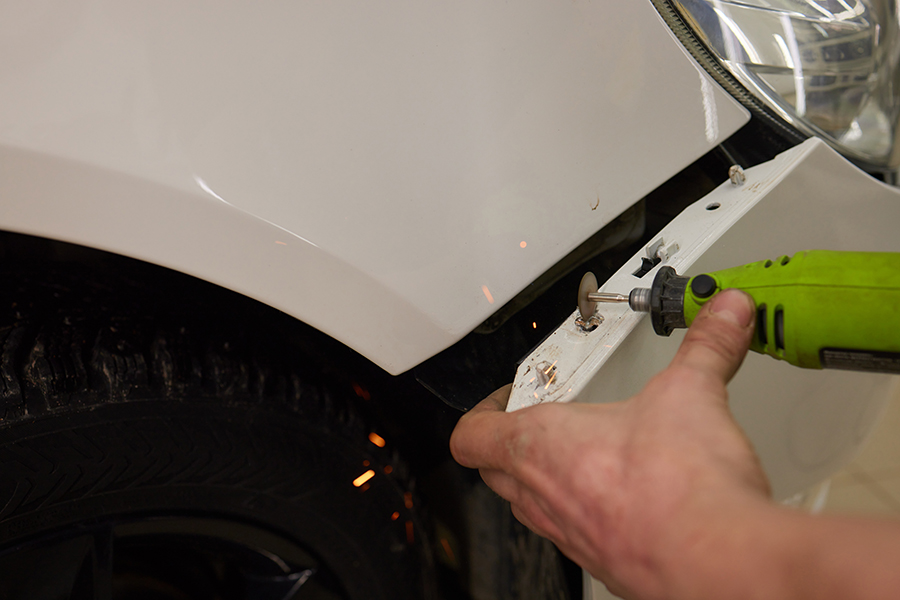
First, detach the bumper from the car. Open the hood and locate the screws and clips holding it in place. Use a screwdriver or wrench to remove them. Keep track of all screws and clips. Place them in a container so they don't get lost. Label each part for easier reassembly later.
Heat and Reshape
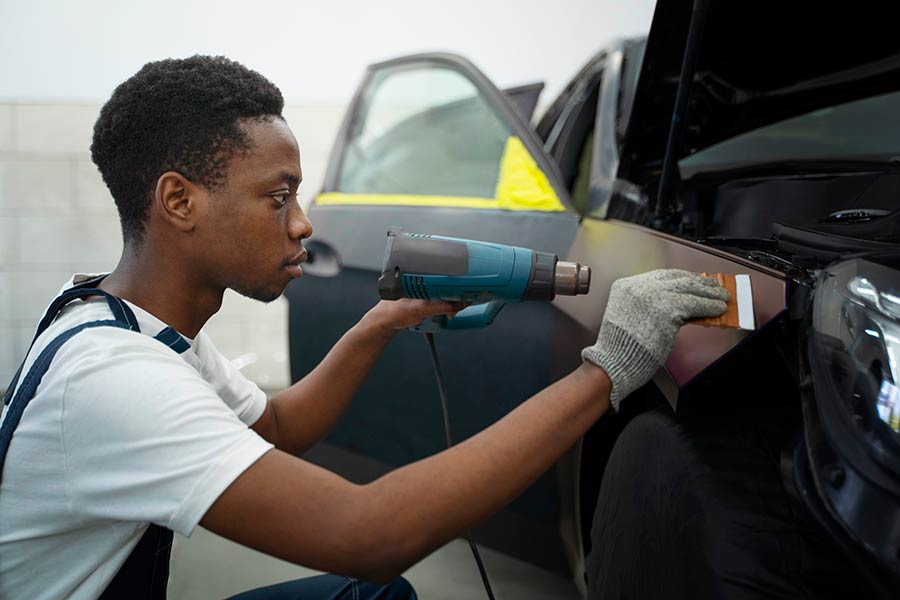
Next, use a heat gun to soften the bumper material. Move the heat gun slowly over the damaged area. Be careful not to overheat any spot. Once it's soft, gently reshape it back to its original form using your hands or tools. Let the bumper cool naturally to retain its new shape.
Fix Tears and Cracks
Now, fix any tears or cracks. Apply adhesive or filler to seal smaller damages. For larger cracks, reinforce them with a patch or mesh. Make sure the repair area is clean and dry before applying any materials. This helps the adhesive stick better.
Finishing Touches
Sand and Smooth Surface
Start with coarse sandpaper. It helps to remove any extra filler on the bumper. This step is important for a good finish. Next, switch to finer sandpaper. This will make the surface smooth and ready for painting. Always clean the surface well before you paint. Use a damp cloth to wipe away dust and dirt.
Apply Paint and Finish
Find the right paint color for your car. Matching the shade is crucial for a seamless look. Before painting, apply a primer. Primer helps the paint stick better to the bumper. Once done, use a clear coat. The clear coat gives a glossy finish and protects the paint from damage.
Reattach the Bumper
Align the bumper carefully with your car's body. Make sure it fits perfectly in its place. Secure all screws and clips tightly. They hold the bumper in place firmly. Double-check everything before you call it done. Ensure that every part aligns correctly with the car's body.
Professional Repair Options
When to Seek Expert Help
Sometimes, fixing a bumper needs more than just a DIY approach. Consult a professional if there is severe structural damage. They have the right tools and skills. If you're unsure about how to repair it, it's best to seek help. Mistakes can make things worse. High-end vehicles might require expert assistance too. Their bumpers often need special attention and materials.
Cost of Professional Services
The cost of professional bumper repair can vary. Typically, it ranges from $200 to $600. Several factors influence this pricing. The extent of the damage plays a big role. The type of car also matters. Luxury cars might cost more to fix. Comparing costs is important too. Sometimes, repairing is cheaper than replacing the whole bumper.
Benefits of Professional Repair
Professionals bring expertise and experience to the table. They know how to handle different types of damage. This ensures quality and durability in repairs. Using a service saves time and effort as well. You don't have to worry about gathering tools or making errors. It's convenient and efficient.
Final Remarks
Fixing a car bumper might seem daunting, but you’ve got this! Whether you're diving into a DIY project or opting for professional help, understanding the process is key. You’ve learned about assessing damage, prepping for repair, and adding those finishing touches. Like piecing together a puzzle, each step brings you closer to a polished look.
Don’t let a banged-up bumper hold you back. Roll up your sleeves, grab those tools, and give it a go. Or, if you're feeling less adventurous, reach out to the pros who can make it look brand new. Either way, your car deserves some TLC. Ready to revamp that ride? Share your journey or seek advice from fellow car enthusiasts. Let’s get those bumpers looking spiffy again!
Frequently Asked Questions
What are common types of car bumper damage?
Bumper damage often includes scratches, dents, or cracks. Think of it as your car's battle scars from minor accidents or parking mishaps. Each type requires a different repair approach, so it's essential to assess the damage first.
How do I prepare my car for bumper repair?
Start by cleaning the damaged area thoroughly. It's like giving your car a fresh slate. Remove any dirt and debris to ensure the repair materials stick properly. Gather all necessary tools and materials before diving in.
Can I repair my car bumper myself?
Yes, you can! DIY bumper repair is feasible if the damage isn't severe. It's like tackling a home improvement project but on wheels. Follow step-by-step instructions carefully, and you might save some bucks.
What materials do I need for DIY bumper repair?
You'll need sandpaper, filler, primer, paint, and a clear coat. Think of these as your toolkit essentials. Having them ready ensures a smoother repair process and helps achieve a professional finish.
How long does a DIY bumper repair take?
A DIY repair typically takes a few hours. It's like binge-watching a couple of episodes of your favorite series. However, drying times for fillers and paints can extend the process, so patience is key.
When should I consider professional bumper repair?
Seek professional help if the damage is extensive or involves sensors and lights. It's like calling in an expert when a DIY fix just won't cut it. They have the right tools and expertise for complex repairs.
Are professional bumper repairs expensive?
Costs vary based on damage severity and location. It's similar to dining out; prices range from budget-friendly to upscale. Get multiple quotes to find the best deal without compromising quality.
