Did you know that nearly 30% of minor car accidents result in bumper damage? Fixing a car bumper might seem like rocket science, but it’s easier than you think. We’ll dive into some simple steps to get your ride looking sharp again. No need for fancy tools or a mechanic's degree. Just a bit of elbow grease and some basic know-how can save you big bucks. Whether it's a nasty scratch or a small dent, we’ve got the lowdown on making your bumper look brand new. Let’s roll up those sleeves and get started!
Key Takeaways
- Check the bumper for cracks or dents before starting.
- Use the right tools for each repair step.
- Clean the area well before you begin any repair.
- Follow a step-by-step guide to fix the bumper.
- Choose the best repair method based on damage type.
- Practice safety by wearing gloves and goggles.
Understanding Car Bumper Repair
Basics of Car Bumpers
Car bumpers help absorb impact during a crash. They protect the vehicle and passengers. Most bumpers are made from plastic, fiberglass, or metal. These materials are chosen for their strength and flexibility. Bumpers also add to the car's look. They are designed to match the style of the vehicle. Safety is another key role of bumpers. They reduce damage in minor accidents.
Common Types of Damage
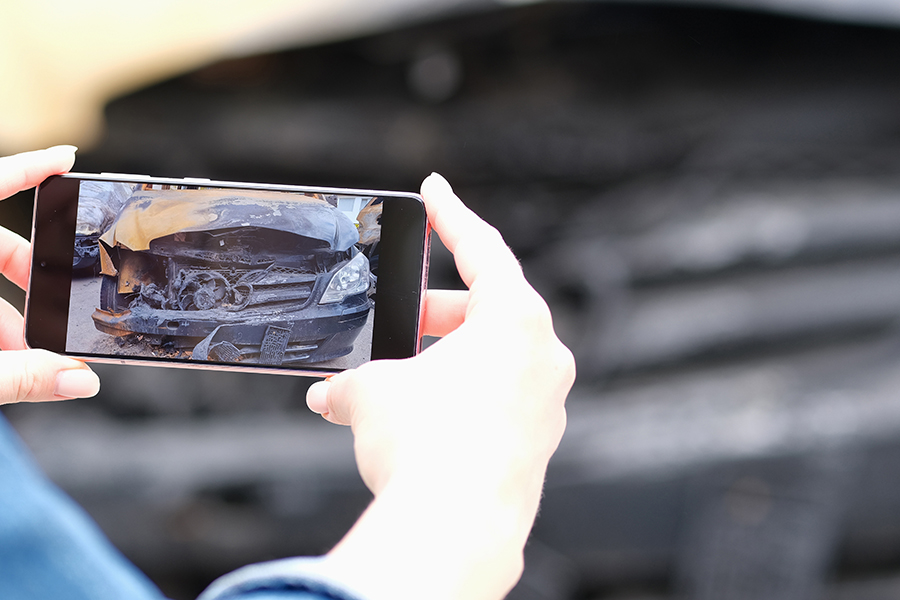
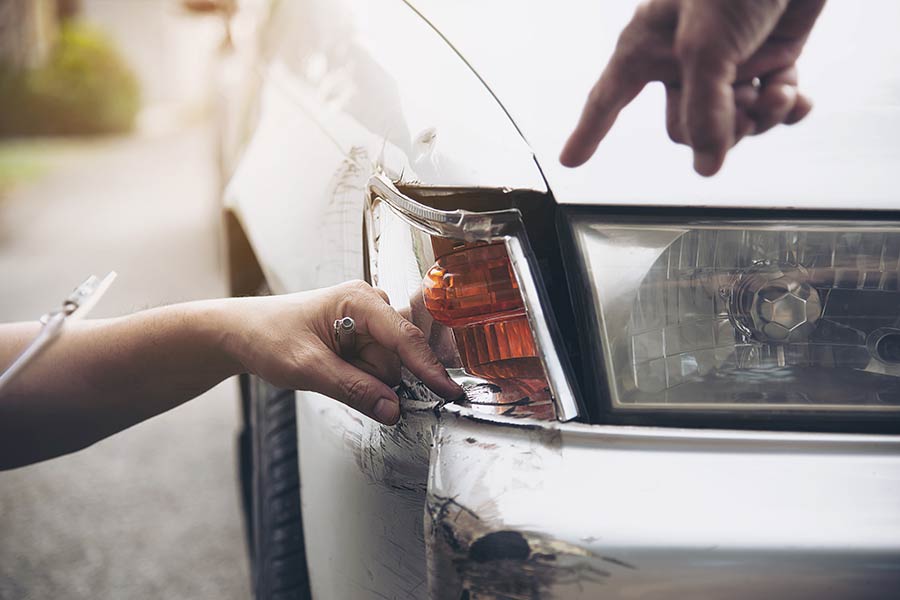
Bumpers often get scratches, dents, or cracks. These happen easily in small accidents. A bumper can also become misaligned after a collision. This affects how it fits on the car. Environmental factors like sun and rain cause wear too. Over time, these elements can fade or weaken the bumper material.
Repair or Replace Decision
Deciding to repair or replace a bumper depends on damage extent. Small scratches might just need a touch-up. Large dents could require more work or replacement. Cost plays a big part in this choice. Sometimes repairing is cheaper than buying new parts. But not always. Consider the car's age and model too. Older cars might benefit from repair over replacement due to cost and availability of parts.
Assessing Bumper Damage
Thorough Damage Inspection
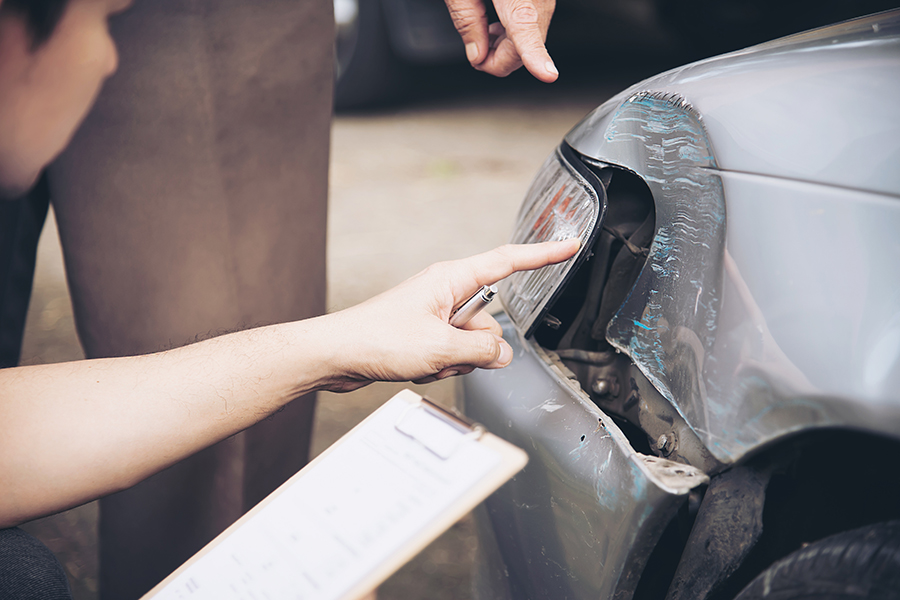
Inspect the bumper carefully. Look for hidden damage beneath the surface. Sometimes, what seems minor can hide deeper issues. Use bright lights to see clearly. This helps in spotting cracks or dents not visible at first glance. Check if the bumper aligns with the car body. Misalignment might signal structural problems.
Importance of Labor Costs
Labor costs can vary a lot. Compare doing it yourself with hiring a professional. DIY might save money but requires time and skill. Professional repairs can be pricey, especially in different regions. Some places charge more due to higher living costs or expertise levels. These costs affect the total repair bill significantly.
Insurance vs. Self-Pay
Consider using insurance for repairs. It can cover most expenses, making it affordable upfront. However, filing a claim might increase premiums later. Weigh this against paying out-of-pocket. Self-pay means no premium hikes, but it might cost more immediately. Think about long-term financial impacts before deciding.
Repair Techniques Explained
Fixing Cracks and Holes
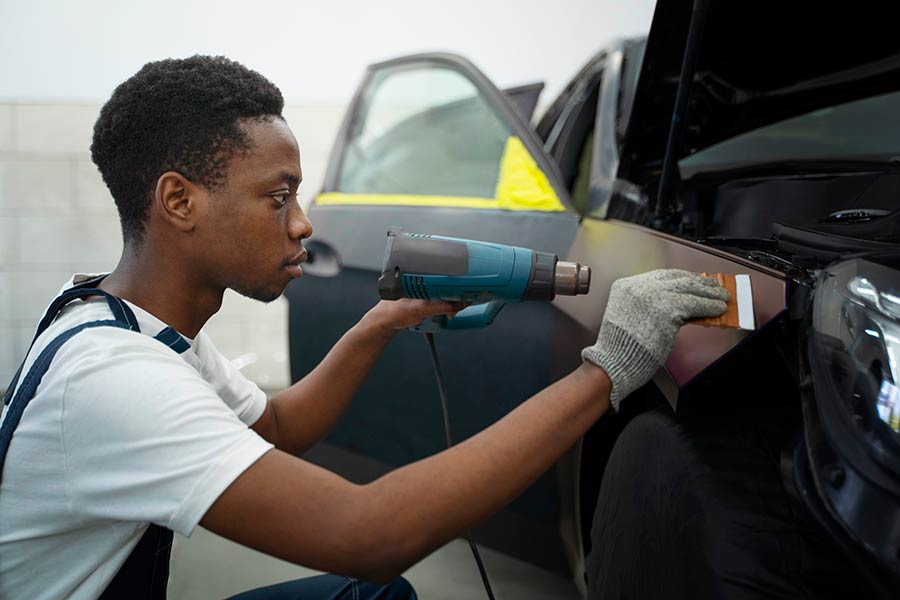
Cracks in a car bumper can be fixed using plastic welding. This method makes the repair strong. Plastic welding melts the plastic to join the crack. For holes, filler materials work well. They fill gaps and make the surface smooth. After applying these materials, ensure proper curing time. This step is crucial for lasting repairs.
Traditional Dent Fixing
Traditional methods help remove dents from bumpers. Heat and suction are useful techniques. These methods pull out dents without damaging the paint. Metal bumpers may need hammer and dolly tools. These tools reshape the metal back to its original form. Patience is important in traditional dent repair. Rushing might lead to poor results.
Paintless Dent Repair
Paintless dent repair keeps the original paint intact. It works well for minor dents without paint damage. This method uses special tools to massage dents out. The process is quick and saves money compared to repainting. The speed and cost-effectiveness of this method make it popular among car owners.
Step-by-Step Repair Process
Sand and Prepare Surface
Start with coarse sandpaper to smooth out the damaged areas. This removes rough edges. Progress to finer grits for a polished finish. It makes the surface even smoother. Clean the surface thoroughly before applying any products. Dirt or dust can ruin your repair.
Apply Epoxy Correctly
Mix epoxy according to manufacturer instructions. Follow these carefully for best results. Apply the epoxy evenly to ensure a strong bond. Uneven application might cause weak spots. Allow adequate drying time for optimal adhesion. Check the label for exact times needed.
Paint and Finish
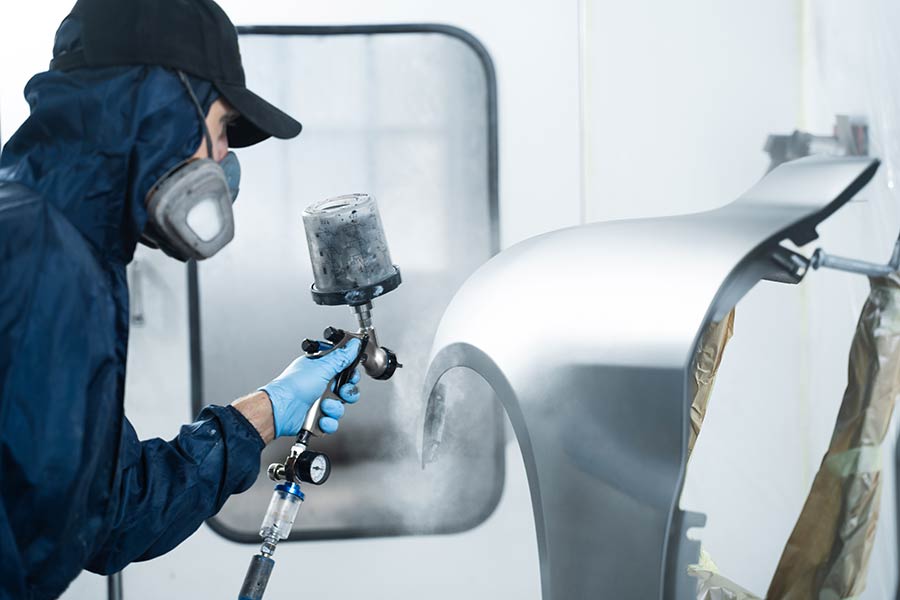
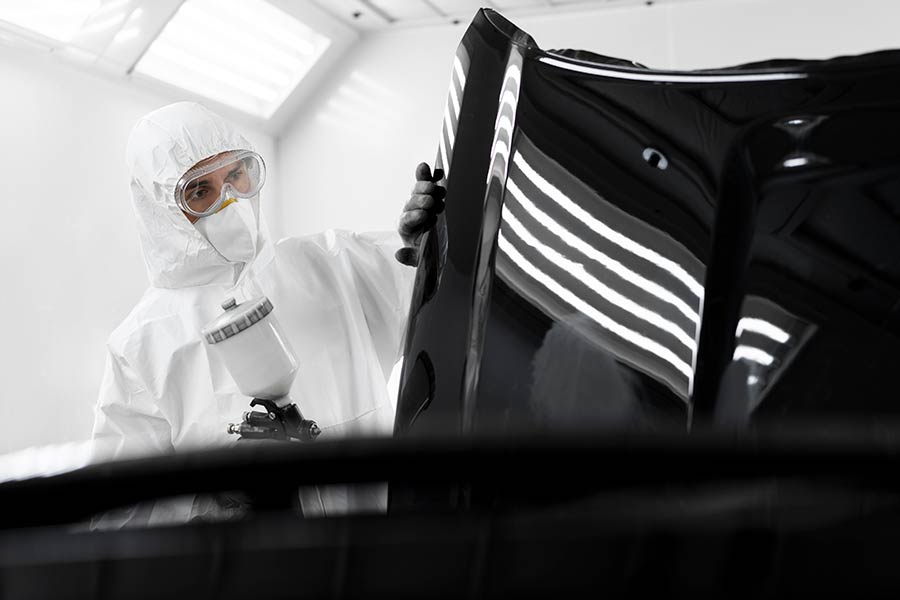
Choose matching paint for a seamless look. This keeps the car's appearance consistent. Apply primer before painting for better adhesion. Primer helps the paint stick well. Use clear coat to protect and enhance the paint finish. It gives a shiny, durable layer.
Closing Thoughts
You've learned a lot about fixing a car bumper. From checking out the damage to rolling up your sleeves and diving into repairs, you’ve got it covered. Think of it like piecing together a puzzle or patching up an old pair of jeans. You’ve got the skills now!
What's next? Get out there and tackle that bumper! Trust in what you've learned here. Your car deserves some TLC, and you’re just the person for the job. If you hit a bump in the road, remember: practice makes perfect. Share your journey with others; they might need a nudge too. Ready to show off that shiny bumper? Go on, give it a whirl!
Frequently Asked Questions
What is the first step in fixing a car bumper?
Start by assessing the damage. Like a doctor diagnosing a patient, you need to know what you're dealing with before diving into repairs.
How can I tell if my bumper needs repair or replacement?
Check for cracks and deep scratches. If it's just a minor scratch, you can fix it. But if it's hanging by a thread, consider replacing it.
Can I repair my car bumper at home?
Yes, you can! With the right tools and patience, most minor damages are DIY-friendly. It's like assembling furniture; follow the steps, and you’ll get there.
What tools do I need for bumper repair?
You'll need sandpaper, filler, primer, paint, and a buffer. Think of them as your toolkit for a creative art project on your car.
How long does it take to fix a bumper?
It usually takes a few hours. It’s like baking a cake; prep time is key, but once everything is set, it comes together quickly.
Is it cheaper to repair or replace a bumper?
Repairing is often cheaper unless the damage is severe. It’s like patching up old jeans versus buying new ones—fixing saves money if feasible.
Should I worry about color matching when repairing my bumper?
Yes, matching the paint is crucial for a seamless look. You wouldn’t want your car looking like it wore mismatched socks!
