Dealing with a cracked bumper used to mean a costly trip to the auto shop, but not anymore. The evolution of DIY solutions has made bumper crack repair accessible to everyone. In today's fast-paced world, where every penny and minute counts, learning to fix your car's bumper yourself can be a game-changer. This post will dive into the essentials of repairing bumper cracks, from the simplest techniques to some pro tips that will save you time and money. Stay tuned as we explore how to bring your car back to its pristine condition without breaking the bank.
Key Takeaways
- Check what kind of bumper damage you have. It could change how you fix it.
- Get your tools and area ready before you start fixing the bumper.
- Learn different ways to fix cracks so you can pick the best one.
- Make sure to finish up right for a smooth look.
- Fixing a bumper crack by yourself can save money and time.
- If the damage is big, asking a pro might be better.
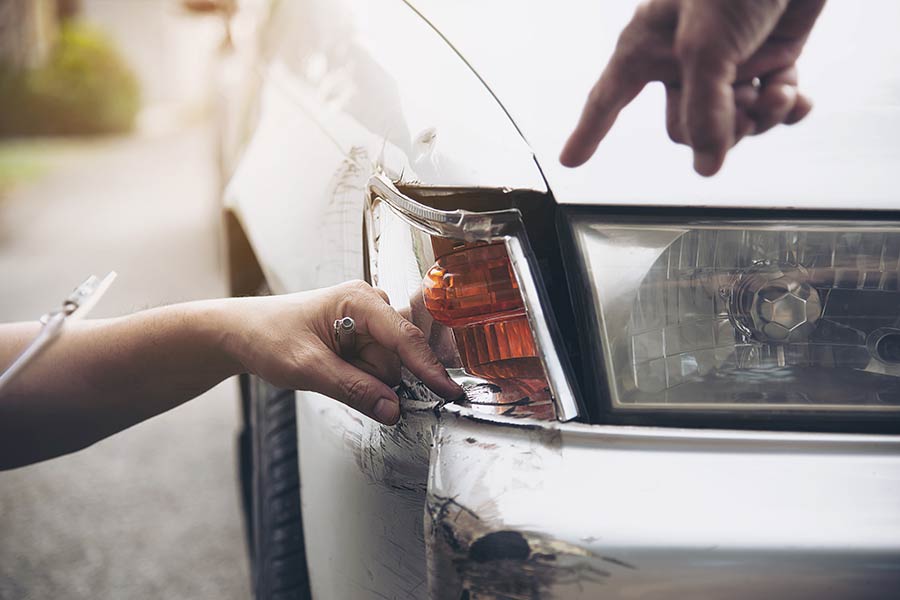
Types of Bumper Damage
Cracks and Tears
When a bumper gets cracked or torn, it's crucial to assess the length and depth of these imperfections. This assessment helps in understanding whether the damage can be mended. If cracks undermine the bumper's structural integrity, this might call for more extensive repairs. The choice of filler or adhesive also hinges on the crack size, ensuring a durable fix.
For minor cracks, a simple adhesive might suffice. However, larger tears often require a flexible filler to restore the bumper's shape and strength.
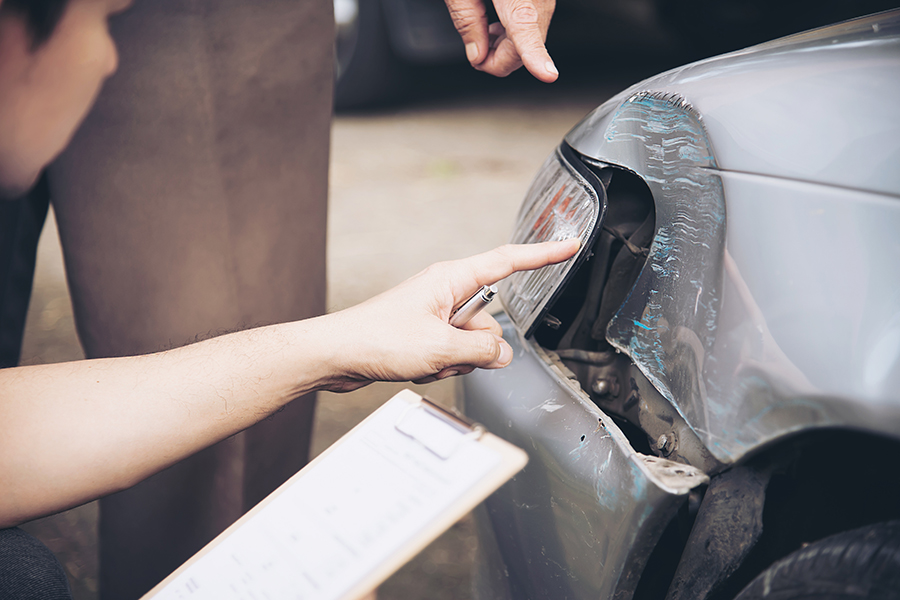
Holes and Dents
Holes and dents vary greatly in size, affecting the chosen repair method. It's important to evaluate not just the size but also how the damage might impact any integrated sensors or lights. Smaller holes can often be filled and painted over, while larger dents may need patching or even complete bumper replacement.
The decision between filling, patching, or replacing largely depends on damage severity and location. If sensors or lights are involved, professional advice is recommended to avoid functionality issues.
Scratches
Scratches demand careful examination to determine their depth. This evaluation dictates the sanding technique needed for smoothing out imperfections. Depending on scratch depth, touch-up paint may be sufficient, or a full repaint could be necessary.
If left unattended, scratches can lead to rust or further damage. Thus, timely repair is essential to maintain both appearance and value.
Preparing for Repair
Surface Prep
Before starting the repair, it's crucial to prepare the surface properly. This means cleaning the damaged area with a quality cleaner to get rid of any dirt and grease. After cleaning, sanding is next. Use sandpaper to roughen up the area around the damage. This helps make sure that adhesives and fillers stick well.
Taping off surrounding areas is also important. It protects parts of the bumper you don't want to get repair materials on. Doing this keeps your work neat and focused only on where it's needed.
Material Selection
Choosing the right materials is key for a successful repair. For plastic bumpers, a flexible filler material is best because it can move with the bumper. A durable adhesive is necessary for bonding cracks and tears together strongly.
The choice of sandpaper matters too. You need the correct grade that's coarse enough to smooth out repairs but not so rough that it damages your bumper further.
Testing Areas
Always test your materials first. Apply a small amount of filler or adhesive to an inconspicuous area to check adhesion. Make sure it sticks well without causing damage.
Testing paint color match on a hidden section ensures that your repair blends seamlessly with the rest of the bumper. It's also wise to evaluate repair techniques on a non-visible area first. This way, you can adjust your approach before working on more visible parts.
Repair Techniques
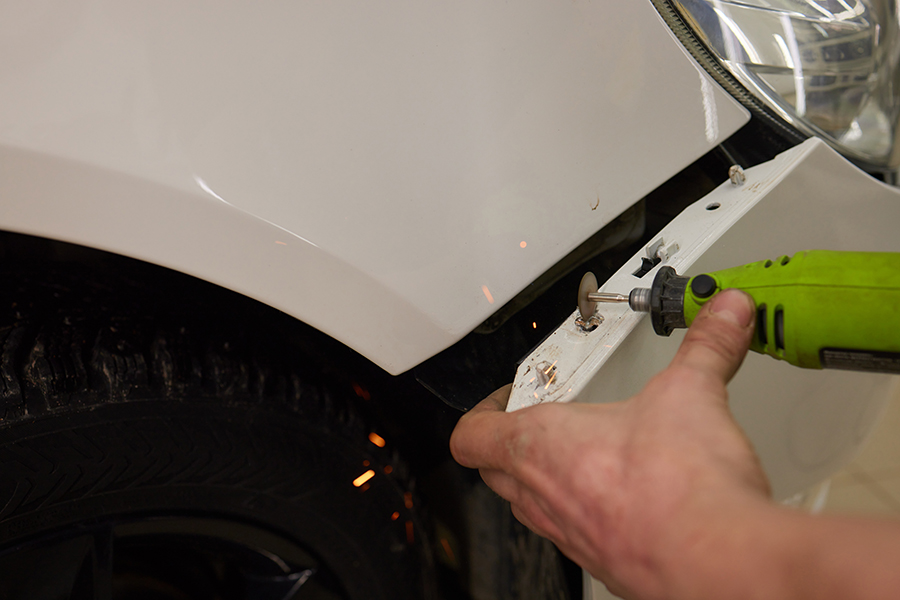
Fixing Cracks
For deep cracks, plastic welding is a go-to method. It melts the plastic together, making the bumper strong again. This technique ensures the bumper can handle stress without breaking.
Shallow cracks need a different approach. A flexible filler works best here. Make sure it's right for your bumper's material. After filling, sanding is crucial. It makes the area smooth and ready for paint.
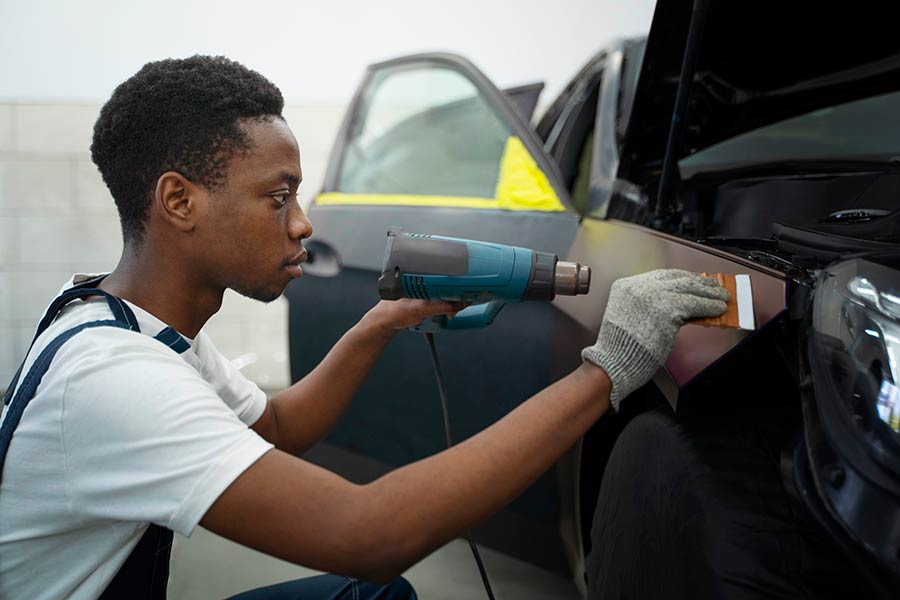
Dent Removal
A heat gun softens the bumper's plastic. This trick allows you to push out dents from behind easily. Sometimes, dents leave small marks behind. Fill these with a good filler.
After filling, sanding is next. It must be smooth to look right after painting.
Scratch Fixing
Start by sanding the scratch lightly. This removes any rough edges and damaged paint. Next, choose between touch-up paint or a clear coat based on the scratch's depth.
Finally, polish the repaired spot. It helps your car look as if there was never a scratch.
Finishing Touches
Paint Refinishing
After the repair techniques are applied, paint refinishing becomes crucial. It starts with finding a perfect paint match for the original bumper color. This step ensures the repair blends seamlessly with the rest of the car. Next, specialists apply primer, followed by the base coat and clear coat. Each layer is thin and even. They allow each coat to dry properly before applying the next. This careful application results in a smooth finish.
Buffing and Polishing
Once the paint dries, buffing comes next. This step removes any imperfections from the painted surface. Then, polishing restores the bumper's shine, making it look new again. Finally, applying a wax or sealant protects the repair against future damage. These steps ensure that both appearance and protection are addressed.
Quality Checks
Final Remarks
You've got the lowdown on fixing bumper cracks, from spotting different types of damage to applying the finishing touches. Repairing your bumper doesn't just save you cash; it extends your car's life and keeps it looking sharp. You've learned how to prep, patch up, and polish off those pesky cracks with pro tips that make a difference. It's all about taking action now. Don't let those cracks get worse. Grab your repair kit and show your bumper some love. You've got this! And remember, a well-maintained car reflects on you, not just on the road but in life too. Ready to tackle that repair? Your ride’s sleek look is just a few steps away.
Frequently Asked Questions
Can I repair a bumper crack myself?
Yes, small bumper cracks can be repaired at home with the right tools and techniques. Ensure you follow a reliable guide for effective results.
What types of bumper damage can be repaired?
Most types of bumper damage, including cracks, scratches, and dents, can be repaired either DIY or by professionals.
How do I prepare my bumper for repair?
Clean the damaged area thoroughly, sand down any rough edges, and ensure the surface is dry and free of debris before applying any repair material.
What are some common repair techniques for a cracked bumper?
Common techniques include using a plastic welding kit or a strong adhesive designed for automotive repairs to bond the cracked areas together.
Do I need to paint my bumper after repairing a crack?
Yes, to ensure a seamless finish and protect the repair site from environmental elements, painting your bumper post-repair is recommended.
How long does it take to repair a cracked bumper?
The time varies depending on the extent of damage but generally can take a few hours to complete, excluding drying or curing time.
Is it worth repairing my bumper or should I replace it?
For minor damages like small cracks or dents, repairing is cost-effective. However, for severe damage, replacing might be more feasible.