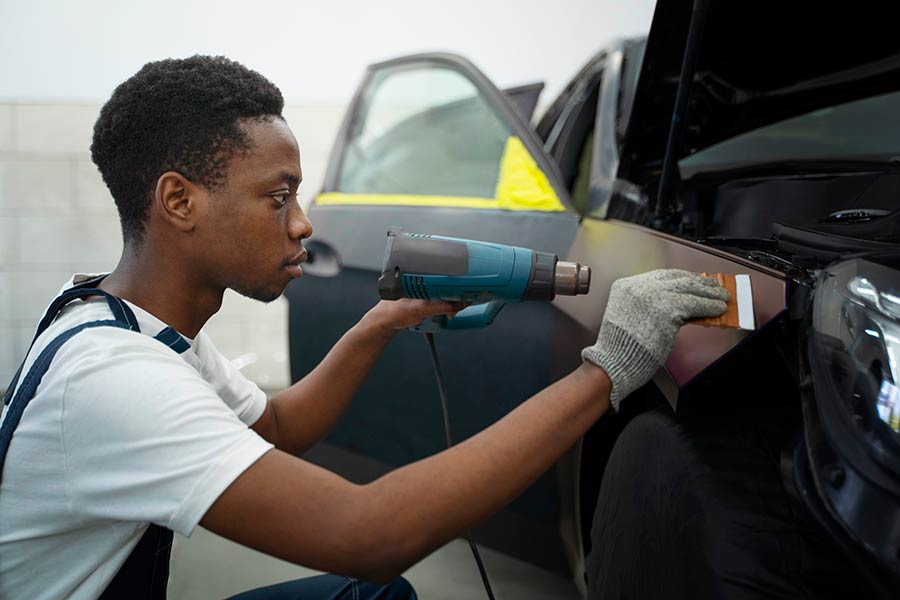
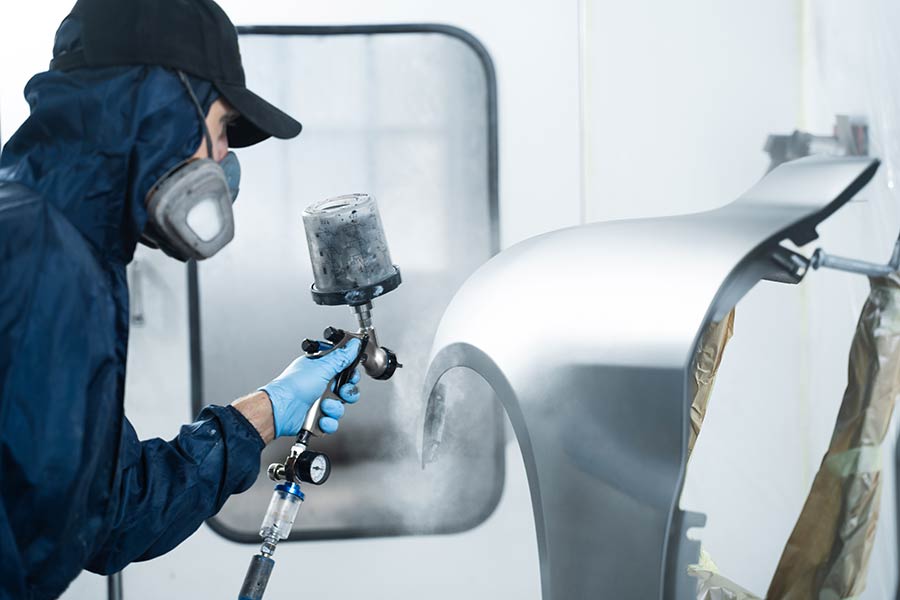
Car paint can get scratched or chipped. It happens to the best of us. Whether it's a runaway shopping cart or a rogue pebble, those marks are annoying. Fixing car paint might sound tough, but it’s not rocket science. With a little know-how, you can make your ride shine like new. This post will guide you through the basics, so you don’t have to break the bank at the body shop.
Key Takeaways
- Spot the Problem: Look for scratches or chips in the car paint to know where to fix.
- Get Your Tools: Have sandpaper, primer, paint, and a brush ready before starting.
- Clean the Area: Make sure the damaged spot is clean and smooth for the new paint to stick well.
- Paint Carefully: Use thin layers of paint, letting each layer dry before adding more.
- Protect Your Work: After painting, use a clear coat to keep the new paint safe and shiny.
- Be Patient: Take your time with each step for the best results in fixing your car's paint.
Identify Paint Damage
Types of Paint Damage
Car paint can get damaged in many ways. Scratches, chips, and fading are the most common types. Scratches happen when something sharp touches the car. Chips occur when small objects hit the paint. Fading happens over time due to sunlight. Rust spots are more severe. They appear when metal is exposed to moisture for too long.
It's important to know if damage is on the surface or deeper. Surface issues are usually less serious. Deep paint problems might need more attention.
Assess Severity of Damage
To fix paint damage, check how bad it is. Look at the depth of scratches or chips. If they reach the primer or metal, it's more serious. Exposed primer or metal means the car is not well protected. This can lead to rust if not fixed soon.
Sometimes, a professional repair is necessary. If you see deep damage, consider getting help from an expert.
Common Causes of Paint Issues
Many factors cause paint problems. Weather plays a big role. Sunlight can fade paint over time. Rain and snow can also harm paint if left unchecked.
Road debris like gravel can chip paint when driving fast. Improper washing techniques can also scratch or dull the finish. Use a soft cloth and gentle soap to wash your car.
Gather Necessary Tools
Essential Tools List
Fixing car paint needs the right tools. Sandpaper helps smooth rough spots. You need different grits for various tasks. Use masking tape to cover areas you don't want painted. A paint sprayer makes applying paint even. It gives a nice finish.
Microfiber cloths are soft and won't scratch surfaces. They clean dust and polish paint well. Polishing pads help make the paint shine. Primer prepares the surface for painting. The base coat is the car's color layer. A clear coat protects the paint and adds gloss.
Selecting Right Paint Type
Choosing the right paint is important. Match it to your car’s original color. This keeps it looking like new. There are three main types: acrylic, enamel, and urethane.
- Acrylic is easy to apply but less durable.
- Enamel offers a hard finish but can take longer to dry.
- Urethane is tough and long-lasting.
Think about how long you want the paint to last. Also, consider if you prefer a shiny or matte look.
Safety Gear and Precautions
Safety is key when fixing car paint. Always wear gloves to protect your hands from chemicals. Goggles keep your eyes safe from splashes.
Use a mask to avoid breathing in harmful fumes. Many paints release strong smells that aren't safe to inhale. Ensure there's good air flow in your workspace too.
Prepare Damaged Area
Clean and Sand Surface
First, wash the damaged area with soap and water. This removes dirt and grime. After washing, dry the area thoroughly. Use a clean cloth or towel to ensure no moisture remains. Once dry, sand the surface gently. This helps smooth out any imperfections in the paint.
Mask Surrounding Areas
Next, cover areas you don't want painted. Use masking tape to protect edges and non-paint surfaces. Windows and trim can be shielded with plastic sheeting. Make sure all edges are sealed well. This prevents overspray from reaching unwanted places.
Prime the Surface
After sanding, apply primer evenly over the prepared area. The primer helps new paint stick better. Allow it to dry completely before moving on. This might take some time, so be patient. Once dry, sand the primer lightly for a smooth finish.
Apply Paint Layers
Base Coat Application Steps
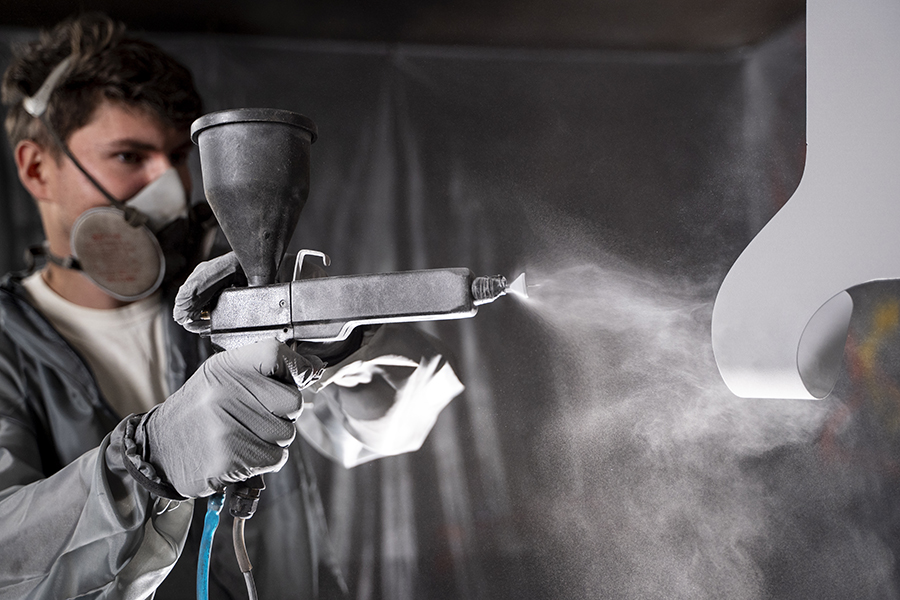
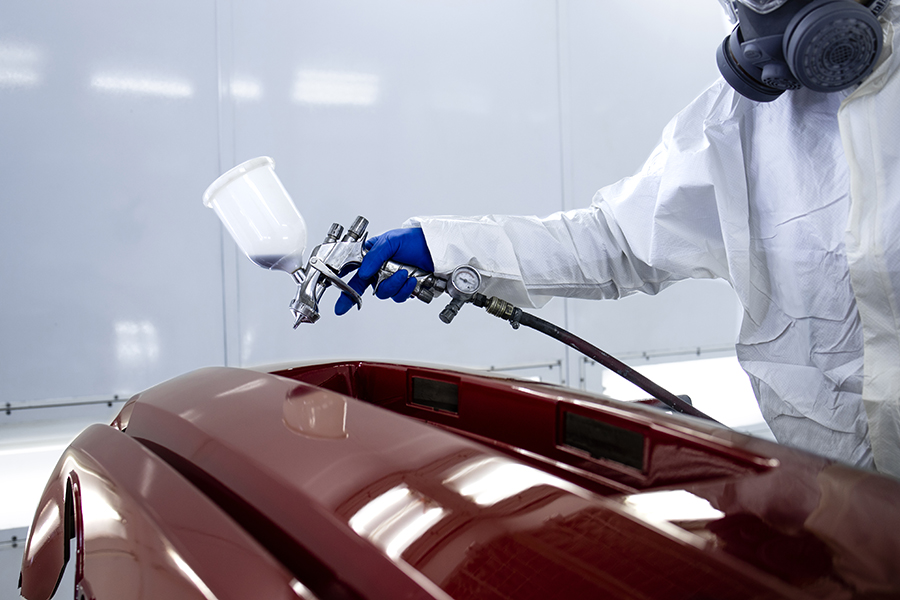
The base coat is important. Shake the paint can thoroughly before starting. This mixes the paint well. Spray in even, overlapping strokes across the area. This helps cover the surface evenly. Let each coat dry completely before adding another layer. Patience ensures a smooth finish.
Multiple Layer Techniques
Applying multiple thin layers gives better coverage. It prevents thick spots and unevenness. Allow drying time between each layer to make sure it sets properly. Control the spray distance to avoid drips. Drips can ruin the look and require sanding to fix.
Clear Coat Application
Clear coat adds protection and shine to your car's paint job. Use even strokes when applying it to prevent streaks. Streaks can make the car look messy. Allow ample drying time for durability. A well-dried clear coat lasts longer and keeps the paint looking new.
Final Touches and Protection
Buff and Polish Surface
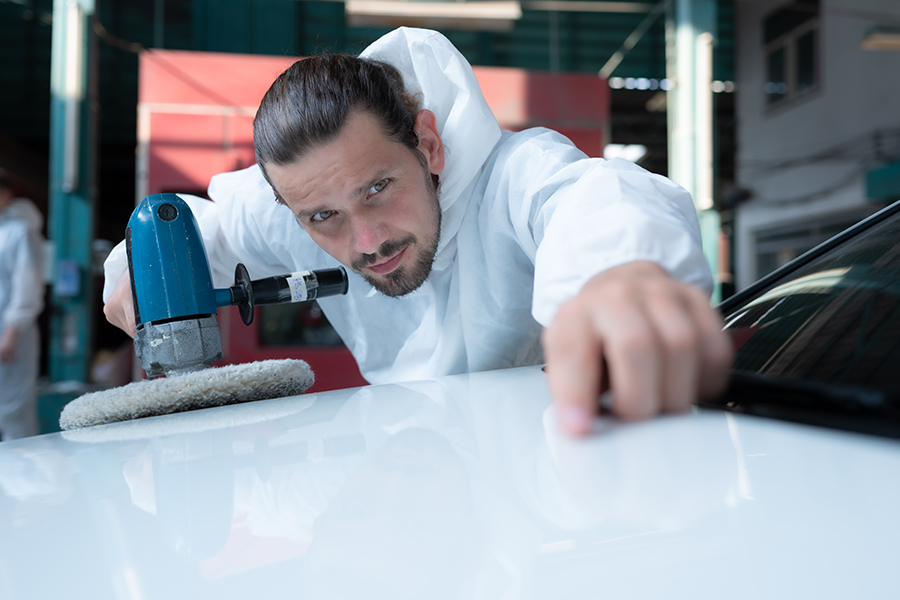
Using a buffer helps smooth out the clear coat. This makes the car look even. After buffing, polish with a microfiber cloth. This adds shine to the paint. Any residue left behind should be removed with a clean cloth. This ensures no streaks are visible.
Waxing for Extra Shine
Apply wax in circular motions on the car's surface. This helps cover all areas evenly. Once the wax is applied, buff off any excess with a soft cloth. Regular waxing enhances paint protection. It keeps the car looking new and shiny.
Prevent Future Damage
Park in shaded areas to avoid sun damage. The sun can fade car paint over time. Washing regularly removes dirt and debris that can scratch the surface. Using car covers offers added protection against weather elements. This prevents dust and bird droppings from causing harm.
Final Remarks
You've got this! Fixing car paint might seem like a big deal, but you've broken it down step-by-step. From spotting the damage to adding those final touches, you're now armed with the know-how to tackle this head-on. Think of it as giving your car a little TLC, making it shine like new again.
Now it's time to roll up your sleeves and dive in. Your ride deserves to look its best, and you have the tools to make that happen. Don't just sit there—get going! Share your success story or any tips you picked up along the way. We're all ears and eager to hear how your car's transformation turned out. Keep that paint looking fresh and let us know how it goes!
Frequently Asked Questions
How do I identify paint damage on my car?
Start by examining your car under good lighting. Look for scratches, chips, or fading. If it feels rough or looks dull, it's likely damaged. Think of it like checking for bruises on an apple—some signs are obvious, others need a closer look.
What tools do I need to fix car paint?
You'll need sandpaper, primer, paint, and clear coat. A spray gun or brush helps too. It's like cooking—you can't bake a cake without ingredients and utensils. Gather everything beforehand to avoid mid-repair shopping trips.
How should I prepare the damaged area before painting?
Clean the area thoroughly with soap and water, then dry it. Sand the surface until smooth. Imagine you're preparing a canvas before painting; you want it clean and even for the best results.
How many layers of paint should I apply?
Apply at least two layers of paint, letting each dry completely. Think of it like layering clothes in winter—more layers mean better protection. Just don't overdo it; too many coats can lead to dripping.
What are some final touches and protection tips after painting?
Once the paint dries, apply a clear coat for shine and protection. Wax the area for extra safety against elements. It's like putting on sunscreen; it shields your skin from harm and keeps it looking fresh.
Can I fix car paint myself without professional help?
Yes, you can! With patience and the right tools, DIY repairs are doable. It's like assembling IKEA furniture—challenging but rewarding when done right. Just follow instructions carefully for the best outcome.
How long does it take to repair car paint at home?
It usually takes a few hours to a couple of days, depending on drying times between coats. Think of it as baking bread; you can't rush perfection. Patience is key for a smooth finish.
