Did you know that even a small paint chip can decrease your car’s resale value by up to 10%?
Every day, our cars face tiny rocks, road debris, and parking lot mishaps that leave those frustrating little chips in the paint. These small marks might seem harmless at first, but they’re actually open doors for rust and deeper damage.
I’ve spent years helping car owners fix these issues, and here’s the good news: car paintwork chip repair doesn’t have to be complicated or expensive. With the right approach and tools, you can fix these chips before they turn into bigger problems.
In this guide, I’ll walk you through everything you need to know about fixing paint chips, from identifying the damage to completing the repair. Whether you’re planning to do it yourself or considering professional help, you’ll learn how to keep your car looking great and maintain its value.
Let’s start by looking at what causes these pesky paint chips and why fixing them quickly matters.
Understanding Paint Chip Damage
As a paint repair specialist, I’ve seen how quickly small chips can turn into major problems. Let’s break down what causes these pesky paint problems and why they need your attention.
Common causes of paint chips
Road debris is the number one culprit I see in my work. Here are the most frequent offenders: * Flying rocks and gravel from other vehicles * Road salt and sand during winter * Sharp objects and accidental scratches * Temperature changes causing paint expansion * Bird droppings with corrosive substances
Why immediate repair matters
I can’t stress this enough - waiting to fix paint chips is like ignoring a small leak in your roof. A car with poor paint condition can lose up to 20% of its value. When metal gets exposed through paint chips, water seeps in and starts the rusting process. This is particularly critical if you live near the coast, where salt air speeds up corrosion.
Paint chip assessment guide
Before starting any repair, I always check these key factors:
| Damage Level | Characteristics | Action Needed |
|---|---|---|
| Minor | Smaller than a dime, no rust | DIY repair possible |
| Moderate | Exposed metal, slight rust | Immediate attention required |
| Severe | Rust present, large area | Professional help needed |
When examining paint chips, I first clean the area thoroughly with warm soapy water. This helps me see the true extent of the damage. I look for raised edges around the chip and check for any loose paint that might need removal.
For metal surfaces, I use a small magnet to test for previous repairs - if the magnet’s attraction feels weak, it might indicate hidden body filler underneath. This knowledge helps me plan the right repair approach.
Required Tools and Materials
Let me walk you through the essential tools and materials I’ve found most effective for car paintwork chip repair. After years of experience, I know that having the right equipment makes all the difference between a professional-looking finish and an amateur patch job.
Paint matching essentials
The foundation of any successful paint repair starts with perfect color matching. I always tell my clients that finding the right paint is crucial. Your car’s color code is typically located on: * Driver’s door jamb * Inside the trunk lid * Under the hood
| Essential Item | Purpose |
|---|---|
| Touch-up paint | Matches your car’s exact color |
| Clear coat | Provides glossy finish and protection |
| Paint pen applicator | Offers precise application |
| Blending solution | Helps smooth transitions |
Surface preparation tools
I’ve learned that proper surface prep is non-negotiable. Here’s what I use for every repair: * Fine-grit sandpaper (2000-3000 grit) * Grease and wax remover * Isopropyl alcohol * Clean microfiber cloths * Masking tape * Cotton swabs for detailed work
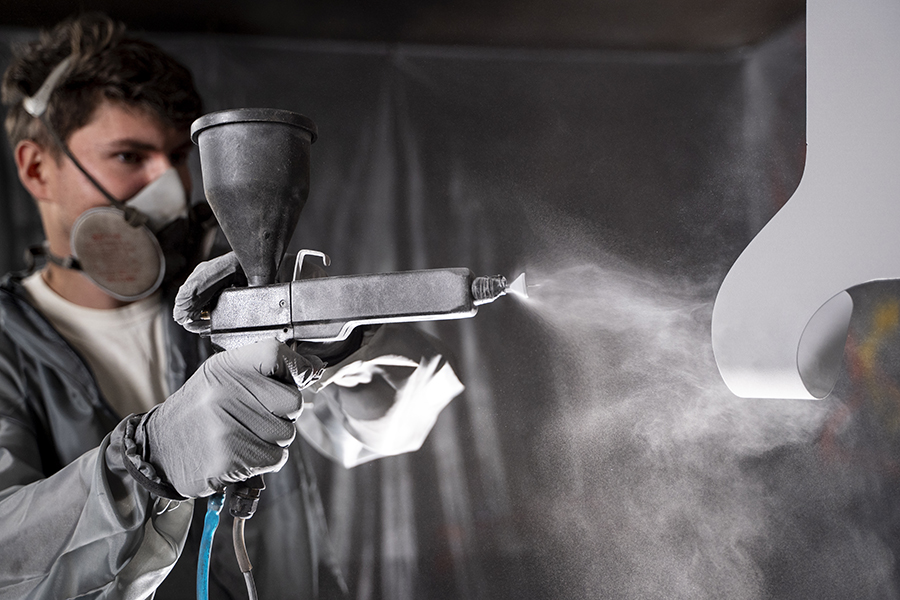
Safety equipment checklist
Working with automotive paints requires serious protection. Based on my experience, these items are absolutely necessary:
-
Respiratory Protection * Paint-grade respirator mask * Proper filter cartridges
-
Body Protection * Chemical-resistant gloves * Safety glasses with side shields * Long-sleeve clothing * Knee pads for detailed work
Remember to work in a well-ventilated area. I always recommend setting up in a garage with open doors or outdoors on a calm, dry day. The temperature should be between 65-75°F for optimal paint application.
Step-by-Step Paint Chip Repair
I’m going to share my proven method for fixing paint chips that I’ve perfected over years of working on luxury vehicles. This technique works wonderfully when you follow each step carefully.
Surface cleaning and preparation
The success of your repair starts with spotless preparation. I begin by washing the damaged area with warm, soapy water. After drying, I apply rubbing alcohol to remove any remaining wax or grease. This step is critical - paint won’t stick to a dirty or waxy surface.
Next, I check the chip’s edges. If there’s loose paint, I carefully remove it using the edge of a razor blade. Remember, we need clean, solid edges for the best results.
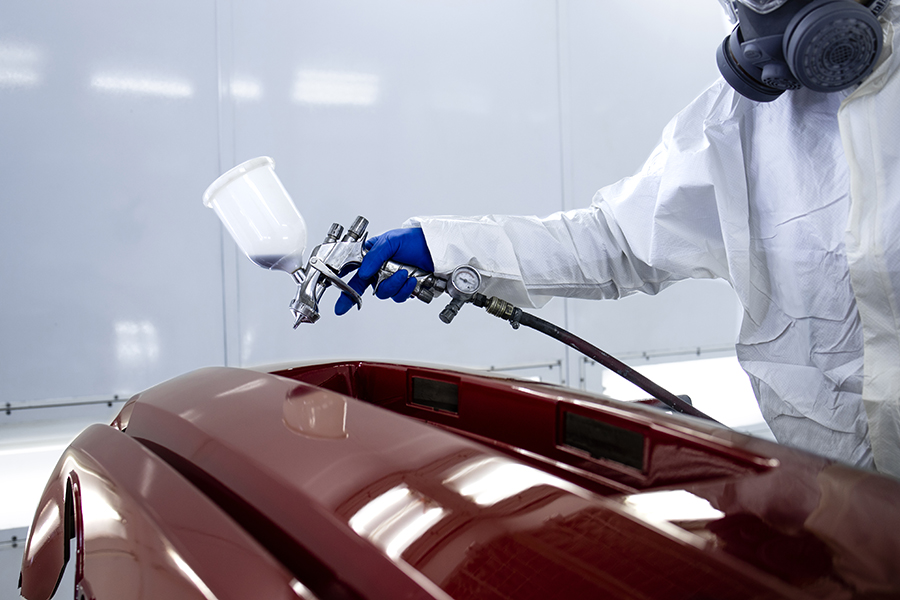
Paint application techniques
Here’s my tried-and-true painting process:
- Prime exposed metal (wait 30 minutes)
- Apply first color coat (wait 20 minutes)
- Add second thin coat (wait 20 minutes)
- Apply final color layer (wait 4 hours)
I use a fine-tip artist’s brush for precise application. The key is keeping the paint within the chip’s boundaries. I always apply multiple thin coats rather than one thick layer - this prevents running and creates a smoother finish.
Clear coat finishing process
The clear coat makes or breaks your repair. Here’s what works best:
| Layer | Drying Time | Notes |
|---|---|---|
| First Clear | 30 minutes | Apply thin |
| Second Clear | 1 hour | Level with edges |
| Final Clear | 24 hours | Full cure |
I apply the clear coat slightly beyond the chip’s edges. This helps blend the repair with the surrounding paint. After the final cure, I wet-sand with 1500-grit paper, then polish the area to match the surrounding shine.
Pro tip: If you see any paint outside the chip after drying, don’t panic. I use a cotton swab with a tiny amount of paint thinner to clean up the edges.
Professional vs DIY Repair
Having worked on thousands of paint chip repairs, I want to help you make an informed choice between DIY and professional repairs. Let me break down the real costs, time investment, and results you can expect from each approach.
Cost comparison analysis
When comparing DIY and professional repairs, the numbers tell an interesting story:
| Repair Method | Initial Cost | Additional Costs | Long-term Value |
|---|---|---|---|
| DIY Kit | $20-40 | Tools ($500-1000) | May need professional fix |
| Professional | $50-60 per chip | None | Includes warranty |
My experience shows that while DIY seems cheaper initially, hidden costs often pop up. Basic tools and materials can add up to $1,000 for a proper setup. Professional work might cost more upfront but includes everything needed for a lasting repair.
Time and effort considerations
I’ve watched many car owners tackle DIY repairs. Here’s what I’ve learned about time investment:
- DIY repairs typically take:
- 2-3 hours for preparation
- 4-6 hours for actual repair
- Multiple days for proper curing
- Extra time if mistakes happen
Professional repairs usually finish within a day, with most taking just a few hours. I’ve seen DIY enthusiasts spend entire weekends on repairs that professionals complete in one afternoon.
Quality outcome expectations
The truth about quality comes down to experience and equipment. Professional shops offer:
- Factory-matched paint colors
- High-grade materials and tools
- Warranty protection
- Seamless blending with existing paint
When I repair paint chips professionally, I use techniques that take years to master. While DIY kits can fix surface damage, they rarely match the durability of professional work. I’ve fixed many DIY attempts that didn’t last through their first car wash.
My professional repairs typically last several years, maintaining your car’s value. DIY repairs might need touching up within months, especially if exposed to harsh weather or frequent washing.
Paint Chip Prevention Methods
After years of fixing paint chips, I’ve learned that prevention is far better than cure. Let me share my top strategies to protect your car’s paint from those frustrating chips and scratches.
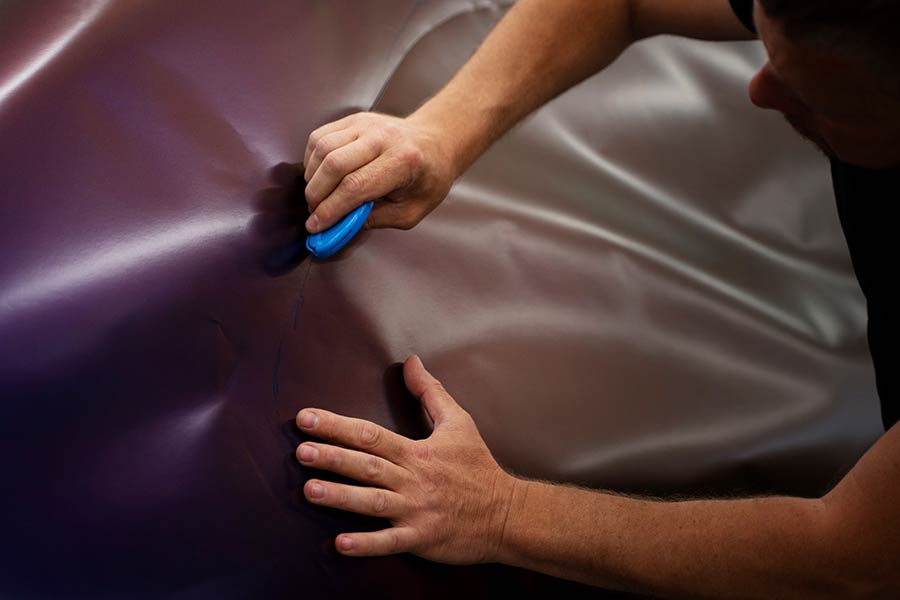
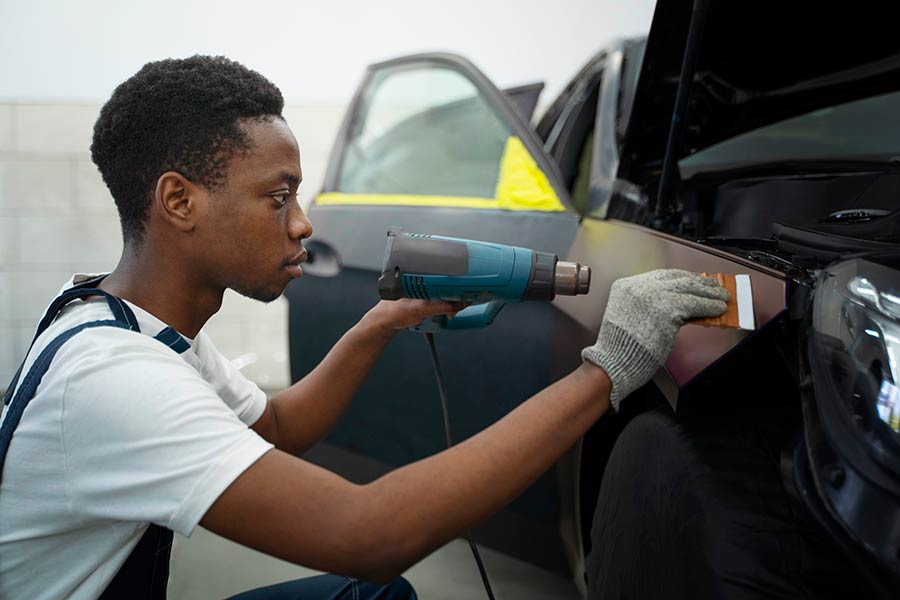
Protective film applications
Paint Protection Film (PPF) stands as your car’s best defense against chips. I’ve installed PPF on hundreds of vehicles, and the results speak for themselves. Here’s what makes PPF so effective:
| Protection Type | Benefits | Best For |
|---|---|---|
| Full-body PPF | Complete protection, self-healing | High-end vehicles |
| Partial PPF | Hood, fenders, mirrors coverage | Daily drivers |
| Clear Bra | Front-end protection | Highway drivers |
The magic of PPF lies in its self-healing properties. I’ve watched small scratches disappear with just a bit of sun exposure. For best results, I always recommend professional installation, as proper fitting makes all the difference.
Safe driving distances
My clients often ask about driving habits that prevent paint chips. Here’s what I tell them: maintaining proper distance isn’t just about safety – it’s about protecting your paint too.
The three-second rule works well: * Stay at least three seconds behind the vehicle ahead * Add one second for each adverse condition * Double the distance behind trucks and construction vehicles
I’ve noticed that most paint chips happen when drivers follow too closely, especially behind larger vehicles that kick up road debris.
Regular maintenance tips
Based on my experience, consistent care prevents 90% of paint damage. My proven maintenance routine includes:
-
Weekly Cleaning * Use high-quality car shampoo * Apply gentle pressure with microfiber cloths * Dry thoroughly to prevent water spots
-
Protection Schedule * Apply wax every three months * Check PPF edges monthly * Clean bird droppings immediately
I’ve found that combining these prevention methods creates a robust shield against paint chips. The key is consistency – even the best protection needs regular attention to work effectively.
Pro tip: I always tell my clients to keep a bottle of quick detailer and microfiber cloth in their car for immediate cleaning of bug splatter or bird droppings, which can damage paint within hours.
Conclusion
Paint chips might seem minor, but my years of experience have shown they can significantly impact your car’s value and appearance. Through proper tools, techniques, and timely action, these small damages become manageable problems rather than major headaches.
Professional repairs offer guaranteed results with factory-matched paint and expert application. While DIY methods work for basic fixes, complex repairs need skilled hands and specialized equipment. My advice? Schedule repair work as soon as you notice chips - waiting only leads to bigger problems and higher costs.
Regular maintenance and prevention strategies remain your best defense against paint damage. Simple habits like maintaining safe driving distances and applying protective films can save thousands in potential repairs. Remember, your car’s paint does more than look good - it shields the metal underneath and maintains your vehicle’s worth.
Your car represents a major investment, and its appearance plays a big role in its value. Small actions today prevent major expenses tomorrow. Keep these repair and prevention tips handy, and your car will stay looking fresh for years to come.
## FAQs
-
How much can paint chips affect my car’s value? Paint chips can significantly impact your car’s value. Even small chips can decrease your car’s resale value by up to 10%, and a car with poor paint condition can lose up to 20% of its value. This is why it’s crucial to address paint chips promptly.
-
What are the main causes of paint chips on cars? The most common causes of paint chips include flying rocks and gravel from other vehicles, road salt and sand during winter, sharp objects and accidental scratches, temperature changes causing paint expansion, and bird droppings with corrosive substances.
-
Can I repair paint chips myself, or should I seek professional help? Whether to repair paint chips yourself or seek professional help depends on the extent of the damage. Minor chips smaller than a dime with no rust can often be repaired at home. However, for moderate to severe damage, especially if there’s exposed metal or rust, it’s best to seek professional assistance for optimal results.
-
What tools and materials do I need for DIY paint chip repair? Essential tools and materials for DIY paint chip repair include touch-up paint matching your car’s color, clear coat, paint pen applicator, blending solution, fine-grit sandpaper, grease and wax remover, isopropyl alcohol, clean microfiber cloths, masking tape, and safety equipment such as a respirator mask and protective clothing.
-
How long does a professional paint chip repair typically take? Professional paint chip repairs usually finish within a day, with most taking just a few hours. This is significantly faster than DIY repairs, which can take several days when accounting for preparation, repair, and proper curing time.
-
What’s the best way to prevent paint chips on my car? The best ways to prevent paint chips include applying Paint Protection Film (PPF), maintaining safe driving distances (especially behind larger vehicles), and following a regular maintenance routine. This includes weekly cleaning with high-quality car shampoo, applying wax every three months, and immediately cleaning off bird droppings or bug splatter.
-
How often should I wax my car to protect the paint? Based on professional experience, it’s recommended to apply wax to your car every three months as part of a regular maintenance routine to protect the paint and maintain its appearance.
-
Is it worth investing in Paint Protection Film (PPF) for my car? Yes, investing in Paint Protection Film (PPF) is often worth it, especially for high-end vehicles or those frequently driven on highways. PPF provides excellent protection against chips and scratches and even has self-healing properties for minor damage.