-
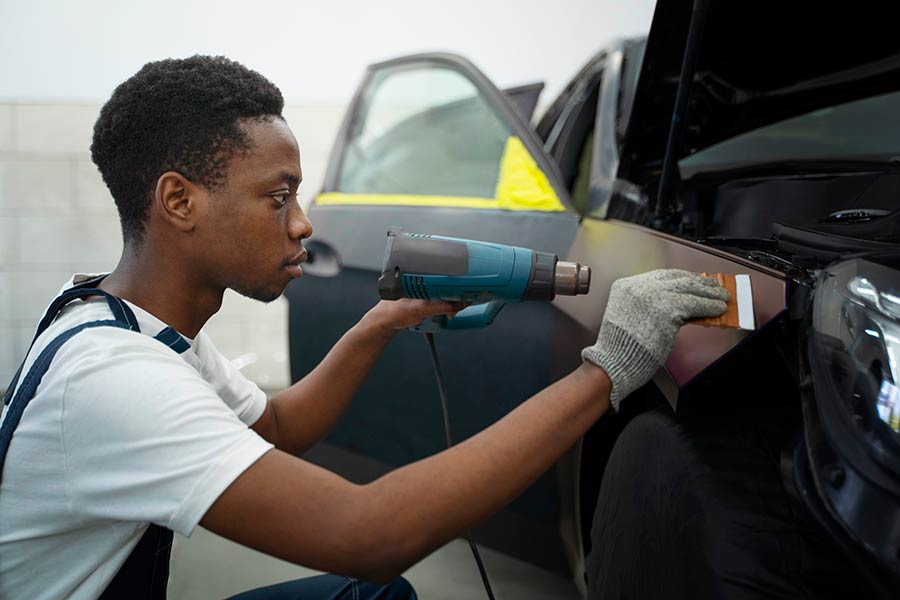
Jan 21, 2025 Expert Body Repair for Cars: Your Local Trusted Service
-
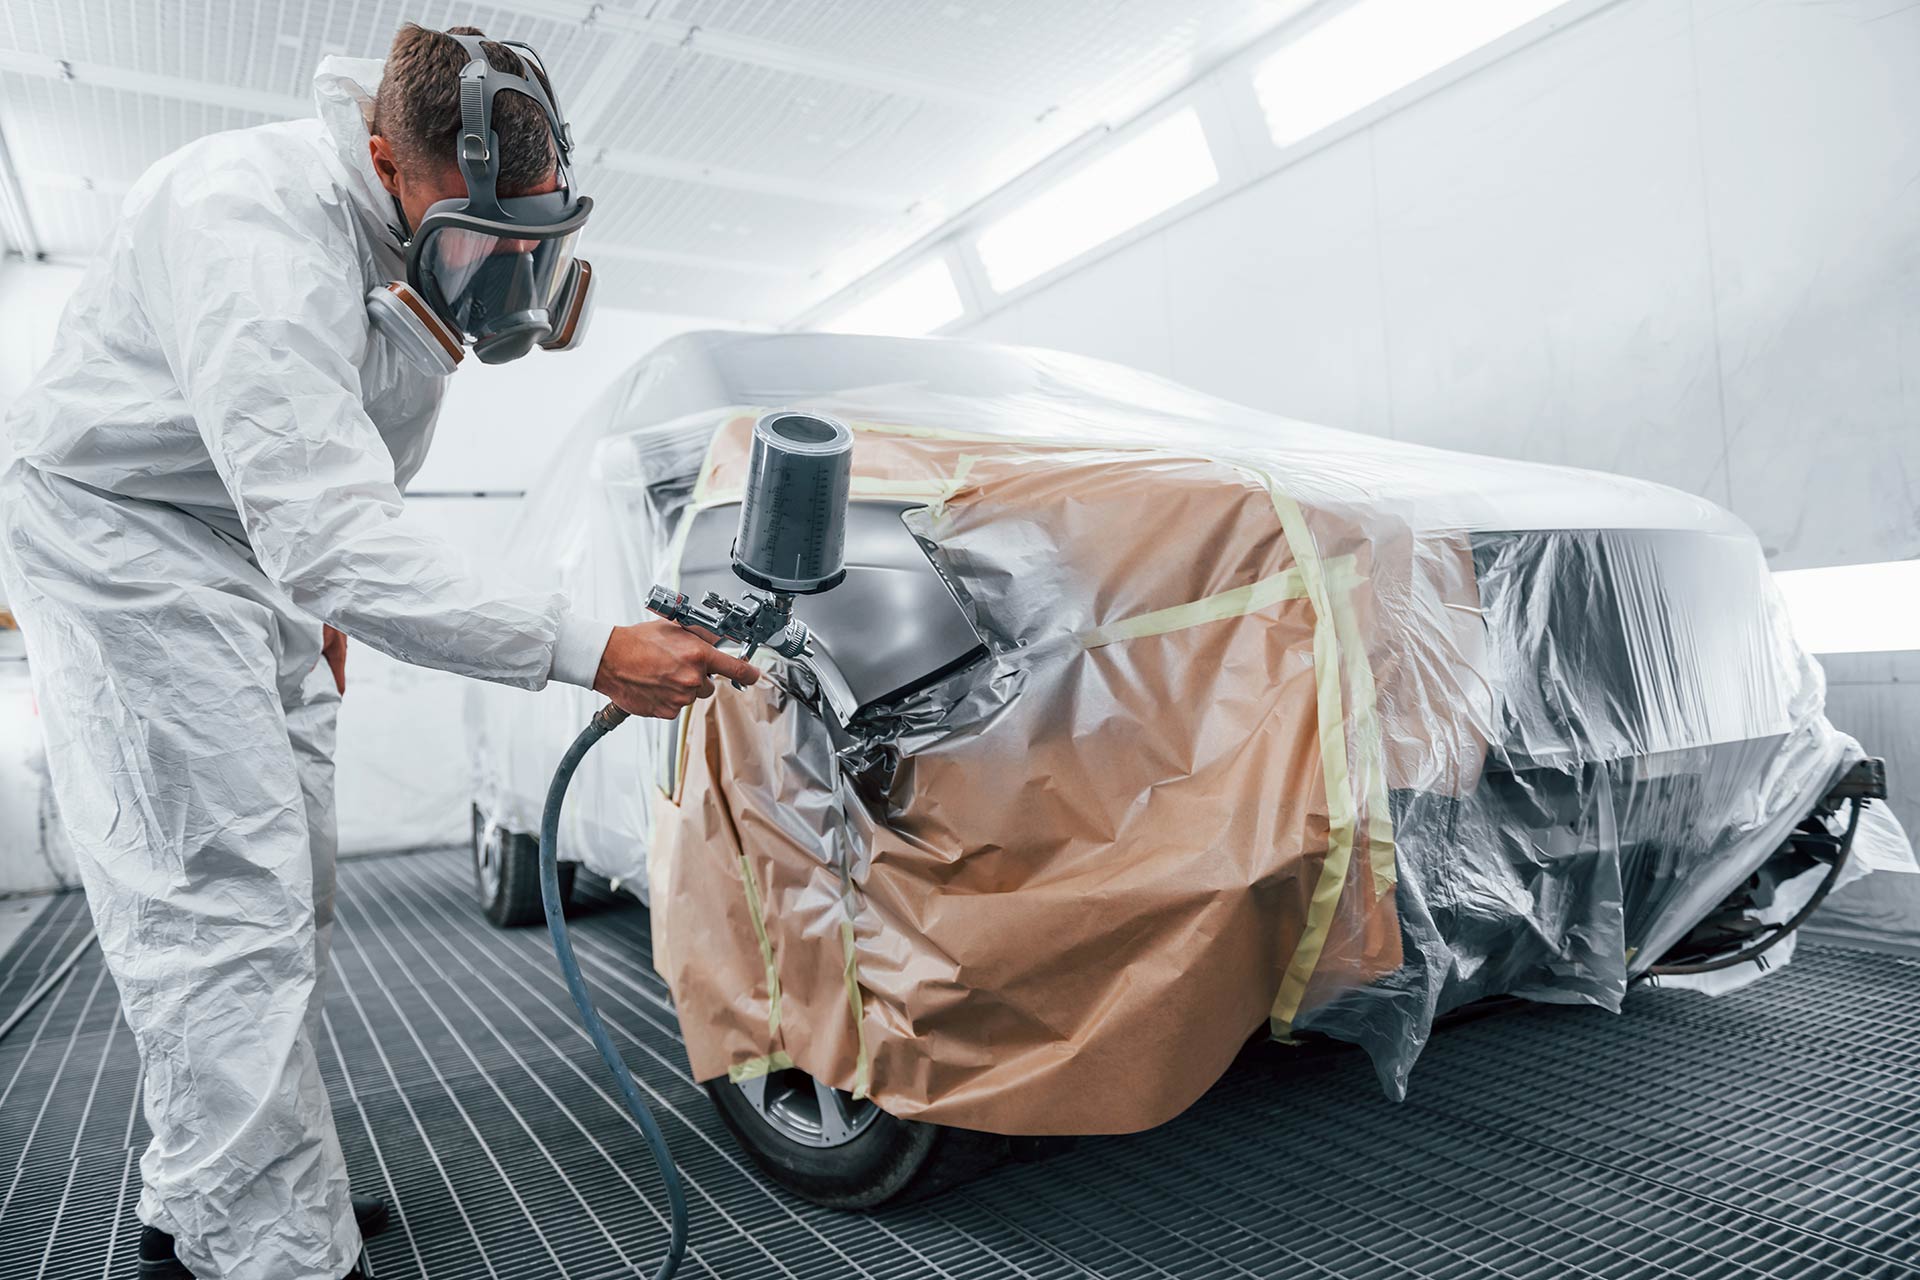
Jan 05, 2025 Best-in-Class Car Collision Repair: Why Locals Trust Our Shop
-
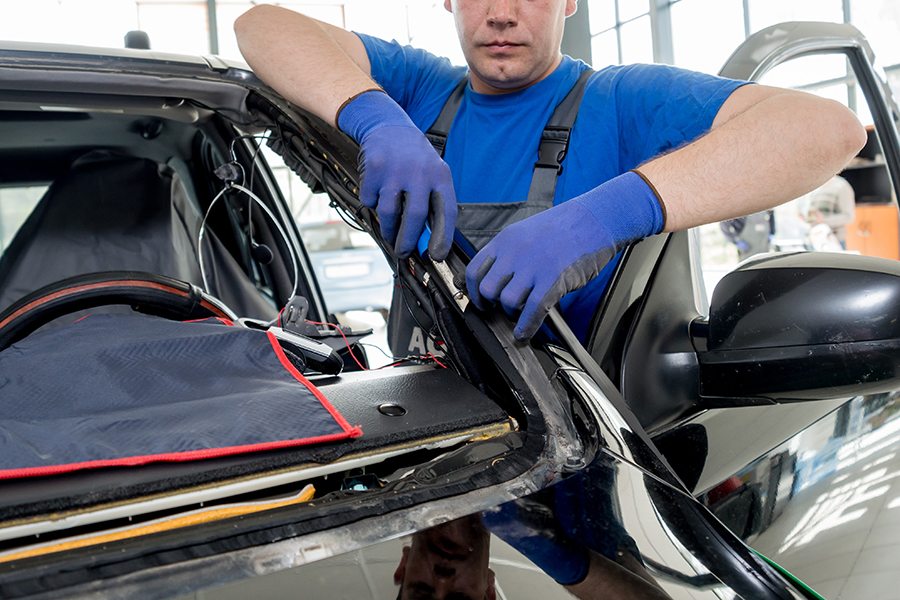
Nov 13, 2024 Fast Windshield Car Repair Near You: Drive Safely Again Today
-
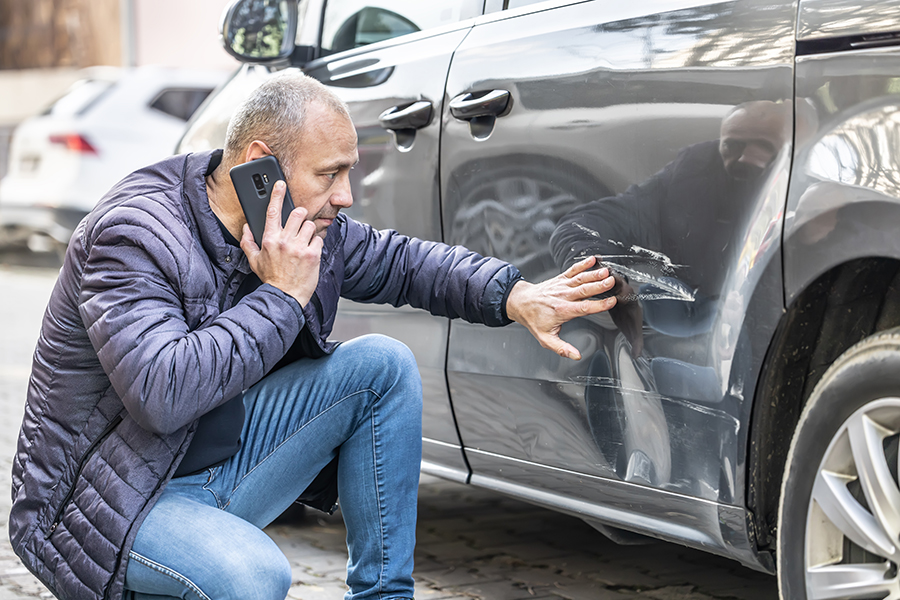
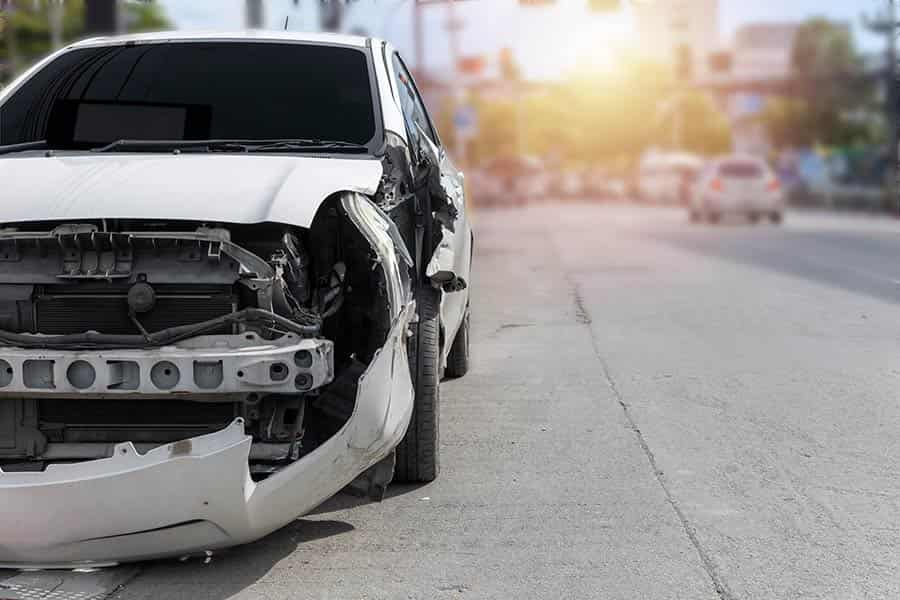
Sep 10, 2024 Minor Collision Dents? Get Your Car Looking Like New Again with Minor Collision Dent Repair
-

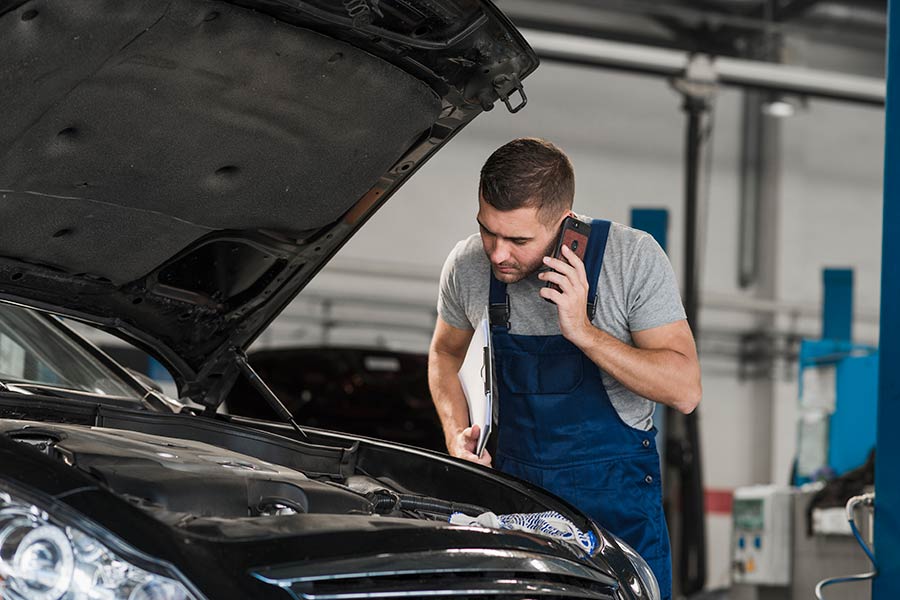
Jun 24, 2024 How to Choose the Best Collision Repair Shop Near You
-
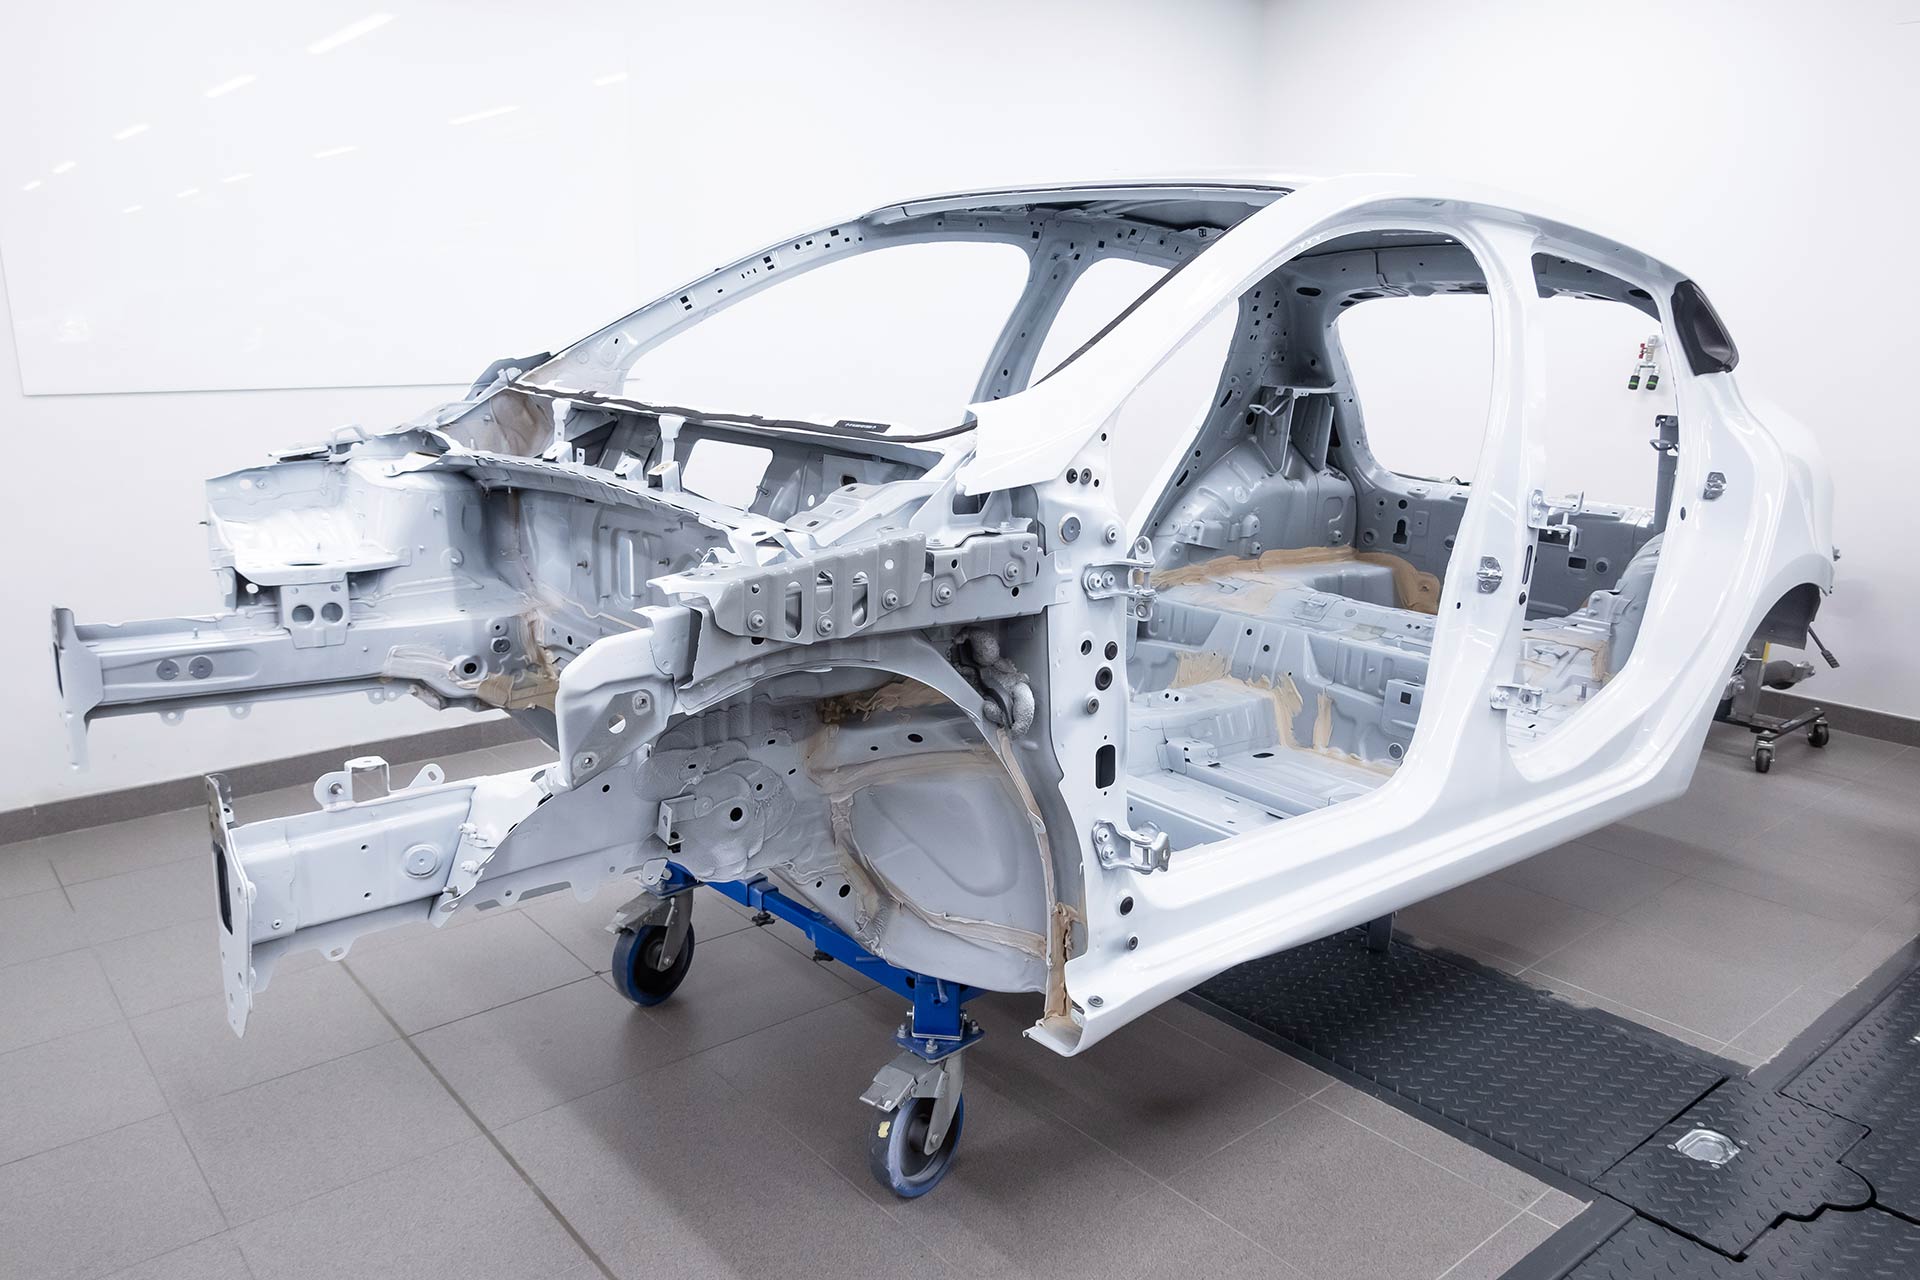
May 20, 2024 The Lowdown on Structural Repair: What It Is and Why It Matters
-
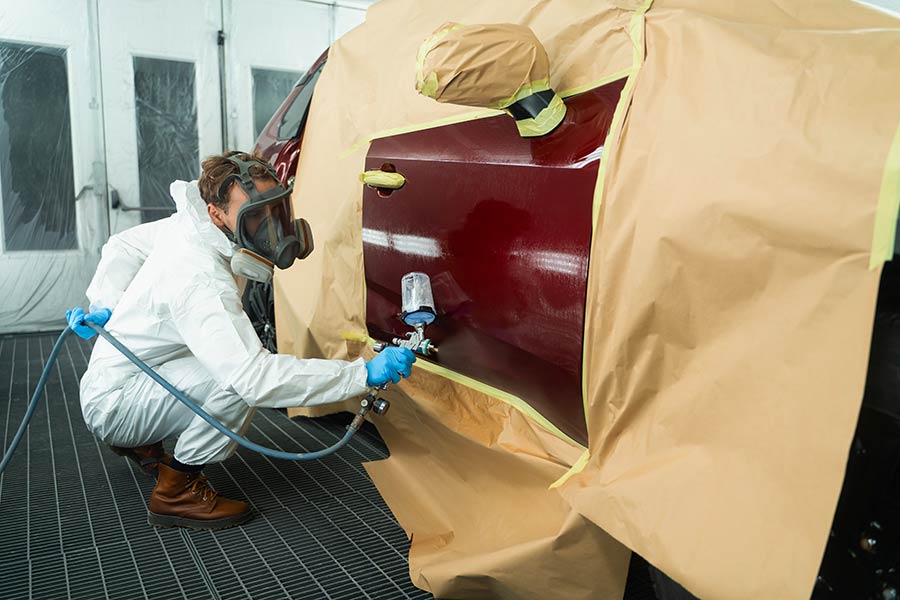
May 20, 2024 Fender Repair: Fixing Damage and Restoring Your Car's Look
-

May 20, 2024 Restoring Classic Cars: Understanding the Challenges and Rewards
-

May 20, 2024 Preserving History: The Importance of Authentic Vintage Car Restoration
-
May 20, 2024 Eco-Friendly Collision Repair: Reducing Your Environmental Impact
-
May 20, 2024 The Ultimate Guide to Collision Repair: Understanding Costs, Insurance, and Your Options
-
Mar 28, 2024 Custom Auto Body Restoration: Tailoring Your Dream Car


