Ever parked your car only to come back and find a new, glaring dent smiling back at you? It's the kind of surprise no one enjoys. On one hand, driving around with a dented bumper can feel like wearing stained clothes to a job interview—it just doesn’t sit right. On the other, thinking about the hassle and cost of getting it fixed might make your wallet wince before you even reach for it. But here's the kicker: removing that unsightly dent might not be as troublesome or as pricey as you think. Let’s dive into the world of bumper dent removal and turn that frown upside down.
Key Takeaways
-
Fixing a bumper dent can often be done at home with the right tools and a bit of patience, saving you money on professional repairs.
-
Start by assessing the damage carefully to decide if it's a job for DIY or if professional help is needed. Small dents without paint damage are good candidates for DIY.
-
Follow a step-by-step guide to ensure you don't miss any crucial steps in the repair process. This often includes heating the dented area, applying pressure, and cooling it down to reshape the bumper.
-
For a quick fix, temporary solutions can hide the dent, but they won't solve the underlying issue. Consider these only if you're in a pinch.
-
Weigh the pros and cons of DIY versus professional help. DIY can be cost-effective but risky if you're not confident in your skills, whereas professionals guarantee quality but at a higher price.
-
Regular maintenance and careful driving can prevent future dents. Park in safer areas and consider using bumper guards for added protection.
Understanding Bumper Dents
Causes
Bumper dents often come from minor collisions. These can happen anywhere, like in parking lots or during rush hour traffic. Parking mishaps are common too. Sometimes, drivers misjudge the distance and bump into barriers or other cars.
Weather conditions also play a role. Extreme cold or heat can make bumpers more prone to damage. This is because materials expand or contract with temperature changes.
Low-speed impacts in parking lots are notorious for causing dents. Even though these impacts are minor, they still leave marks on your car's bumper.
Types
There are dents you can fix yourself and others that need a pro. It depends on the dent's depth and where it is on the bumper.
Dents vary a lot. Some are shallow and easy to deal with. Others are deep and complicated. The location also matters. Dents on the edge might be harder to fix than those in the middle.
The material of your bumper affects this too. Plastic bumpers react differently to dents than metal ones do.
Impact
Even small dents can lower your car's resale value. People see them and think the car might have other issues.
There could be hidden damages beneath the dent. This means more problems might pop up later.
If you don't fix a dent, it could lead to rust. Rust makes things worse over time, especially if you live in a place with lots of rain or snow.
DIY Repair Basics
Safety First
Before diving into the repair, safety comes first. Always wear gloves and goggles to protect your hands and eyes. Heat can change paint colors or peel it off. So, be careful when using any heat source on your car’s bumper. It's also smart to check the car's manual. It might have special notes about removing the bumper safely.
Tools Needed
Plunger
A simple plunger can work wonders on small, shallow dents. Make sure the dent and plunger are clean before you start. Wetting the plunger helps it stick better to the car, creating strong suction.
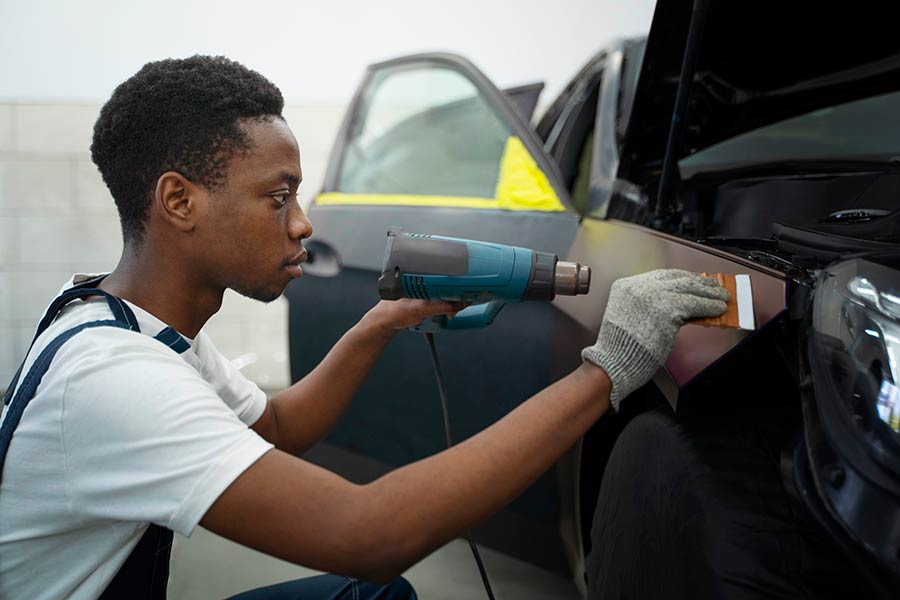
Heat Gun
A heat gun softens the plastic, making it easier to push out dents. Keep it a safe distance from the surface to avoid paint damage. Try it on a scrap piece first to avoid mistakes on your car.
DIY Kits
You can find kits online for fixing bumper dents. They come with instructions that you should follow closely. Weighing the pros and cons, these kits can save money but might not match professional results.
Preparation Steps
Clean the dented area well before starting repairs. Remove anything in the way of fixing the dent, like trim or lights. Outline the dent so you know where to focus your efforts.
Step-by-Step Repair Guide
Heat Application
Applying heat is a crucial step. You must spread the warmth evenly across the dent. This ensures the material becomes malleable without damaging the paint. Avoid focusing on one spot too long. Overheating can cause the paint to bubble, ruining your car's look.
Start with a low heat setting and gradually increase it. This slow process helps prevent any sudden damage to your bumper's surface.
Plunger Method
First, you need to wet the plunger's edge for better suction. Then, place it firmly over the dent's center. A steady, strong pull is key here. It might not work on the first try, especially with stubborn dents.
Don't hesitate to repeat this process several times. Persistence often pays off, popping out even the most persistent dents.
Boiling Water Technique
Pouring boiling water over the dent softens the bumper's plastic. This makes it easier to manipulate from behind. Immediately after pouring, you should reach behind the bumper and push outwards on the dent.
Always wear protective gloves to avoid burns from the hot water. This method requires quick action for best results but be cautious of the high temperature involved.
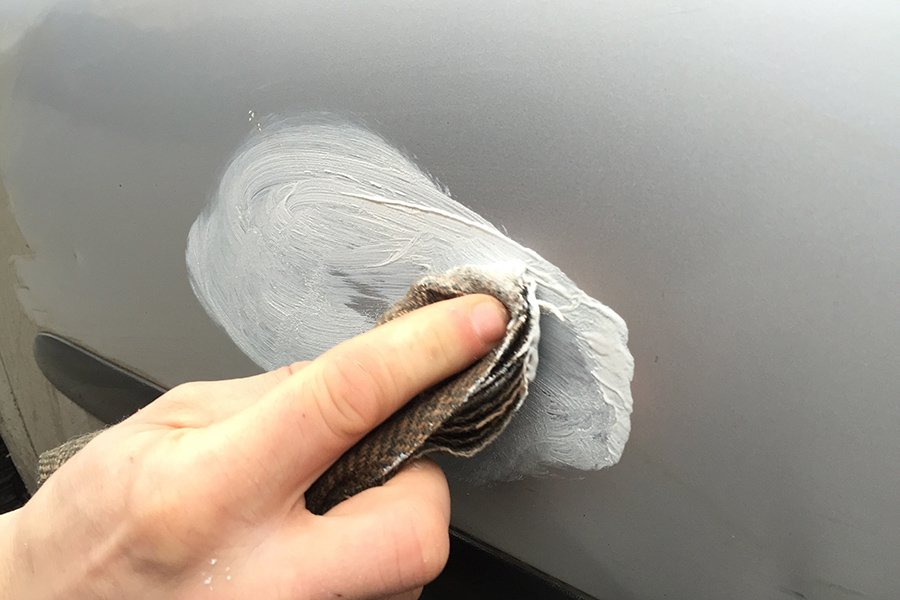
Permanent Solutions
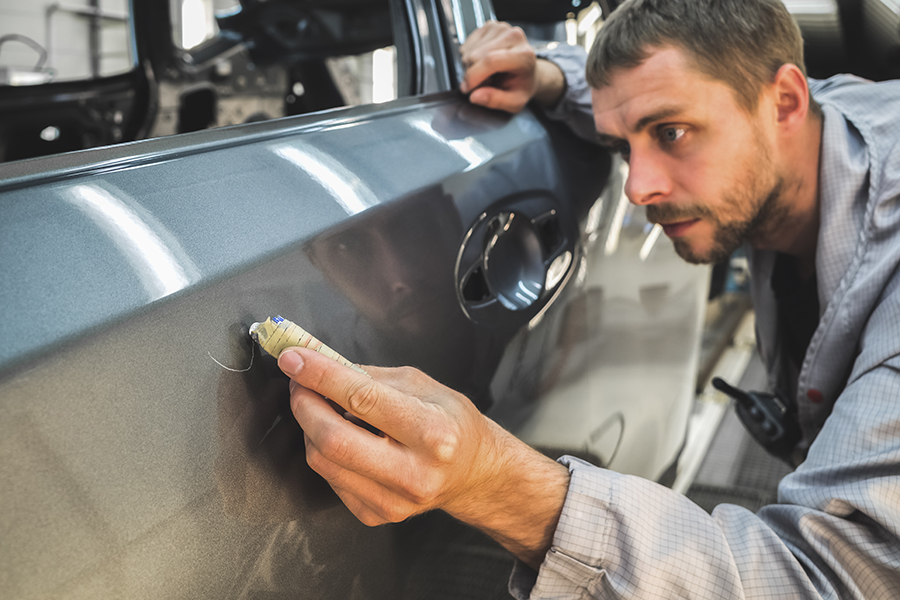
Filler Use
etimes, dents are too stubborn to simply pop out. In such cases, using a filler becomes necessary. The process involves applying a special material directly into the dent. It's crucial to spread this filler evenly across the surface.
After application, patience is key. The filler must dry completely before moving on. This might take a few hours, but it ensures a strong foundation for the next steps.
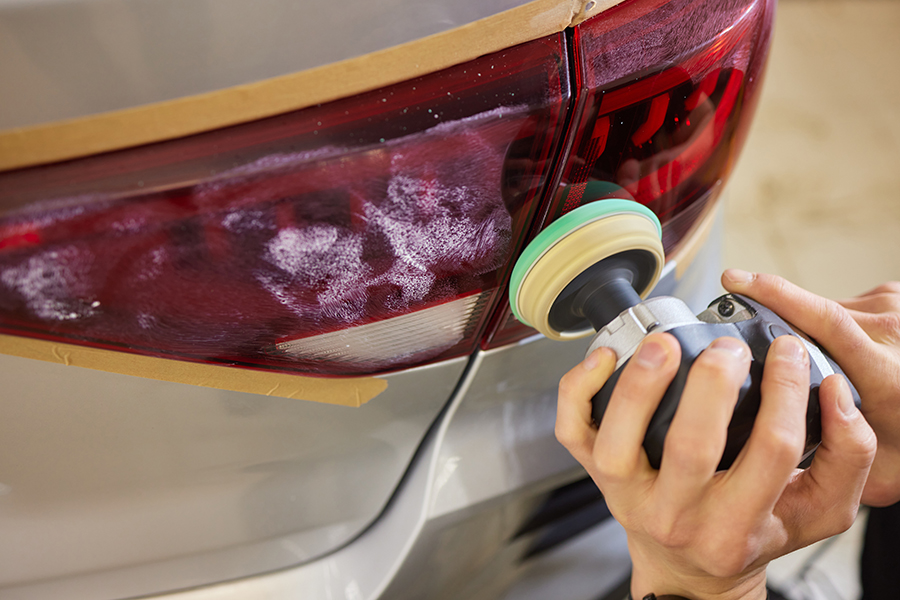
Sanding Process
Once the filler sets, it's time for sanding. Start with fine-grit sandpaper and gently smooth the filled area. This step requires care to avoid damaging the paint around the dent.
For an even smoother finish, consider wet sanding. It involves using water with sandpaper to reduce scratches on the surface.
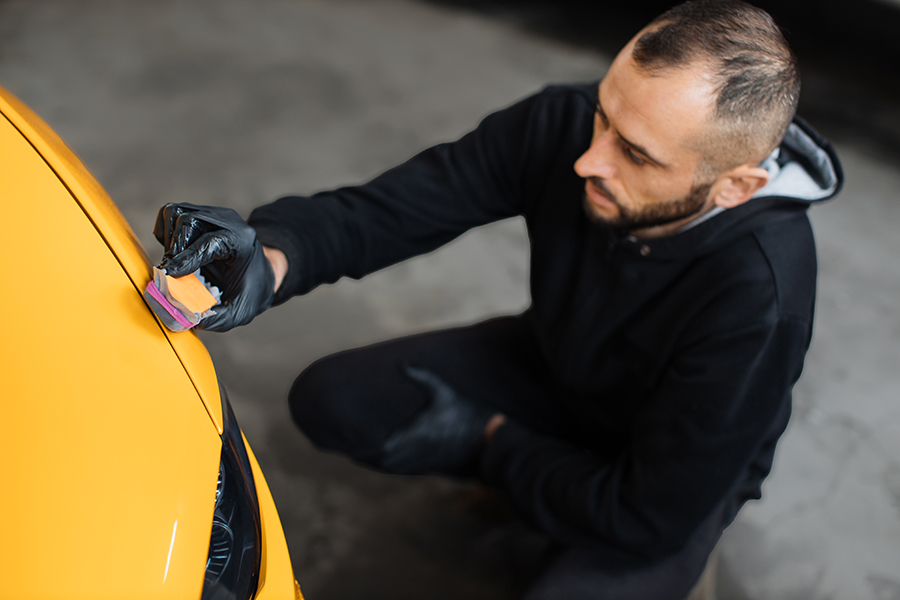
Painting
Matching your car's paint color exactly is crucial for a seamless repair. Always use a primer before applying paint to ensure better adhesion and durability of the repair.
Apply the paint evenly across the repaired area. Doing so helps blend the repair into the rest of the car’s bodywork.
Temporary Fixes
Tape Method
etimes, a strong adhesive tape can be a quick fix for tiny dents. You stick the tape on the dent and pull sharply to pop it out. This method works best for small dents where bigger tools won't fit. However, you must be careful. Pulling too hard might peel off the paint. It's a handy trick but requires a gentle touch to avoid damage.
Suction Cup Tool
Unlike the tape method, specialized suction cup tools are made just for this job. They're better than using something like a bathroom plunger because they're designed for car surfaces. These tools have a strong grip and can pull out larger dents without harming the paint. To use one, place it firmly over the dent and pull straight out. The key is to apply steady pressure to pop the dent back into place without scratching or damaging your car's exterior.
Professional Help vs. DIY
When to Call Experts
etimes, a dent might look simple but is actually quite complex. If you see that the dent has sharp edges or is larger than a few inches, it's best to step back. These kinds of dents can be tricky and trying to fix them yourself might lead to more harm. It's like when you tried a temporary fix from the previous section but realized it's not enough.
Professionals have the right tools and knowledge. They can tell if there's hidden damage you can't see. So, if you're unsure, getting an assessment from an expert is a smart move. This way, you avoid turning a small problem into a big one.
Cost Analysis
Let's talk numbers. DIY methods are tempting because they seem cheap at first glance. You might spend a few dollars on tools or kits from the hardware store. But here's the catch: if something goes wrong, you could end up paying much more.
Professional services might seem pricier upfront, but they come with peace of mind. The cost depends on the dent's size, location, and depth. For example, removing a small dent might cost less than fixing a big one that requires repainting.
Remember, professionals have years of experience and the right equipment. They know how to fix your bumper without causing extra damage. Sometimes paying for expertise saves money in the long run.
Maintenance Tips
Regular Checks
It's wise to inspect your bumper regularly for any new dents or damage. This simple habit can save you from bigger problems down the line. Catching dents early makes them easier to fix and helps prevent rust from setting in. Make these inspections part of your routine car maintenance, just like checking oil levels or tire pressure.
Protective Measures
To keep your bumper looking its best, consider where and how you park. Parking further away from others can reduce the risk of someone bumping into your car. Using bumper guards or protective films can also shield against scratches and minor impacts. Most importantly, cautious driving greatly diminishes the chances of collisions that cause dents.
Closing Thoughts
Bumper dents can be a real pain, but now you've got the know-how to tackle them head-on. Whether you choose to go the DIY route with the step-by-step guide we walked through or decide professional help is more your speed, remember that taking action sooner rather than later will save you time and money down the road. Keeping up with maintenance tips will also go a long way in keeping your ride looking sharp.
hat's stopping you? Grab your tools, or pick up the phone and call a pro. Either way, it's time to say goodbye to those unsightly dents and hello to a bumper that looks as good as new. You've got this!
Frequently Asked Questions
Can I fix a bumper dent myself?
Absolutely! With the right tools and a bit of patience, DIY repair is totally doable. Just follow a step-by-step guide to ensure you don't miss anything crucial.
What are the basic steps for DIY bumper dent removal?
Start by cleaning the area, then apply heat to soften the bumper. Next, gently push the dent out from behind or use a plunger for suction. Finish by cooling down the area to harden it back into place.
Are there any temporary fixes for bumper dents?
Yes, there are. For a quick fix, you can use boiling water or a hair dryer to make the plastic more pliable and push the dent out temporarily until you decide on a permanent solution.
When should I seek professional help for a bumper dent?
If the dent is large, involves sharp creases, or has damaged paintwork, it's wise to consult with a professional. They have the tools and expertise to restore your bumper flawlessly.
How can I maintain my bumper after repairing a dent?
Keep your bumper clean and regularly check for any signs of damage. Applying wax can also protect the paint and finish. Remember, prevention is better than cure!
Is DIY repair cheaper than professional help?
Generally yes, especially if you already own or can borrow the necessary tools. However, consider the complexity of the dent and your skill level before diving in; sometimes, professional help can save time and further damage costs in the long run.
What are permanent solutions for fixing bumper dents?
Permanent solutions involve either professionally reshaping and repainting the affected area or replacing the entire bumper if necessary. These methods ensure your car returns to its pristine condition without any signs of previous damage.